
Бесплатно 
Creality Sprite Extruder Simple Tool Changer
MakerWorld


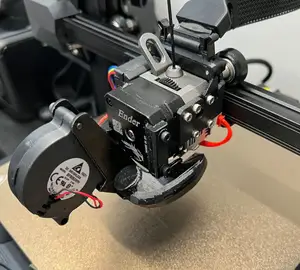
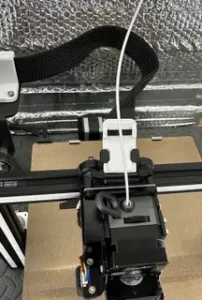
Reason : I first realized I had to reverse the top right and bottom bolts for the x-gantry wheels so that the nuts would not collide with the x-gantry bracket on the right. However, after flipping the bolts around, I had the new problem of the lock nut pushing against the Sprite extruder.
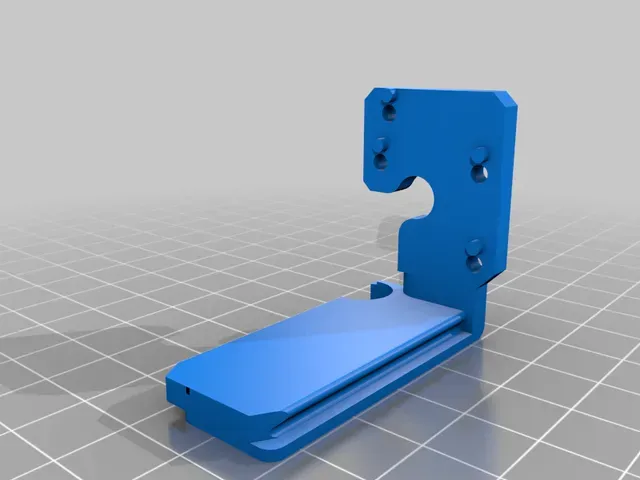
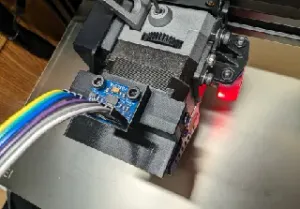
Solution : Because of these clearance issues, I opted to use ProperPrinting's tool changer as a spacer with the added benefit of being able to quickly remove the hotend for maintenance. I added a cutout to fit the lock nut on the top right and also removed the step in the original design on the base to add some rigidity to the top rail.
Files :
base - bolt cutout : mounts to the base plate, held by the 4 screws meant for the Sprite extruder
base - bolt cutout extended : an alternative to the base, added another screw hole that lines up with the hole in the pancake motor for some extra security
- tool holder - bolt cutout : mounts to the Sprite extruder
Installation
Preparation:
- Make sure that both parts are printed correctly - Uninstall old hot end and base plate - Install new Sprite Upgrade kit base plate Base Plate Bracket:
- Press the printed base plate bracket over the two standoffs - Screw in the same screws on the right side, the screws should create their own thread in the part. Tool Changer:
- Remove the two screws which hold the strain relief of the cable and the longer screw that holds the circuit board of the extruder assembly - Mount the printed tool holder with those screws Notes:
- Add a bit of lubricant to make it slide better (optional) - If the assembly doesn’t slide all the way to the right, the notches on the printed base need to be modified/shaved a bit.
Credits for the original design and printing/mounting instructions go to @ProperPrinting . You can find the original design at https://properprinting.pro/product/creality-ender3s1-simpletoolchanger/





Названия используются только для указания источника результата. Polyzon не аффилирован с перечисленными площадками.