
Бесплатно 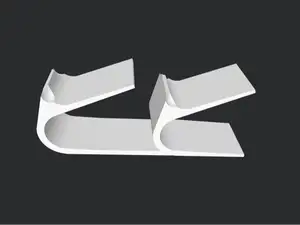
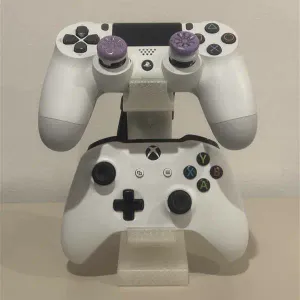
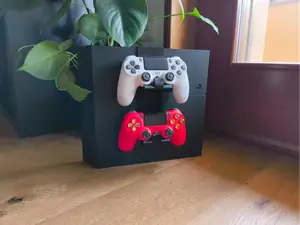
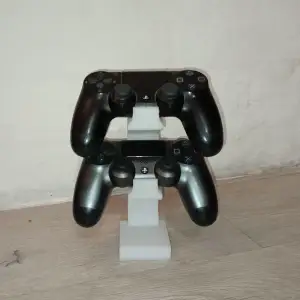
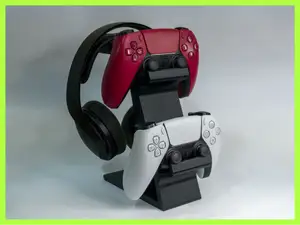
Double Controller Stand (PS4/PS5)
MakerWorld
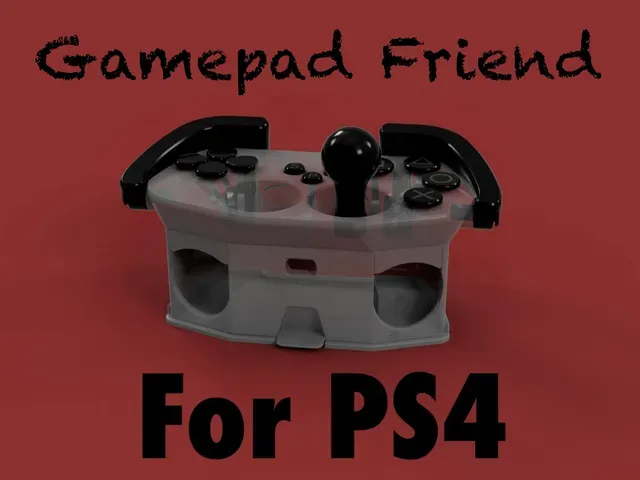
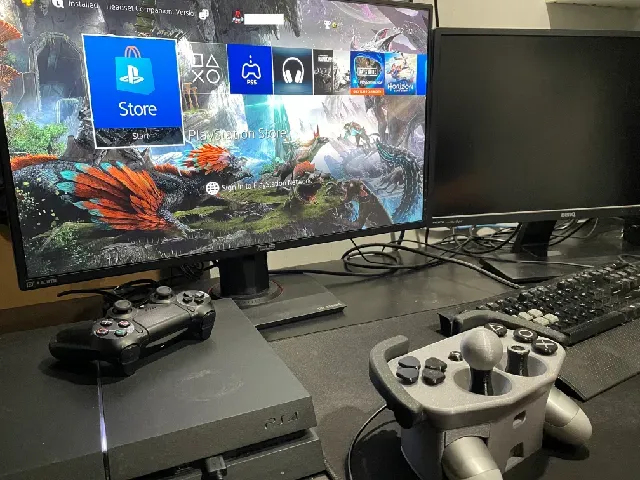
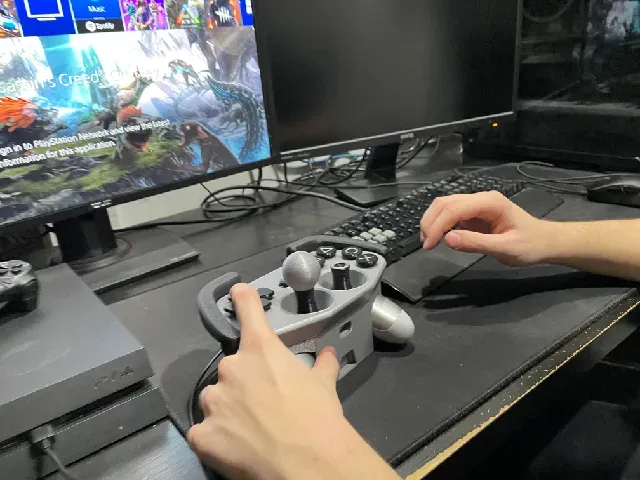

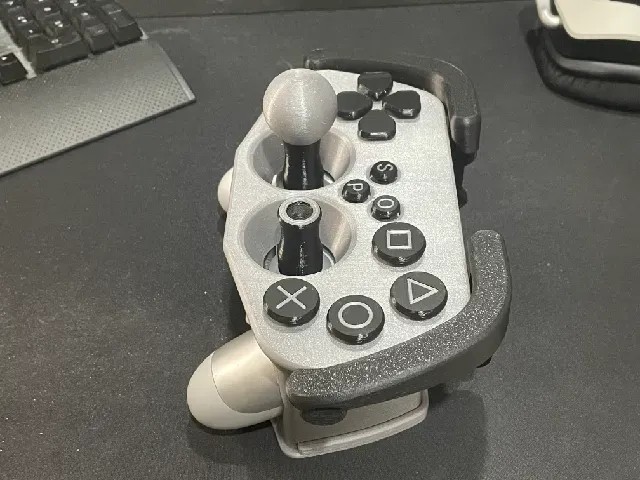

What It is?
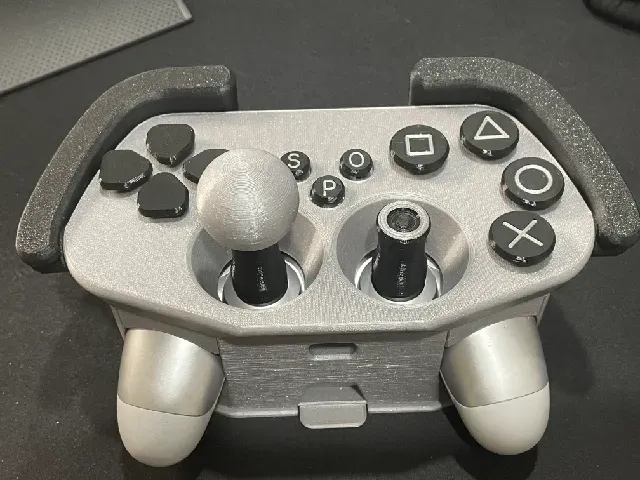
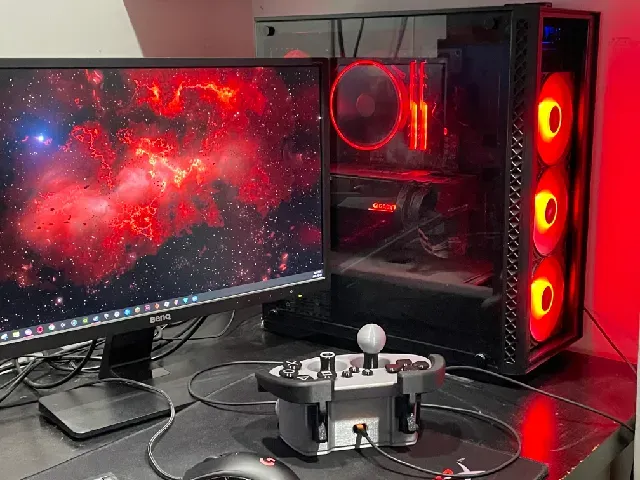
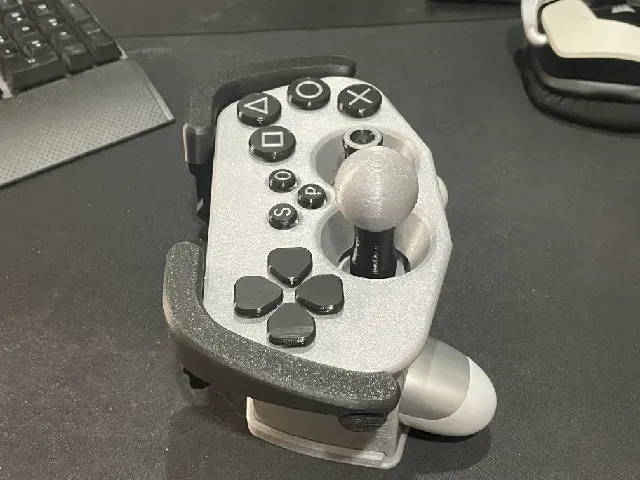
It is a non-destructive case adapter for PS4 controller with large buttons spread apart.
The large Joysticks and extra add-ons facilitate playing
How It Works!
When the button is pressed the “button tail” transfer the force to the controller. The tail works as a push rod and as a spring. It Works, I have test it!
Features
Secured Base
For me, the most valuable feature is the low profile “Dock” attachment, It properly secures the controller to the table so there is no need to hold it.
Four holes to secure it Push in to click-lock Push down to unlock
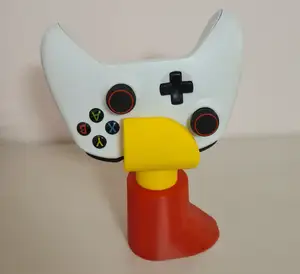
Double Joystick for Assisted playing
Maybe you need a little help to play, or a joystick extension could help. Also, have some fun and laughs with your friends.
Swivel connection on left Use it upside down Or without swivel
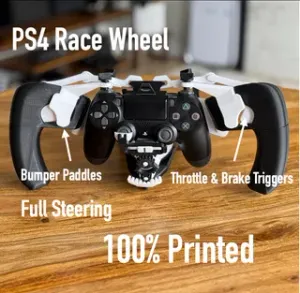
Trigger buttons locations
Each trigger button, left and right, is activated by pushing down the side bumper. Remember that you can not feed a specific button to make more room for the others and customize it for your needs. Note: buttons over the triggers are not part of this version.
Wide bump Little force needed to push Strong and reliable
Joystick Custom Designs
Each type of physical limitation calls for a different joystick design. I plan to create many, many designs to accommodate each need. PLEASE, send me you need / idea!
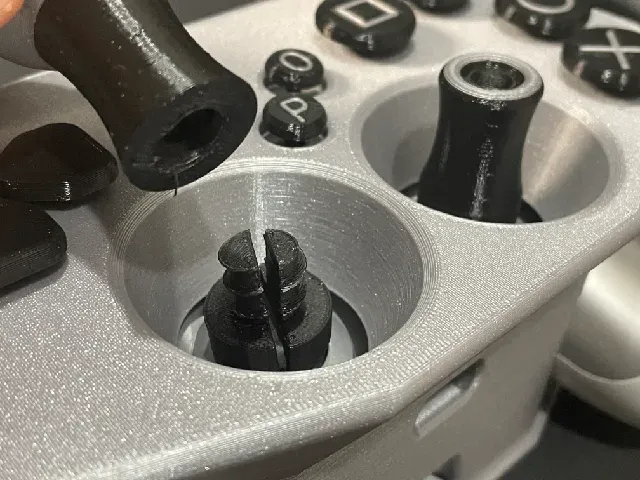
Ring Joystick Easy swap Pick your game style.
Swapping controllers
The snap connection between “Face” and “Case” facilitated getting controller in and out. Swivel the face as shown.
facing you, remove ball Open up Reverse for closing
Well… there was a lot of testing to get to this point, I hope it is useful to you, Thanks
For Fusion360 Designers Only.
This contest is meaningful and so is “ The Controller Project ”. So I would like to share part of my work in Fusion360 File Format, Designers can start where I have stooped or modify it completely. (The PS4 buttons off set is 1mm from face of model . The 03 center ones are +- 3.5mm from face.)
Printing and Building
Printing Settings
Important notes:
Fits on PRUSA mini Use PETG for “button_tails” Use PLA for “Joystick_base” All pieces print without support required, one exception is “Dock” that will print fine with standard support.
How to Assemble
Feeding the Tails
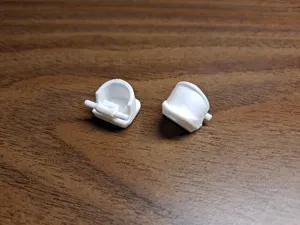
This is for sure the hardest thing on this build. Feed each “Button_Tail” on its belonging hole (no swapping allowed), holding on both sides, feed it in little by little, back and forward if needed, progress until it shows up on the other side, it will sticks out 1mm. The “Button_Tails” are only 0.65mm thick, the tunnel can be rough in some portions. You may need one or two extra tails to get it done correctly, hopefully not.
In case you get really stuck on a tunnel and the “Button_Tail” looks damage; use a zip tie to drive trough the tunnel and clear the blockage. Feed it on both side, move back and forward. All my tests had one tunnel that needed cleaning but at the end they work. Don't give up!
Triggers
Set all parts as the picture shows, connect the links on each side. The “Link” may need some gluing if your print is very accurate (0.2mm clearance on parts) Slide each onto the case. Slap the “Face” into the “Case”, trigger side first.
Finish the triggers by feeding the “Shaft” into the side hole. This connection must go all the way in, use some masking tape to secure it properly and can be remove if needed (no glue please)
Buttons Faces
The “All_Buttons_Faces.3mf” contain letters and buttons. There are many ways to print these, in your Prusa_Slicer toggle the visibility of the part on and off as you wish, print each color at the time (do not move any of them!). Glue each “button_face” to its “button_tail”, parts should fit flush (hidden) push them together in place if needed.
Mounting the joystick
I guess no secret here, just follow the picture and finish the controller. I use the changing color feature in PRUSA_Slicer.


Названия используются только для указания источника результата. Polyzon не аффилирован с перечисленными площадками.