
Бесплатно 
XRP Robot Kit
Printables
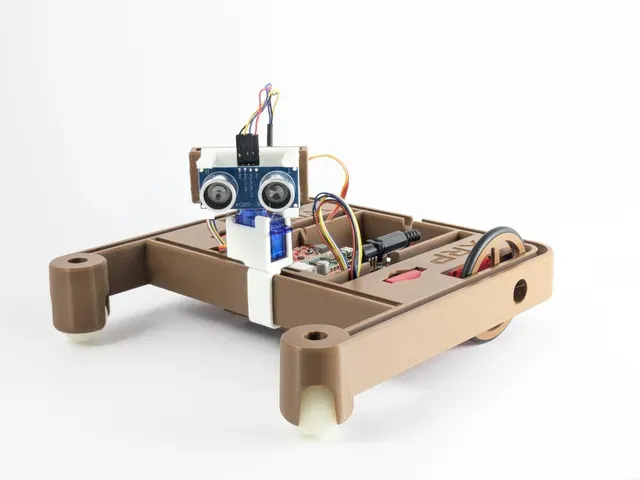
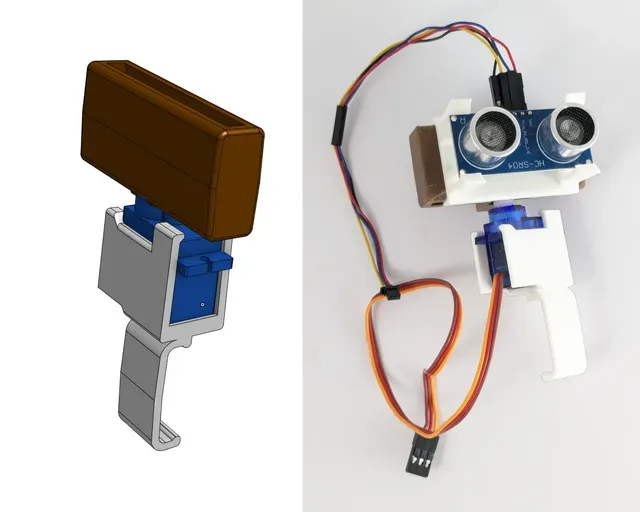

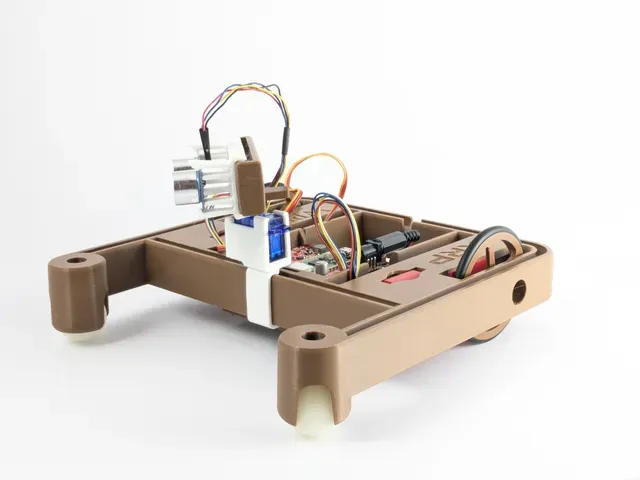
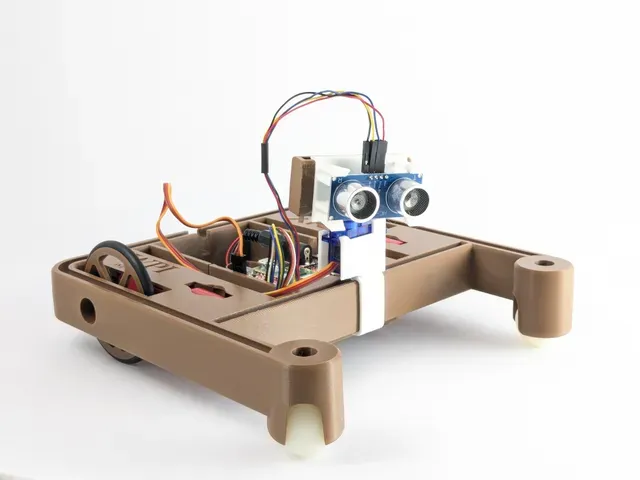
Rotating XRP Rail
Take anything that mounts on the rail of the XRP and rotate it using a servo. Don’t be fooled by its simplicity. This 50mm rotating XRP rail enables some cool stuff in robotics.
Get it
- (1) 9g servo (it should come with a servo horn and screw) - No tools required, but a screwdriver is recommended Print it
- PLA - 0.2mm layer height - 15% infill - No supports Build it
Step 1 : Attach the servo horn to your servo.
Step 1b [optional] : Use a screwdriver to secure the horn to the servo.
Step 2 : Insert the servo horn into the rail . It should snap into place.
Step 3 : Insert the servo into the servo holder
Step 4 : Attach the whole mechanism to your XRP
Code it
Step 1:
Download xrp_rotate_rangefinder_example.py from this Github repository and run it on your XRP using https://xrpcode.wpi.edu/ . Push the “USER” button to sweep the ultrasonic sensor.
Step 2:
Copy your data array from the terminal and paste it into plot_rangefinder_data.py from this Github repository . Run it on a machine with matplotlib installed, or run it online here (paste the code on the left side, and then click the Preview button on the top left).
Here’s a real example of what a room looks like to an ultrasonic sensor:
Teach it
This rotating rail gives you more sensor data per robot pose so you can teach more about robotics with just dead reckoning .
Lesson ideas:
- Effects of material properties on different kinds of sensors - Coordinate frames and transformations - Occupancy grids and uncertainty - Probability - Visualizing data with matplotlib Project ideas:
- Mount a ToF distance sensor ( use this mount ) and now you have a budget “planar lidar” . - Compare range readings from different materials (matte black, reflective, transparent) - Sweep the sensor past a sharp corner with another object behind it to observe the veiling effect. Learn to filter the data like the ScanShadowsFilter in the laser_filters package in ROS - Mount an ultrasonic sensor ( use the “Peripheral - Ultrasonic - Clip.3MF” ) - Compare range readings from different materials and with different orientations (soft materials, rigid surfaces angled out of plane, multipath) - Drive the robot in a square, take measurements at each point, and use a conical sensor model plus probability to fill out an occupancy grid . History
- V1: initial release

![Nerf Crossbow XRP [v2]](https://cache.polyzon.org/api/img?url=https%3A%2F%2Fmedia.printables.com%2Fmedia%2Fprints%2F927561%2Fimages%2F7247283_338b395d-f6fe-478a-9c05-c38ca461b43d_d3252479-139e-4dcb-bac7-971e9eb4680f%2Fintegrated_front.png&w=300)





Названия используются только для указания источника результата. Polyzon не аффилирован с перечисленными площадками.