
Бесплатно 
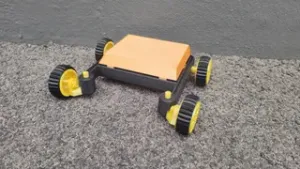
XRP Mecanum Drive / Omnidirectional (fully printed with 2 different frames)
Printables


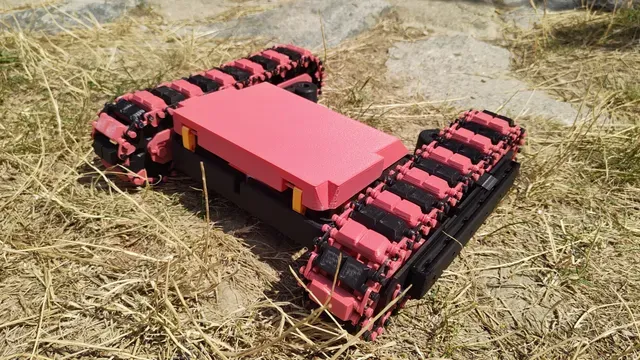
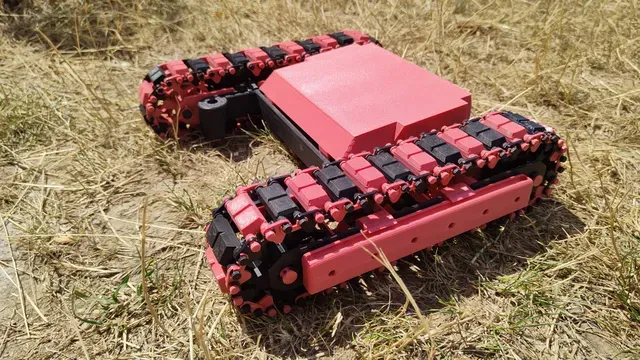


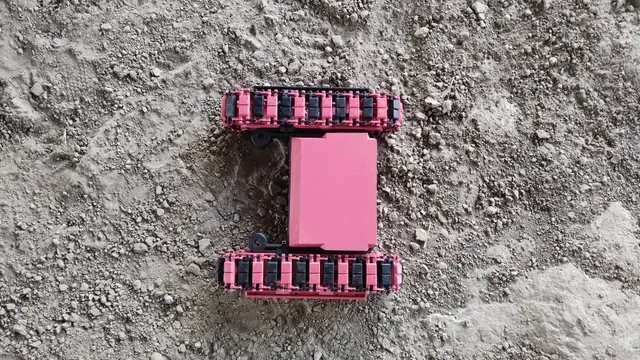
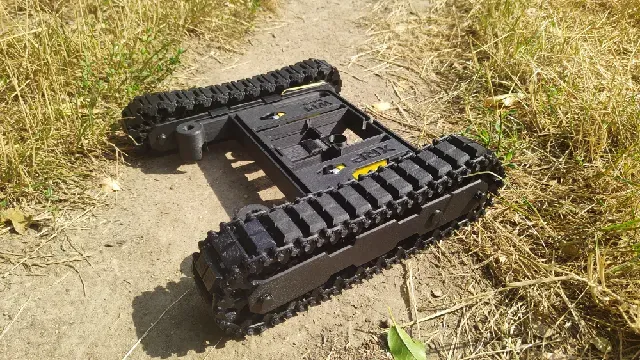
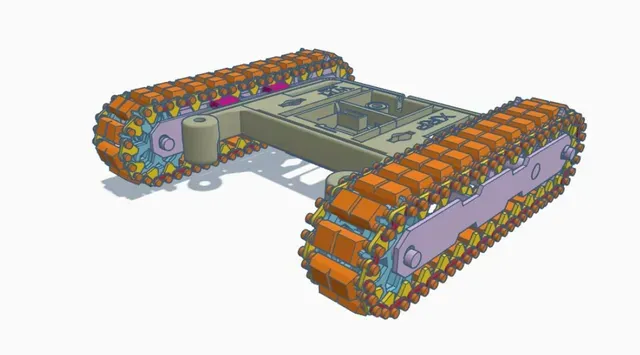


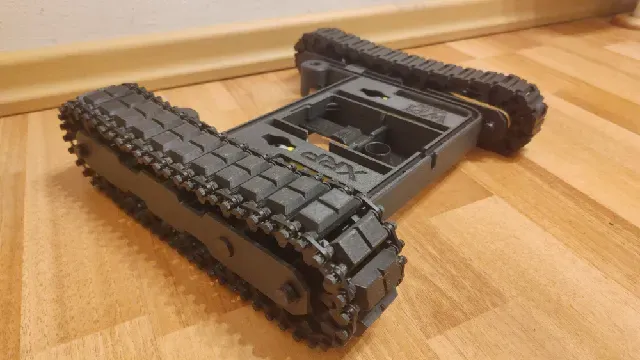


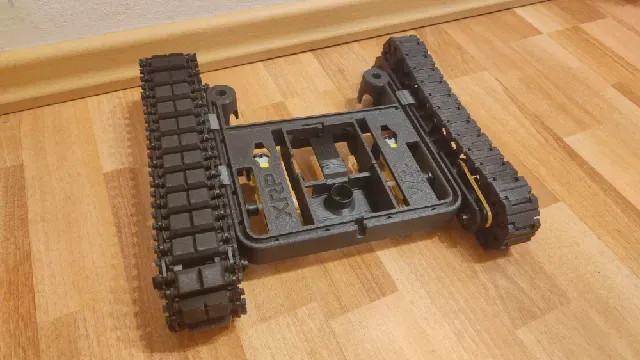

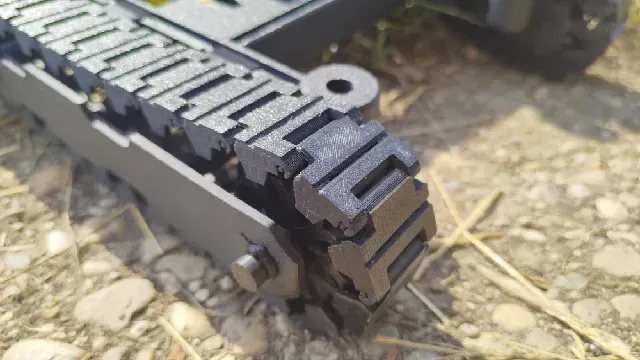
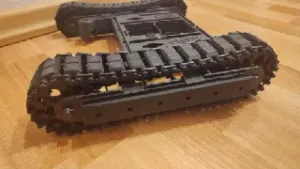
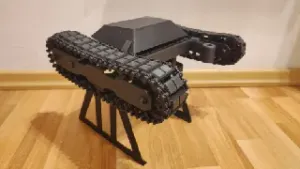
This are 2 different track systems for your XRP . What's the right one for you? Here's a short summary that should help you pick the system of your choice. Further down you'll find a detailed instruction for each system. Also you might like my XRP Boat Mod . :)
I mainly provide the STL as preview, you're better of just downloading the zip, so you got the right files for the right system all together.
This kit requires the latest chassis which is currently V1.5.3MF . This version offers a hole next to the motor shafts, so you can connect wheels outside the frame.
For older Versions you would have to modify your chassis. I do provide the XRP Axis Hole Finder For Older Frames , that will help you to drill the hole in the correct position, have a look at my models .
In a nutshell
Update
I'm reworking my models to improve them with everything I did learn on my journey and also the Track System deserves some TLC. This does not mean you got to reprint anything. It's just improvements for easier printing, easier assembling and some finetuning of components. If you have the feeling tho to upgrade to the latest version, I did list the parts that have not been touched, there's no need to reprint them at all. The original model is still available as v1.0 to be downloaded along with the instruction in case you need spare parts. For everyone else I recommend to go with the latest version.
Changes
Real World Track System
- Improved Safety Rings - Added Safety Ring Tool - Reduced Axis Length - Reduced Side Plate length to better fit 220mm beds - Added Stability frame orientation notch - Reduced tolerances for Stability frame to make it bind stronger - Improved the transmission shaft Untouched parts
- XRP.RWTS.Drive.Sprocket.Connector - XRP.RWTS.Drive.Sprocket - XRP.RWTS.Transmission.Gear - XRP.RWTS.Track.Link - XRP.RWTS.Track.Connector - XRP.RWTS.Drive.Sprocket.with.Gear - XRP.RWTS.Track.Safety.Locks - XRP.RWTS.Drive.to.XRP.Clip Print Friendly Track System
- Added 5 print in place links - Added Safety Ring Tool - Improved Safety Rings - Merged Transmission Disk with Shaft - Reduce Axis Length - Reduced Side Plate length to better fit 220mm beds (rotate them by 15 degrees) - Added stability frame orientation notch - Increased transmission disk resolution Untouched parts
- XRP.PFTS.Frame.to.XRP.Clips - XRP.PFTS.Wheel.Spacer - XRP.PFTS.Link.Single New parts added
- XRP Rain Cover with 4 clip sizes - XRP Track System Rail Extension Real world track system:
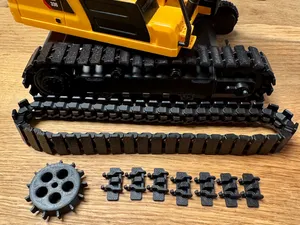
This system is heavily inspired by real life track pictures. It's appearance is beefy and imo just awesome. This system tho consists out of almost 200 parts. It's quite an assembly job with little room for errors like warping etc. The assembly is imo really a satisfying task and it's my favorite system. But it clearly is more assembly work and more error-prone than the other track system.
Printer friendly track system:
This system has been created with the focus on less parts and less fiddling. It offers print in place chain links to even minimize assembling work. E.g. the chain consists of 30 parts rather than the 150 parts of the real world track chain and with print in place this is just 3 parts to connect for the full chain. It's the easier system and less error-prone, less fine tuning needed.
Optional Upgrades
XRP Rain Cover
Print one XRP rain cover for some environmental protection. Select from 4 different clip sizes, pick the ones that fit the best to your project. you need 2 for the cover.
XRP Track System Rail Extension
Extend your XRP with more rails for more sensors. Use the clip that came along with the system. The long notch along the rail has to face towards the side plate. I know it would look cooler the other way. But the sensor rail has a certain shape and it's not flat, so for best functionality it has to point inward.
Real world track system (RWTS)
Print List (per side):
- 30x Track Links - 60x Track Safety Locks - 60x Track Connectors - 3x Drive Sprockets - 1x Drive Sprocket with Gear - 2x Drive Sprockets Connectors - 2x Axis - 4x Axis Safety Rings - 1x Transmission Gears - 1x Transmission Shaft - 6x Transmission Shaft Security Rings - 2x Drive Side Plates - 1x Drive Stabilization Frame - 2x Drive to XRP Clips Optional, recommended
- Soldering Iron / some glue - Zip Ties - Flat Pliers Zip ties because, don't forget the rails are actually intended to hold a sensor of like 10g :D
Print settings
The track links file contains already a small brim to ensure flawless printing. The outer parts of the track links are quite sensitive. If you got issues while printing, it's good enough if you use e.g. a modifier cube and reduced print speed for only those sections.
Same for the axis and the shaft, slow down the parts where a lot of overhang / sensitive structure is, you can also use variable layer height to increase details.
Also rather than printing e.g. all safety locks on one go I made better experience to use “by object” printing rather than “by layer”. Due to the very low height of the connectors and safety locks I could almost ignore the extruder clearance radius and set it to a very low value. But this might require some trial and error. I would not recommend using a brim, ain't that funny to remove it from that many small parts.
But you do you, you know your printer the best. :)
Also ensure the clip's seam is not inside the clip. this will drastically decrease how good they'll hold on your frame.
Assembling Instruction
There are also pictures that might help you visualize how to build everything together.
Safety Ring Tool
The safety ring tool can be used to place and remove both types of safety rings. It is also useful to remove the track brim and when you're disassembling the tracks you can use it to remove the locks and push out the connectors.
Assembling the track
I would recommend to start with just few track links, safety locks and connectors to see if everything fits well together with your printer settings. Once this is done you can start printing all of them and assemble them.
The track links contain a small manual brim that needs to be removed. It's the small part between the two cylinders on both sides. It can easily be removed with the safety ring tool
Start:






Названия используются только для указания источника результата. Polyzon не аффилирован с перечисленными площадками.