
Бесплатно 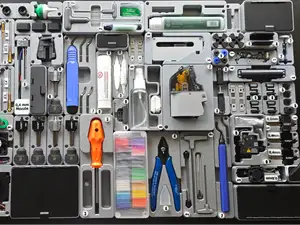
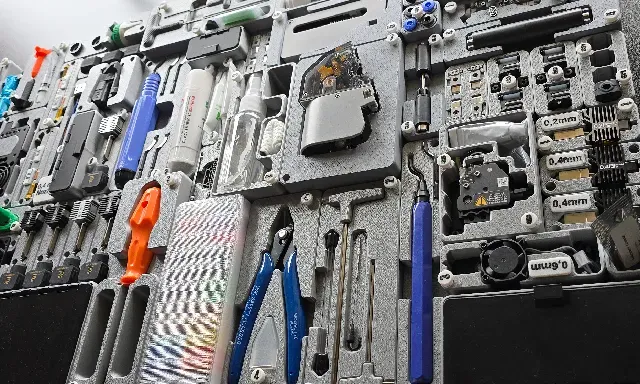
UMSS - Universal Modular Storage System
MakerWorld





Disclaimer
This project includes some modules that will be only available for members of printables.com " my club " or by purchase . Nevertheless most of them will be gives for free, the other parts is a way to support my work, surely you will understand if you value my work. Thank you for your support!
Introduction
TL;DR (resume)
The design starts with a 150x150mm tile, optimal for small FDM printers while allowing a margin for easier handling. It offers versatile configurations for larger printers by combining tiles in various sizes. The minimalist design reduces material use and printing time, and it's stackable for space efficiency. The project is built to allow future upgrades and has been rigorously tested for optimal performance. Contributions to further development are encouraged. While some may critique or copy the design, respectful feedback is welcomed.
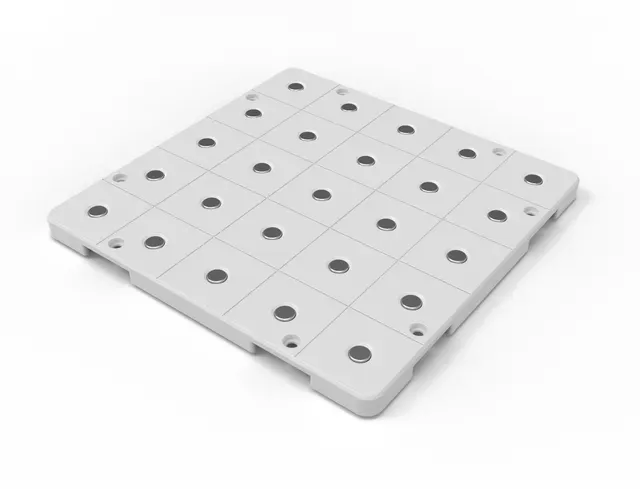
Everything starts with a 150x150mm tile. Why this size? Because it’s roughly the maximum that smaller FDM printers can produce. You might ask, why not make it 180x180mm since many small printers can handle that? The answer is simple: a margin is needed, and I thought it would be easier to create multiples of 150mm.
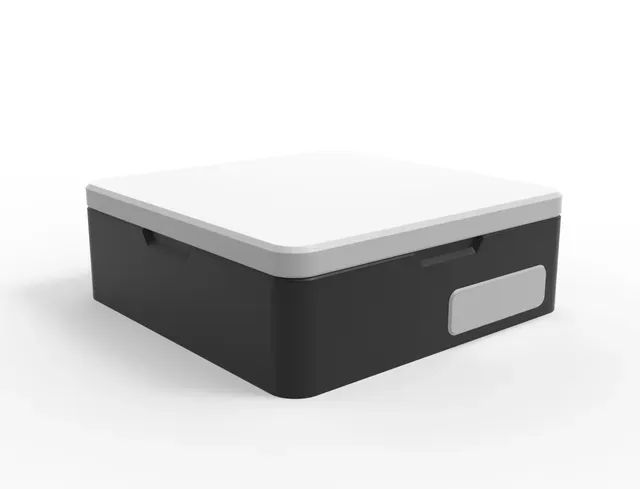
If you want to create a box to protect your spare parts, you’ll need more space to print it in a single piece, which brings you closer to the limits of what a smaller printer can handle.
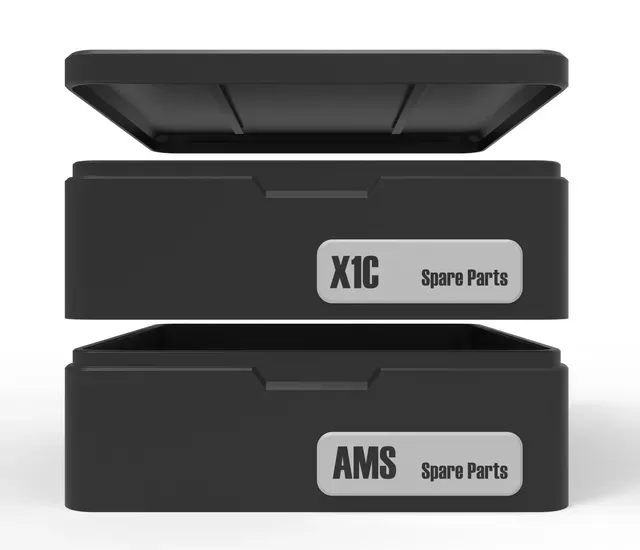
A lid to protect from dust and help identify the contents can be added (more on that later).
The label on the top and side is just an example; a clean version is also available.
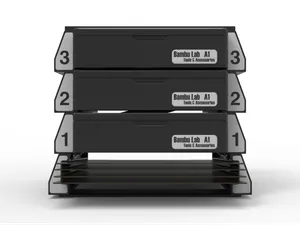
A rack is also available for storing boxes and build plates
For larger printers, it’s just a matter of adding more tiles. I’ve designed some submultiples to fit most printing beds:
- 5x5 (150x150mm) - 5x3 (150x90mm) - A special 6x2 (180x60mm) Here are some configurations you can create using the tiles:
You can combine the tiles in many ways. If you’re thinking about mounting them on a wall, you can go as large as you need.
For printers with a 250x250mm bed, you can use:
- 1 tile of 150x150mm, which will give you a box like the one shown in the image above. - To create a box or a case: - 1 tile of 150x150mm, 1 tile of 150x60, 1 tile of 210x60. This will give you a area of 210x210mm. - The tile 210x60 can be found under the file name “ 210x60 Special Tiles.3mf ”. I've made a special file since it is not compatible with all printers, the minis are one of them… - A special tile of 240x240 will be made available is someone needs it… The layout should be like this:
For the Prusa MK, a special configuration is needed since the bed isn’t square:
- 2 tiles of 150x90mm and a special one with 180x60mm, giving you a composite tile of 210x180mm. For the Creality Ender 3, with a 220x220mm build plate, you can use the same configuration as the Prusa MK.
Prusa MK and Ender 3 possible configuration.
For other printers like Elegoo and Anycubic , you can mix the tiles to match your bed size, minus 10-20mm.
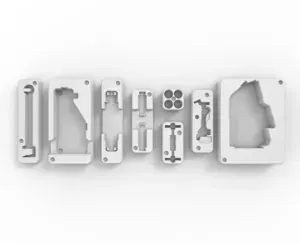
Blank modules
Empty modules for your creations are available: UMSS - Blank modules
Why this design?
- Simple forms and clean aesthetics: To minimize material use, reduce printing time, and minimize supports, making construction and handling easier to maintain. - Versatility: Allows for future upgrades, such as additional modules to be released soon (not just for printer parts, but similar to the Rack for MMSS ). - Stackable: Saves space.
Extensive work has been done to ensure the best performance for a 3D FDM printed part. This is reflected in the design’s various features, which result from numerous tests during development. I encourage everyone to contribute to these projects by joining "my club" or purchasing one of the available modules.
Some may say it’s simple and useless, others may accuse it of being copied, or they might copy it despite the license. Some might consider it a waste of time. To them, I say they are free to comment as they wish, as long as it’s done respectfully.
UMSS VS MMSS and some applications
TL;DR (resume)
The UMSS (Universal Modular Storage System) is a versatile, magnetically fixed storage system designed to work with almost any 3D printer with a print area of 150mm² or larger. It offers advantages over the older MMSS system, particularly in ease of assembly with magnetic components, though it requires additional materials like magnets and screws. The MMSS, which uses printed elements for fixation, remains a viable option with no additional costs, though it requires precise filament calibration. Both systems can be used in various configurations, including drawers, boxes, or wall-mounted setups, with UMSS being easier to assemble but potentially limited by printer size.
UMSS stands for "Universal Modular Storage System." While it differs from the MMSS, it inherits many of its features. However, UMSS offers some notable advantages, especially its versatility. It can be produced on almost any printer with a print area of 225mm² (150x150mm) or larger, including models like the A1 mini and Prusa Mini.
The goal was to create a system that includes everyone. To achieve this, the design was rethought, with significant changes, particularly in the use of magnetic fixation. After carefully considering the pros and cons, the advantages of magnetic fixation outweighed the disadvantages. It's important that users make informed decisions, so I'll outline the differences. First, it's important to note that the MMSS is still a solid option and will continue to receive updates and new modules. For those who already have the MMSS, there’s little reason to switch to the UMSS; consider them as two different options:
UMSS : Uses magnetic fixation for the modules and screws for the structural elements. This requires purchasing screws, nuts, and magnets. For a 150x150mm base, you’ll need 25 magnets for the base and possibly another 25 for the modules, totaling 50. The cost for these magnets is about $5 (as of July 2024 on Bambu Lab - Maker's Supply; prices may vary on Amazon).
MMSS : Fixes all elements with printed parts, requiring no additional purchases with hardware parts, just filament.
With UMSS, the magnetic force holds the modules in place. However, there are limits to the strength of magnets this size. My experience shows that advertised strengths are often exaggerated. The force is sufficient for the intended use, but it's important to note that the magnetic force doesn't apply directly at the contact point, creating a lever that amplifies the load.
In contrast, MMSS uses mechanical adjustments for fixation, which are sensitive to filament calibration. Changes in filament flow can cause dimensional changes that affect the fit. This is why I always recommend calibrating your printer before printing parts that need to fit together. Unfortunately, some people either don’t understand or don’t want to do this, leading to common complaints and the need for repeated explanations.
UMSS and MMSS can be used in various ways:
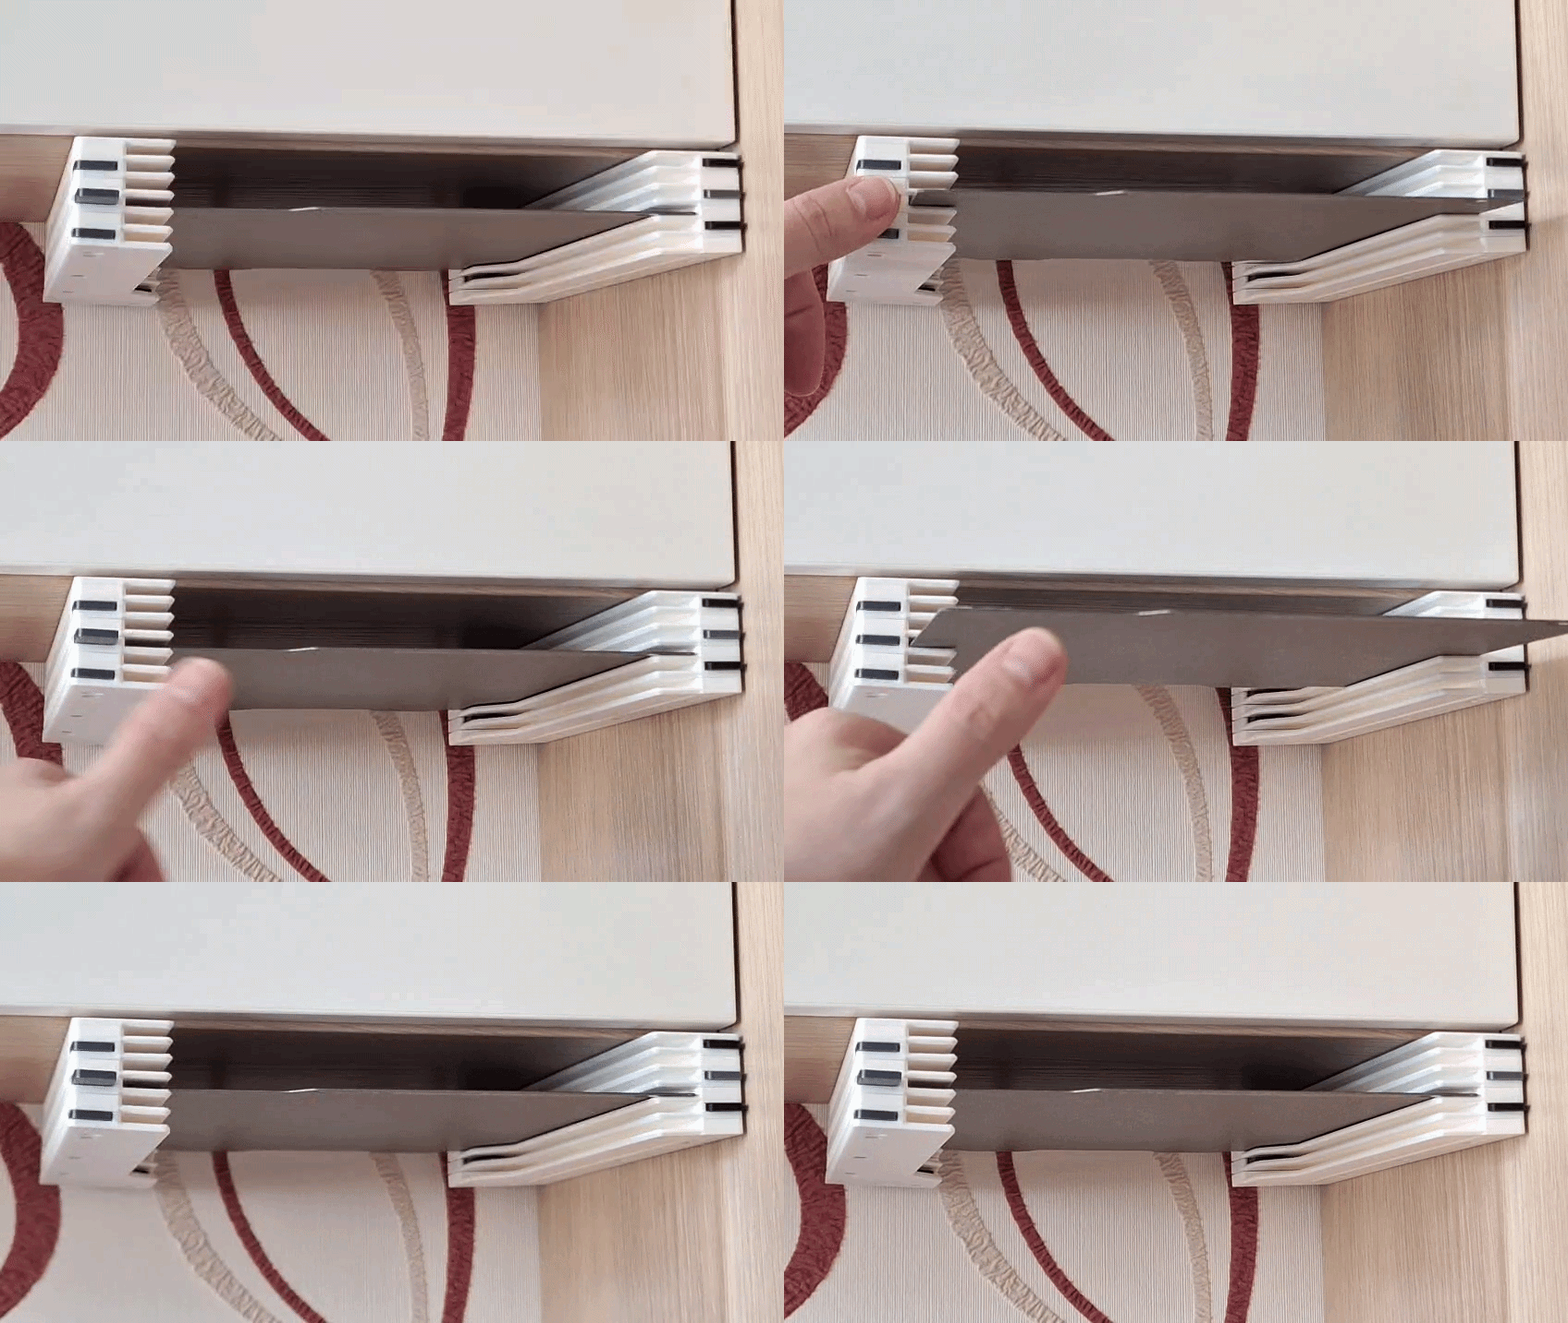
- Inside a drawer with simple or multiple tiles - As a box using one of the available frames and lids - Vertically on a wall Multiple bases can be combined to achieve the desired size. With UMSS, this is straightforward, but note that it may limit your ability to print larger elements if your printer’s bed isn’t large enough. For those creating closed boxes, additional bases will be made available.
And there are other possibilities…
Materials and calibration
Material is currently available mainly on the Bambu Lab site or Amazon:
- Magnets - CA008 (8x3mm) - CA007 (6x3mm) - Regarding this, if you planning on making a lot of modules remember that you will need magnets for the tiles and for the modules (for the modules you will need 6x3mm magnets), the 8mm option (stronger) is only for the tiles that you plan to use on the wall (vertically) - Bolts and nuts - BHCS screw AA057 (M3x6mm) , M3x5 is ok too. - Nut AB005 - Regarding this, if you are planning on making some modules it's best to by 5 to 10 packs for each - To help with vertical threading - Self-tapping screw - AA144 (BT3x12mm) - Hexagon socket, domed head. - Other - Super-glue may be required in some cases ( cyanoacrylate ). Before printing the parts, it's important to test a sample to ensure the magnet diameter is correct. The magnets should fit with just a bit of pressure to prevent them from coming loose. For this to work, both the printer and the filament must be properly calibrated.



Названия используются только для указания источника результата. Polyzon не аффилирован с перечисленными площадками.