
Бесплатно 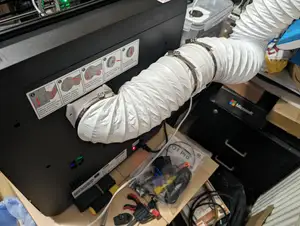
Qidi Q1 Pro 100mm Exhaust System
Printables
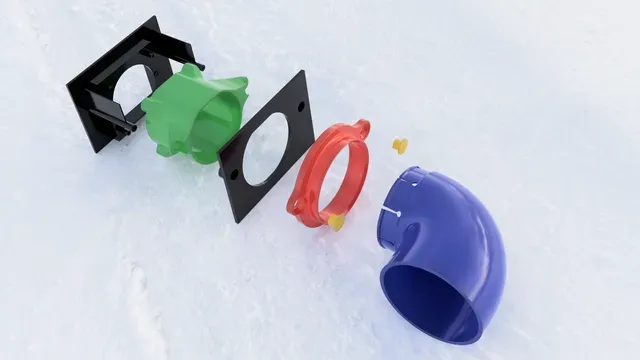


A print that improves heat management and ventilation on QIDI's Q1 Pro printer.
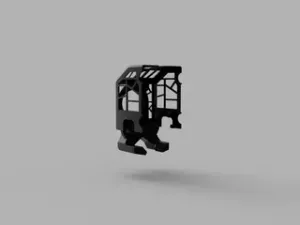
An internal duct guides chamber exhaust out of the machine's back panel. Adding this duct has three benefits:
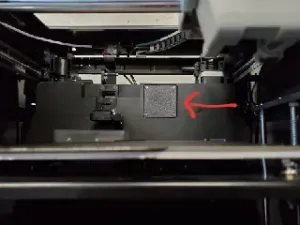
- * Your printer's power supply and main control board will run cooler, as they are no longer being bathed in chamber exhaust. - Unpleasant fumes from printing ABS or ASA will be better isolated and sent out the rear port; - The chamber exhaust fan becomes much more effective at moving air through the printer; you can turn the fan at a lower speed to conserve chamber heat, or run it on full to print PLA with the cover on. An exhaust port fitting attaches to the rear of the machine, with a swiveling 90 degree elbow. This allows you to route chamber outflow to an air scrubber or building exhaust. The elbow has a 3 inch outer diameter and can be used with common bathroom/dryer exhaust ducting.
FILES
- The ....3mf file is as I plated and printed using OrcaSlicer. I used clear PETG with a 0.4mm nozzle and 25% infill. I also added modifiers to enforce 100% infill on both ends of the elbow, the flange mounting holes and bushings, as shown in the screenshot.
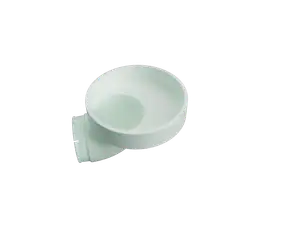
- duct.stl is the internal exhaust duct. It fits under the rear panel of the machine, onto the back of the chamber wall, fitting around the screw posts. Print with the flat side down, the end with two ears.
This file includes two bushings, that are used as built-in supports. Because of this your slicer may give a warning about a cantilevered bridge; this can be ignored. After printing, separate the bushings with a utility knife, they will be used to attach the flange in the next file.
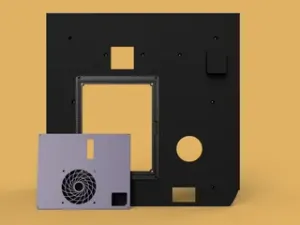
When installing, you may also consider cutting out the grille on the back panel, which hampers airflow. The duct will fit over the recessed posts on the back panel and serve as a template for you to mark the cut.
- Swivel flange.stl is the flange which mounts outside the rear of the printer and accepts a snap-in fitting. It prints with the flat side down. It installs to the back of the printer using the bushings found in the previous file, using a pair of size #6 by 1-1/4" long screws and washers.
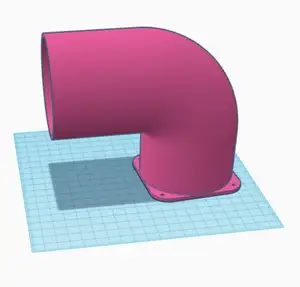
- Swivel elbow.stl is a 90 degree elbow that snaps in to the flange. The outlet end has an outside diameter of 3 inches, for use with dryer ducting. Plate the elbow standing up at a 45 degree angle which maximizes its height, with the snap end on top. I used grid-style supports and also checked “supports only from build plate.”




Названия используются только для указания источника результата. Polyzon не аффилирован с перечисленными площадками.