
Бесплатно 
XRP Caster Remover Tool
Printables


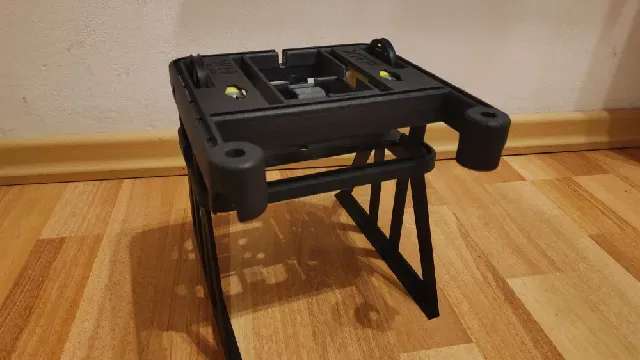


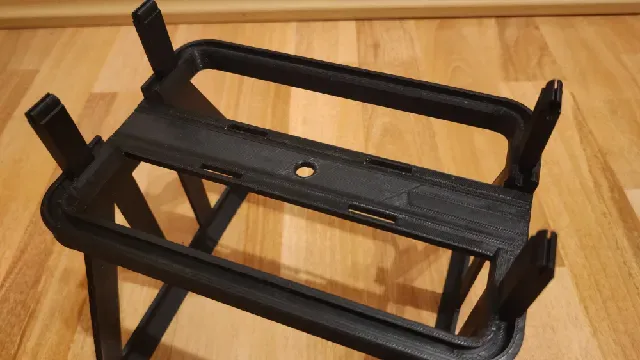
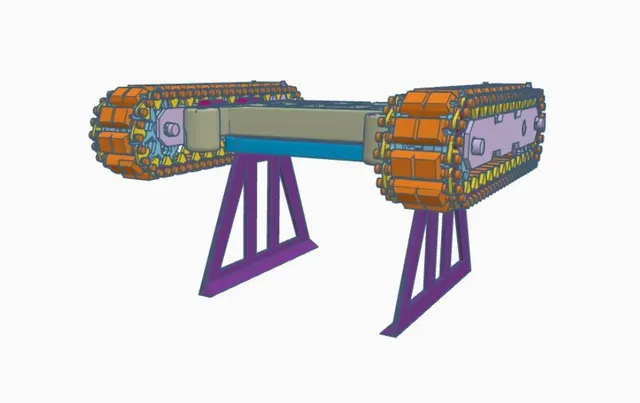
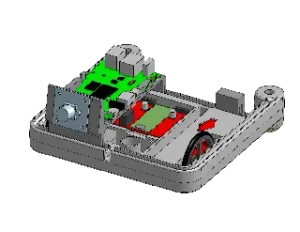
With all my vehicle mods I thought it's time for a maintenance and display rig. It will especially help with function tests of all motors. Have a look at all my other mods , so you got something to display or maintain. :D
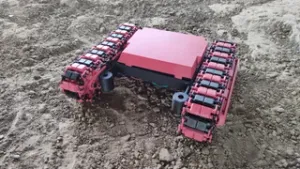
- XRP Track System - XRP Boat Mod - XRP Offroad Mod - XRP Big Boy - XRP Mecanum Drive You can mount the XRP horizontally and vertically. The maintenance and display rig has enough clearance so you can program and test run a lot of vehicle setups. That's especially more important for bigger programming projects like setting up the XRP Mecanum Drive .
It has a desktop stand to print as well as a slot for a ¼" heat insert. In case this doesn't ring a bell, it's the default size for tripods and all kind of camera pods.
I decided for a heat insert rather than a 3d printed thread because tests have shown they are superiors in any regards. But remix culture is allowed, so feel free to add it yourself or convince me otherwise.
I was also considering a GoPro mount, but I couldn't figure out if the patent is still in place or if it already has become public domain. If you should have any details on that and would like to see it being added leave me a comment with the details.
Print List:
- 1x Maintenance/Display Frame Depending on your needs:
- 2x Stands, either 100mm or 130mm height - 2x Clips - Any Number of Brackets Print Settings:
Ensure the clips seam is not inside the clip. this will drastically decrease how good they'll hold on your frame.
Assembly:
Put the frame together, either you use the provided stand or add a ¼" heat insert. If you're using the provided stand, both parts might have a bit of an elephant foot and might fit tighter then they are. Insert and remove them few times to loosen it up. Eventually it should be easy to remove the stand and not feel like it's soldered.
Mount your XRP
Either use the provided clips to mount the XRP vertically or the brackets to mount it horizontally. The brackets can be placed anywhere on the frame to have the maximal flexibility with sensors and other attachments. Also you can mount your XRP upside down.







Названия используются только для указания источника результата. Polyzon не аффилирован с перечисленными площадками.