
Бесплатно 
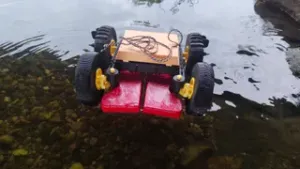
XRP Boat Mod
Printables

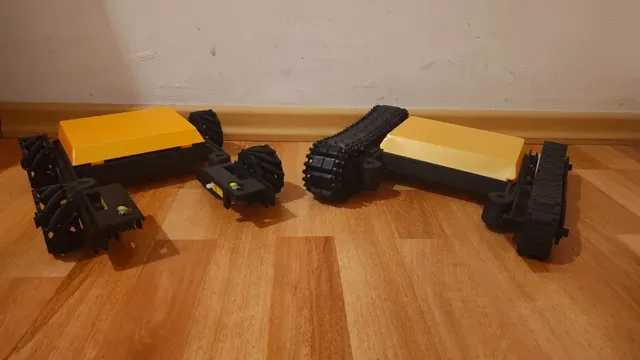

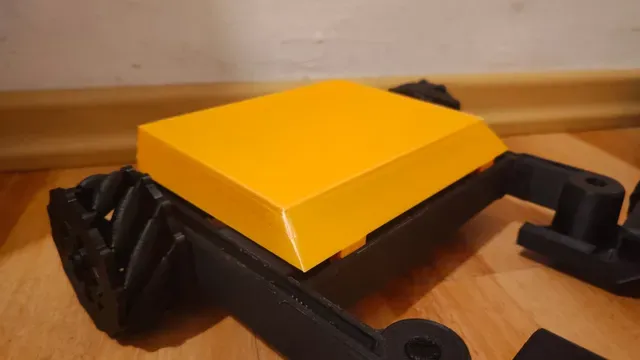
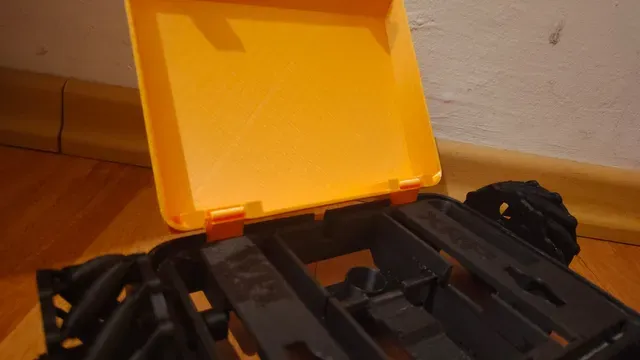
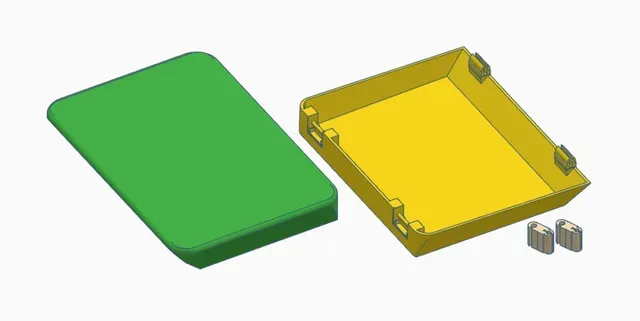
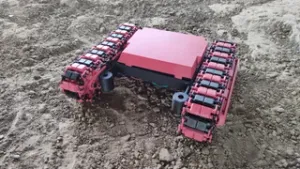
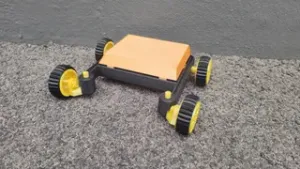
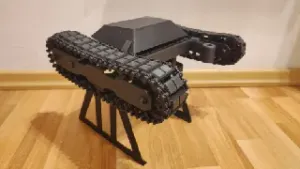
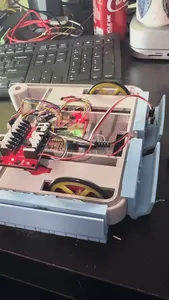
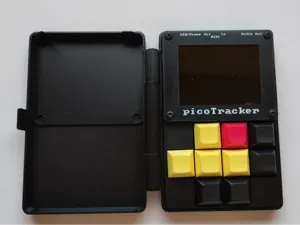
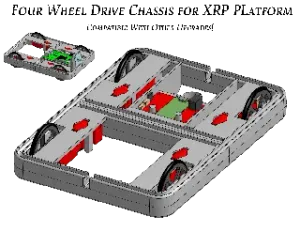
2 new enclosures for the XRP. One is a vase print, the other one uses hinges. There are different hinged versions, depending if you're using the internal or external wheels. The other mods are for showcase and are not required. But you'll find the XRP Track System and the XRP Mecanum Drive here. Also check out my other models if those XRP mods made you curious. In case you don't already own an XRP, here's the link to the official XRP Robot on Printables . :)
Note: while this adds some environmental protection, electronics and water are still no friends. it might protect your hardware from small spills, but won't make your XRP waterproof.
Vase Cover
It prints really fast and uses very little material. It only consists of 1 wall, so depending on your nozzle this might up being very fragile. Also you need to have a decent filament and good settings with high adhesion between the layers to prevent separation. Also you will have to make 2 cuts, or recommended use a soldering iron or e.g. a fire lighter with a paperclip. I would see this more as an decorative mod, so all your electronic isn't exposed, but outdoors even a strong wind might blow it away.
Hinged Cover
This cover is more robust and sturdy. Due to the way the front clips are printed they are a bit fragile, but I increased their slot cut to decrease the stress on them, but still be gentle to them. The other ones have to be separately be printed so they can be robust, because they will be the permanent connection to your XRP.
Print List
- 1x Vase Cover or
- 1x Hinged Cover, either for internal or external wheels - 2x Hinge Clips - pick the one that fits your project the best Additionally needed
for the vase cover you will also need to make 2 slots. Due to vase prints being fragile it would be best to go with a soldering iron or e.g. paperclip with a firelighter. But you can also use a side cutter, a knife or scissors.
Print Settings:
Vase Cover
You got to set your printer to print in vase mode. this will automatically change some of your settings. One of the most important mentions, it will only print 1 wall. So there is little room for bad adhesion, bad filament or any other printing issues. As always it's recommended to use the widest nozzle you got. But I got decent results with a 0.4mm nozzle. You might need to slow down the printing speed. Also ensure your filament is decent and well set up in the slicer.
Hinged Cover
there's not a lot to say. There's some build in support in the model at the hinges. Otherwise no support or brim is needed.
Assembly
Vase Cover
Once printed you need to create 2 slots to be able to place it on your XRP. I marked the position on the picture with a red permanent marker. But you can also just put your cover to the XRP and you'll see where it would overlap with the crossing sensor rail. That's where you need to add slots so it can fit in there. Once done it will nicely snap in place.
Hinged Cover
You need to attach the hinges to the cover, be careful with that, you don't want to put too much stress on the “beam”. Then put the hinged clips to your XRP. It technically fits both ways, I prefer the hinges being on the rear side of the XRP. Be careful when closing the front clips. They are a little bit redesigned to be a bit more sturdy, but due to the print direction they are still a bit on the fragile side. But if you're careful this usually shouldn't cause issues.



Названия используются только для указания источника результата. Polyzon не аффилирован с перечисленными площадками.