
Бесплатно 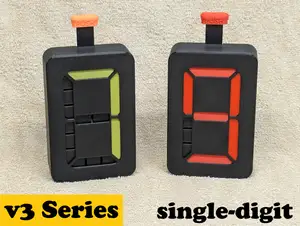
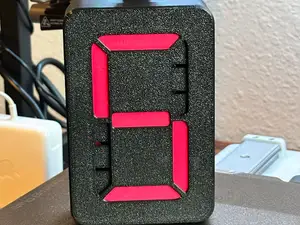
7 Segment Counter, v3.1, Single-Digit
Printables


UPDATE 12/2025
As some users reported that the springs become weak after a while, I reinforced them. I didn't test them so far, as my original version still works fine. But I hope, this improves the model and I'm looking forward for your feedback!
Why no rubber bands?
Because rubber bands always become weaker and brittle after a while. Replacing them with springs makes the model more reliable and durable.
You can use all printed parts from the original model. If you want to give the NO-RUBBER-BAND-MOD a try, you can download the parts, print them in a few minutes and install the springs into the original model. So give it a try!
How to assemble
- After installing the D-Segment, install the D-Spring. Do not install the rubber band!
Continue with the installation process as shown in the original video. But also do not install the second rubber band.
- Drop the segment plate with the installed segments and cams into the body.
- Install the spring_A+B and the spring_C as shown in the photo:
- Finish the installation process as shown in the original video.
How to print
It's a fast and easy print with no supports.
2 Walls
15% infill
I highly recommend using PETG, as it is more flexible than PLA or ABS.
2x spring A+B.stl
2x spring C.stl
1x spring_D.stl
or simply use the NO-RUBBER-BAND-MOD.3mf









Названия используются только для указания источника результата. Polyzon не аффилирован с перечисленными площадками.