
Бесплатно 
Creality Falcon2 Pro - No collision 22w/40w & 60w Crosshair Laser Holder w/ Switch
Printables
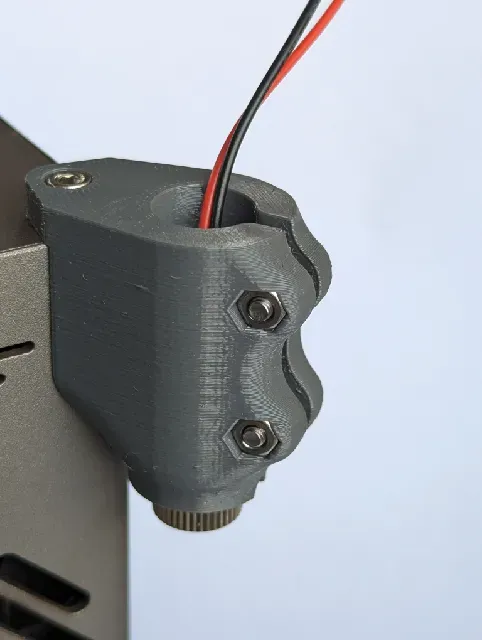
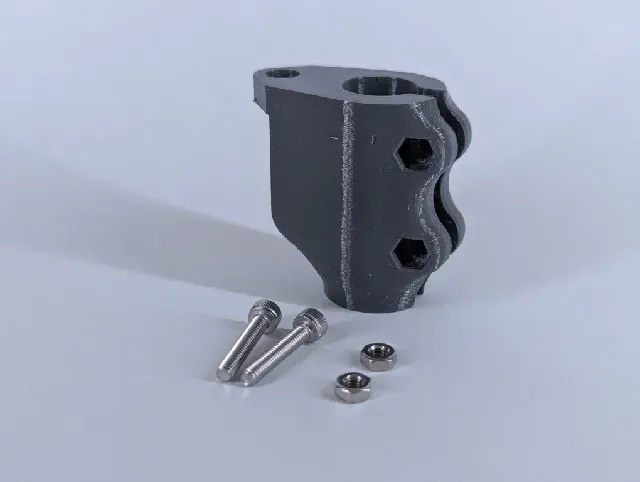

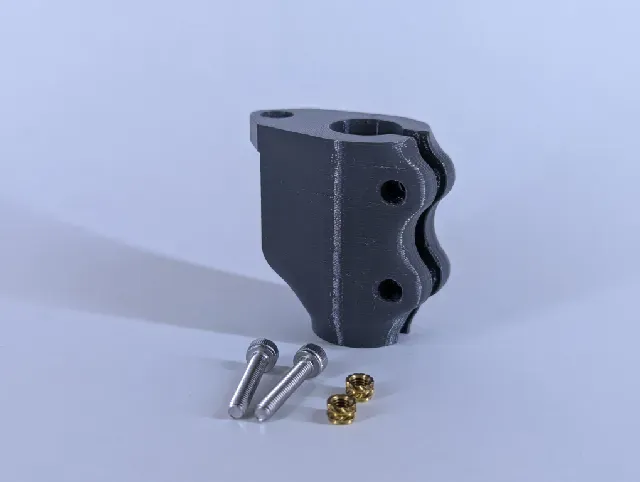
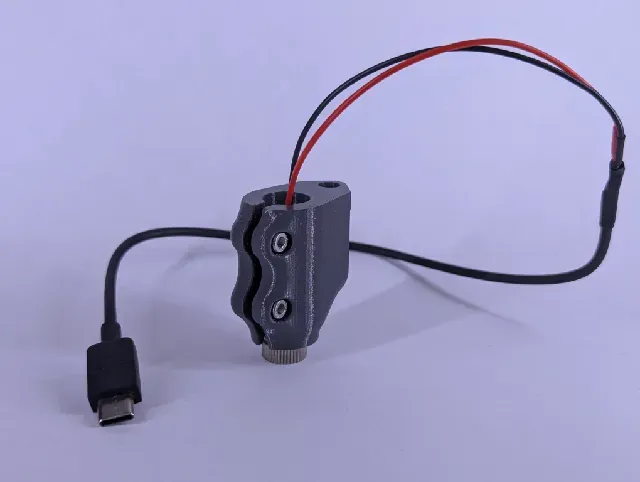


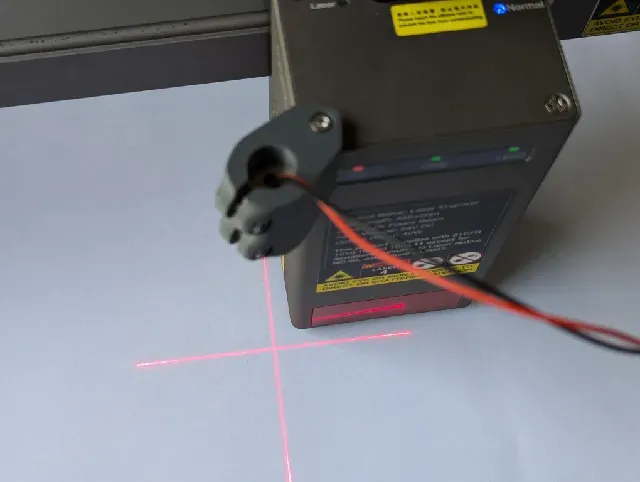
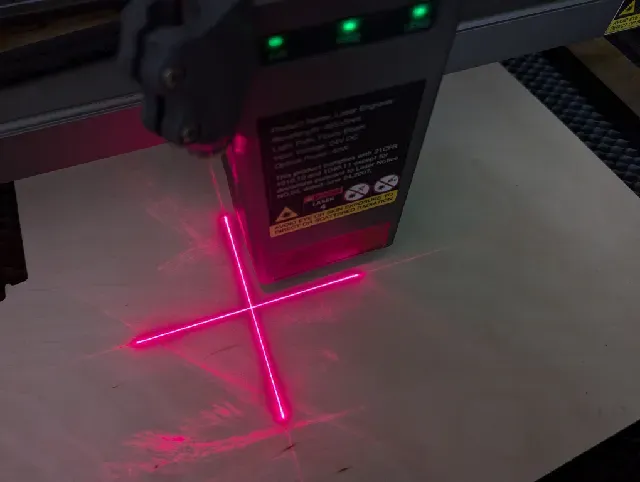
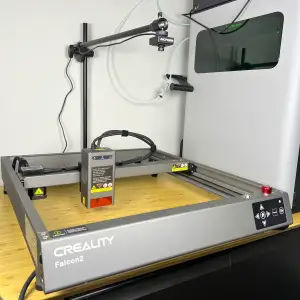
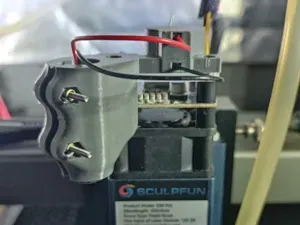
A robust, sleek and easy way to add an additional laser pointer to your Creality Falcon2 laser so it is easier to position over your workpiece, ensuring it starts wherever you have the laser set to, helping to maximize material usage.
It requires some simple tweaking of settings in Lightburn to work, but once you get it dialed in, its a great improvement and will speed up your positioning on laser cutting projects.
I have designed an option which uses heat set inserts for a sturdy joint, but I also have an option which uses M3 hex nuts instead as not everyone has access to press heat inserts in place - the functionality will be exactly the same with either model.
Before we begin, you will require the following items:
- 5v 12mm diameter laser pointer. The version I use can be found here: https://www.ebay.co.uk/itm/284487018220 - M3 x 8mm (x1) socket head cap screw - M3 x 12mm (x2) socket head cap screw - M3 heat insert (4mm long) (x2) or M3 hex nut (x2) - USB-C cable/pigtail. (I chopped the end off an old charging cable I had) The laser pointer I purchased had bare positive and negative leads, but to use it neatly with the laser, I soldered the ends to an old USB-C power cable. This allows the laser to be plugged directly into the top of the laser head using the USB-C port to get power.
To install, follow the below steps:
- Install the laser into the holder and lightly clamp down the two M3 x 20mm clamping screws to hold it in place, but lose enough that you can still slide the laser in and out a little.
- Remove the corner screw from the top of the laser head, I chose the front left screw when looking at the front of the laser. Keep this screw safe in case you ever need it in the future.
- Position the laser holder over the bolt hole, it should fit nicely into the rounded corner of your laser head. Fasten in place using a M3 x 8mm socket head screw.
- Being careful to wear eye protection, plug in the laser to the USB-C socket and check it works. - Focus the laser by pulling it up or down, and by twisting the lens until you get a crisp dot or crosshair on your workpiece. - Tighten down the clamping screws to hold the laser firmly once happy with its position. Thats all for the installation, but to make it work, we need to tweak a few settings in Lightburn.
- Open Lightburn and connect to your machine - Go to Edit → Device Settings . Under Basic Settings , there is a group called Laser Offset . - Enable pointer offset, and enter your offset values. - For reference, my settings are -43.5mm on x, and -34.25mm on y, but your mileage may vary.
For a full tutorial on how to change these settings, please see Lightburns documentation https://docs.lightburnsoftware.com/Guides/LaserOffsetSetup.html As for print settings, below worked well for me:
Ooznest Slate Grey PETG 0.4mm nozzle 0.15mm layer height Printed with the top face flat on the printbed, with supports enabled for just the bolt. All other features should print just fine without supports.
If you have a laser but no 3D printer but would like one of these, I can offer a full kit including:
- A 5v laser with prepared USB-C cable - A 3D printed mount with your choice of heat insert or nuts fitted - All the required hardware to fit this modification to your Creality Falcon2 Hope someone finds this as useful as I do.
Happy printing, and happy lasering!
Nathan





Названия используются только для указания источника результата. Polyzon не аффилирован с перечисленными площадками.