
Бесплатно 
Tension Meter for the GT2 belts of i3 MK3S+ or Prusa MINI+
Printables






Why did I wanted a 10mm belt on my printer?
Fast accelerating/breaking puts a lot of stress on the belt which can lead to unprecise positioning and overshooting the targeted position because of "micro-belt-lengthening" (belt acts like a rubber band).
So the benefits of a 10mm belt over a 6mm are:
.) more accurate prints due to better positioning quality
.) therefore faster printing speeds are possible
.) less prone to damaged/broken belt over long time use
I took some of the original Prusa Parts and modified them to fit the new belt.
As always none worked at the first try, so I had to go through several revisions/designs and test prints. (revisions shown in file names)
All of the parts are printed and built into my printer, working fine :-)
Lets take a look at the parts:
.) Prusa-i3Mk2-x-motorend-10mmBelt
Basically the original file. I just widened the hole, so the belt gets through.
You don't need other screws, just the original ones.
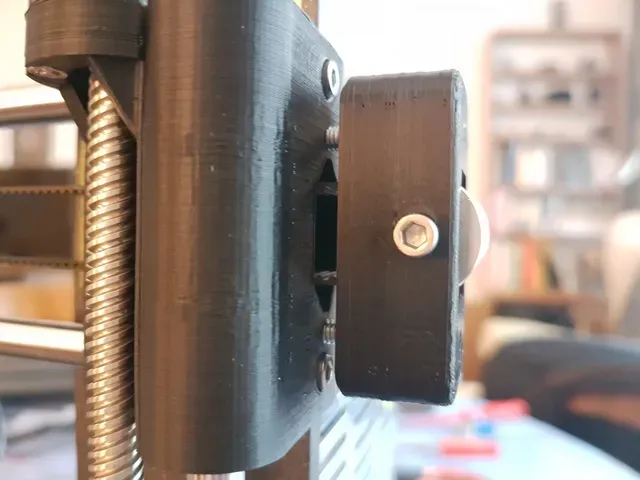
.) Prusa-i3Mk2-x-idleend-10mmBelt
Same as before, but on the outter side you recognice 2 new holes. There you put in 2 M3x20 or M3x25mm flat head screws. Screw them almost completely in but make sure they have the same height.
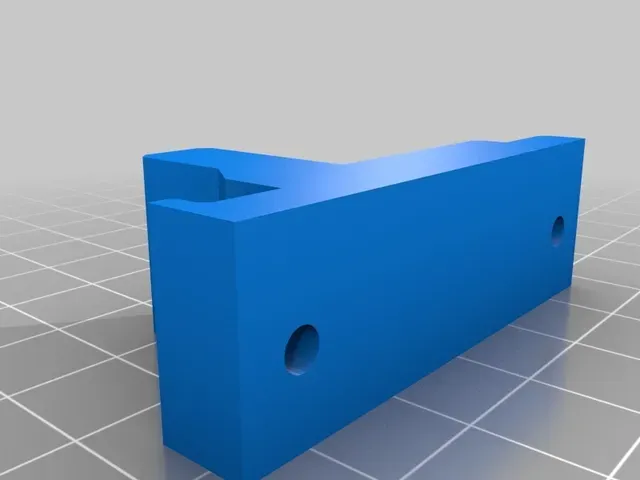
.)Prusa-i3Mk2-x-BeltTensioner-10mmBelt
Print this part with the slots on the upper side. No supports needed.
Once ready, mount the idle pulley with an M5x25 and slide it on the idleend.
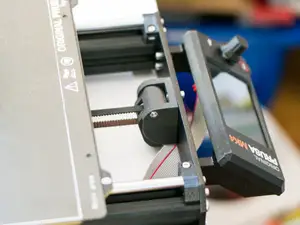
The 2.5mm allen key will fit right through the holes. To tension the belt, just evenly screw the 2 screws out of the idle end.
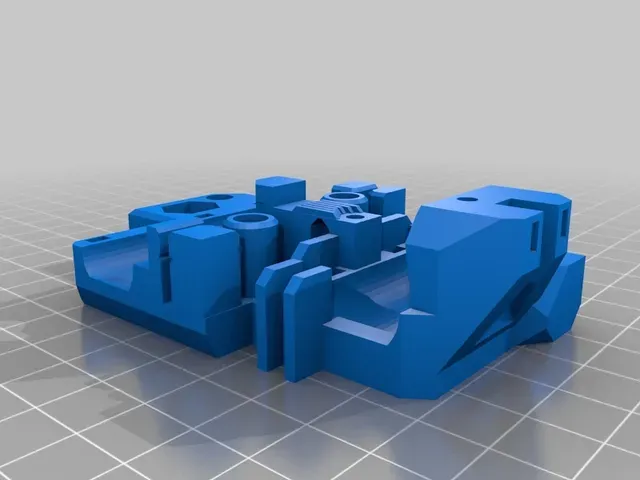
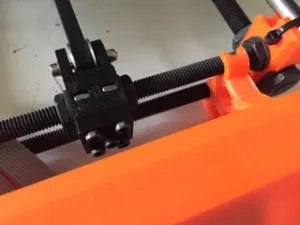
.) Prusa-i3Mk2-x-Carrage-10mmBelt
And another original Prusa part. I had to extend the towers where the belt runs around as well as some other areas. On this part you can use the original screws, nothing else required.
One detail: Because of the extension, the cable tie holding the cables can't go through the hole above the belt-towers. I just fixed the cable tie to the long screw where the cable guide is fixed.
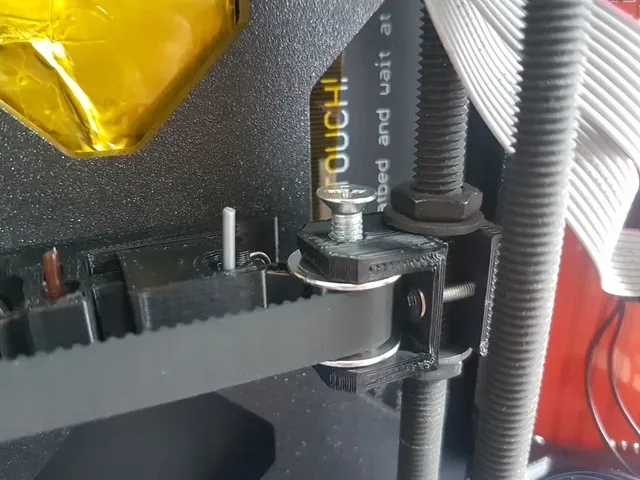
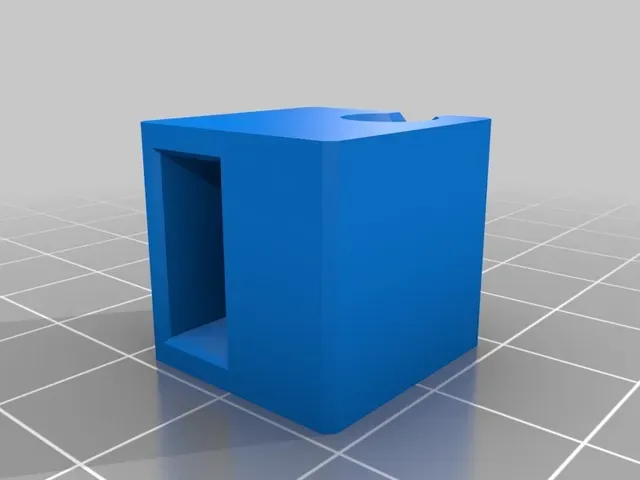
.) Prusa-i3Mk2-y-idleend-10mmBelt
I wanted a idle-end that can be replaced without dismantling the whole printer. So I designed this one where you can just put it over the M8 rod and then lock it with an M3x16 flat head screw. The screw also adds mechanical stability on the lower part.
After locking, just add the pulley with an M5x20.
Print this one with the slot open to the top.
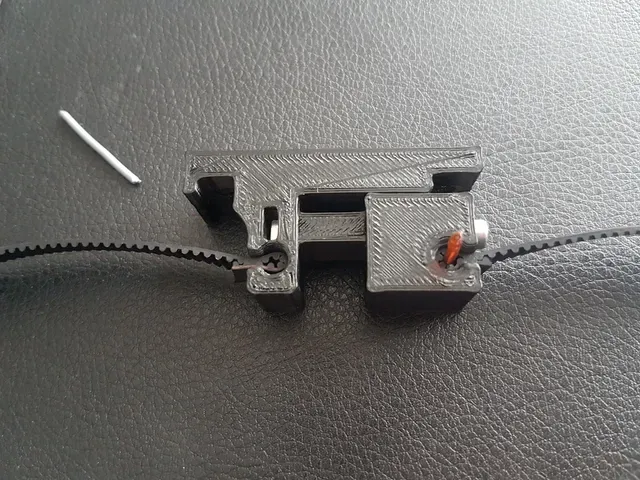
.) Prusa-i3Mk2-y-Beltholder-10mmBelt
This one consists of two parts "Beltholder1" and "Beltholder2".
Print both of them with the belt-slots open to the top. Only Beltholder1 needs support touching buildplate.
You can use the same screws to mount it to the printer.
For tensioning, you need a M3 square nut, as well as a M3x35 screw (maybe a washer too).
As a special detail for attaching the belt:
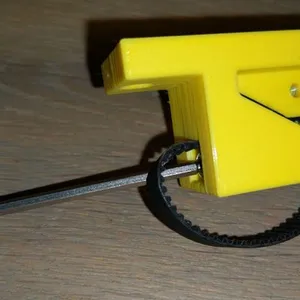
Just fold the belt tooth to tooth and slot it in from above. Press it down as far as possible. Then push the belt into the holder until the circle is filled out. You then should have enough space in the middle of the belt to push in a 15 to 20mm piece of filament to lock the belt.
Yes, it looks a bit strange, but trust me, this holds a lot of weight.
I wondered why no one ever came up with this idea.
.) Partlist
So beside the original screws which remain all in the same positions, you need the following:
1pcs M3x16 flat head screw
2pcs M3x20 or M3x25 flat head screws
1pcs M3x35






Названия используются только для указания источника результата. Polyzon не аффилирован с перечисленными площадками.