
Бесплатно 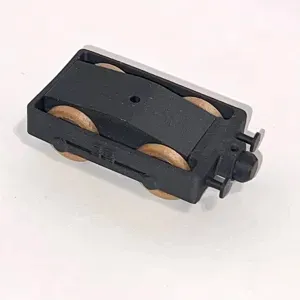
Universal Bogie Wooden Railway
MakerWorld


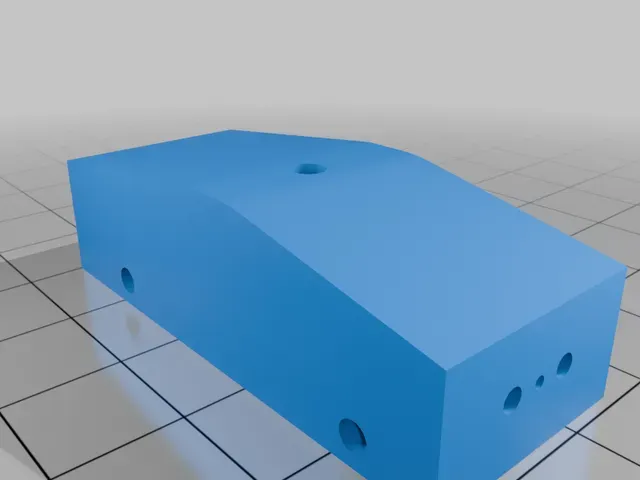



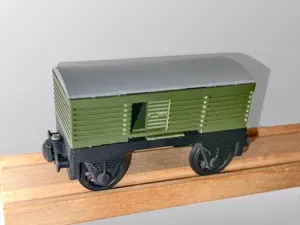
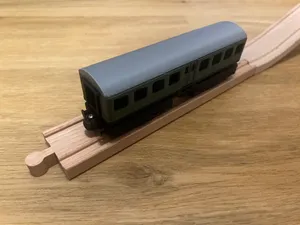
The universal bogie can be used for most of my models for the wooden railway.
2x ø2mm x 30mm length rod is required for the wheel axis
After the wheels are installed, the chassis is added
4x M2 x 8mm screw is used to fix the chassis to the body
One magnet of ø6mm x 3mm length is put into the magnet cap.
The cap is installed to the chassis and will be fixed with a M2 x 10mm screw.
The whole bogie can be mounted with a M2.5 screw (e.g. 20mm)
Required parts (non-printed):
1x Ø 6mm x 3mm magnet
4x M2 x 8mm screw
2x M2 x 10mm screw
2x ø2mm x 30mm rod
Printed parts:
1x body - Print settings: 0,2m height - 0,4mm nozzle - 15% infill
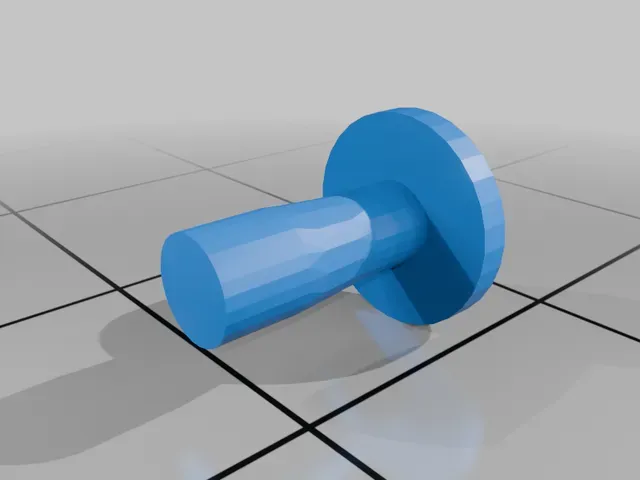
4x wheel - Print settings: 0,16m height - 0,4mm nozzle - 15% infill
1x chassis - Print settings: 0,16m height - 0,4mm nozzle - 15% infill
1x magnet cap - Print settings: 0,16m height - 0,4mm nozzle - 15% infill - 5mm brim
2x bumper - Print settings: 0,16m height - 0,4mm nozzle - 15% infill - 5mm brim
Step 1 - install axis
Install two metal rods Ø 2mm x 30mm. 2mm welding wire cut into 30mm can be one option for rods. Already 30mm sized Ø 2mm rods can be also found at Amazon: https://www.amazon.de/dp/B00LUT2M6U
Step 2 - adding wheels
4 times wheels are required. All wheels should not fit straight to the rods and should have some room for smooth movements. Depending on printer and material, wheels need some drilling with a 2.2 - 2.5mm drill.
Step 3 - adding chassis
The chassis can be only put in one direction to the body. One side is shorter than the other side. The shorter side is pointing into the magnets direction.
Step 4 - adding screws to fix the chassis
4 times M2 x 8mm screws are required to fix the chassis to the body.
Step 5 - adding magnet
Add a magnet of Ø6mm with a height of 3mm to the cap.
Step 6 - mount the cap
Mount the cap to the chassis
Step 7 - fix magnet
Fix the magnet cap with a M2 x 10mm screw.
Step 8 - install bumpers
Install two bumpers.






Названия используются только для указания источника результата. Polyzon не аффилирован с перечисленными площадками.