
Бесплатно 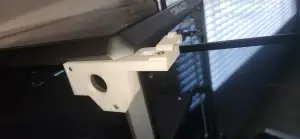
K1 Max - 90 degree door latch, self-latching & release
Creality Cloud


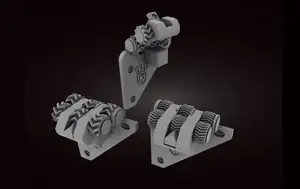
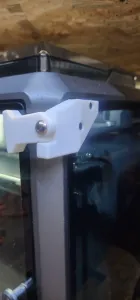
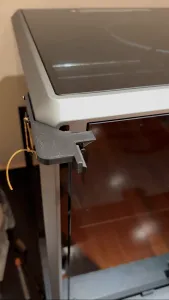
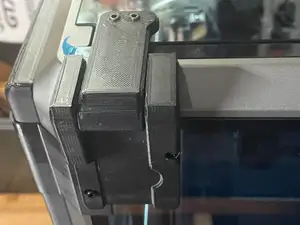
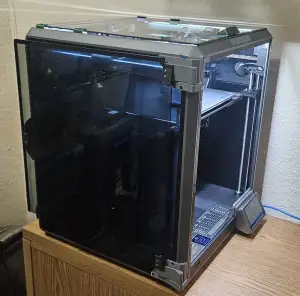
With limited space for my K1 Max, I needed a door latch to hold the door open in the default 90-degree position. I do not have the space on that particular side of my printer to allow upgrading to 270-degree hinges. I designed this automatic catch and release that is easy to mount on the existing side-panel holes at the top of the printer. It uses a flexible lever arm and small wheel to catch the door and incorporates a stopper to help prevent opening the door further than the default 90 -degree limit of the printer. There is no need to remove the door to install the latch. The door must still be opened with care but you will feel the wheel catching the door near the 90 degree position and then the final stop position.
Filament Material
I have printed with Creality Hyper-PLA but the design should work well with normal PLA and PETG that offers a bit of flexibility for the lever arm. The speed settings shown are for Hyper PLA, use lower speeds for other filament types like PETG.
Other requirements:
> 2 x M3, 6-7mm screws (Cap screws or machine head screws) to replace the two existing side panel screws > Very thin and strong double-sided tape to mount on the three inner surfaces to help secure the bracket part to the printer sides and reduce flexing.
Printing
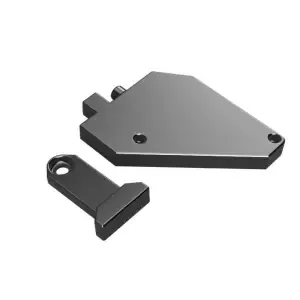
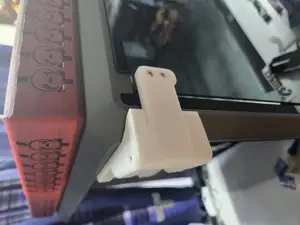
The project (.3mf) file already has the three small support structures to support the two sunken surfaces of the M3 screw holes in the bracket and the underside of the wheel from the plate surface. The wheel is printed as one component with the lever arm. You may use the STL files for the two parts but may need to apply your own support as indicated in the attached images. After printing just pull off the support on the underside of the wheel. The wheel will probably not turn straight away, use a knife to separate the wheel sides from the lever arm arches, it will clip loose very easy and the wheel can then be rolled between the fingers. If the wheel doesn't turn very easily, the catch and release function will not be influenced negatively, don't worry too much about the wheel turning, it is not really required for proper functioning of the latch.
Mounting
Remove the two left-side panel screws at the top of the door. Two little mounting studs on the insides of the mounting bracket makes it easy to position and align the bracket in the correct position. Double sided tape will help to hold the bracket in place so the new 6mm, M3 screws can be screwed in. The top-screw's length is not critical and a longer screw will also work. The lower screw is more critical and a maximum screw length of 7mm should not be exceeded. Use 6mm preferably to be sure. Mount the lever and wheel into position on top of the mounting bracket. It has a slotted opening to allow for a slide adjustment. Use any M3 self-tapping screw or a machine screw to mount the lever arm. The screw will tap into the plastic.
Test the door-catching action and adjust the lever arm position for proper catch and hold function.
Design file - Sketchup (included for your own editing)
Enjoy!




Названия используются только для указания источника результата. Polyzon не аффилирован с перечисленными площадками.