
Бесплатно 
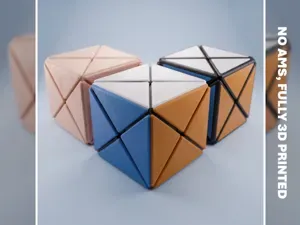
Print in place 1x2x3 Rubik's cube/Magic cube
Thingiverse


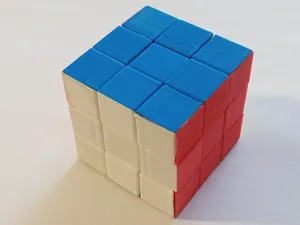
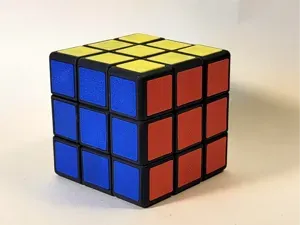
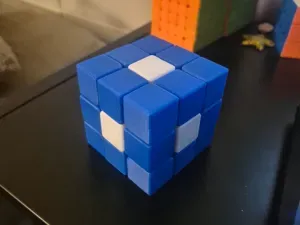
This is a simple miniature Rubik's Cube (40x40x40mm rather than the typical 56x56x56mm). It turns pretty smoothly for its size and doesn't catch too much. It also doesn't require any filing before assembly, just a couple of harsh turns on each side to free up the mechanism. The model DOES require supports, but they're pretty simple to remove and overall it prints well. It also requires superglue, which I don't like to use, but it's super easy and was just the simplest way to attach the two center halves. You could even tape the two halves together. If you want to check out my full-sized Rubik's Cube, which doesn't require superglue, click this link: https://www.thingiverse.com/thing:6897885
You can color the sides with markers or use any colorful stickers you have lying around. I even put different numbers of dots (like a dice) on each face of one of my test prints so that I could actually solve it.
ASSEMBLY: Snap the pieces out of the kit card. Put both halves of the center lying on a flat surface so that the parts that touched the build plate face up. Slot edges between the bottom center caps and each one adjacent to the bottom center caps. Then put corners in from the top so that they go between the edges you just put in. On one of the two center caps, put the remaining four edges over the corners. Put a little superglue on the exposed center and lift the other half of the cube on top of it. Press down and hold until the glue is dry. Finally, give it a few harsh turns to snap off any residue from the supports and get it turning smoothly. Filing the roughest patches would make it turn even better, but I've found it's not strictly necessary.
If a piece ever falls out, turn the face it fell out of 45 degrees and then press the piece back into place. It should snap back in.
You can find the documentation here: https://docs.google.com/document/d/13yiaAa5vNTZgO31OLB6HVwFxt13cSfAFpZfiMckpEIc/edit?tab=t.0


Названия используются только для указания источника результата. Polyzon не аффилирован с перечисленными площадками.