
Free 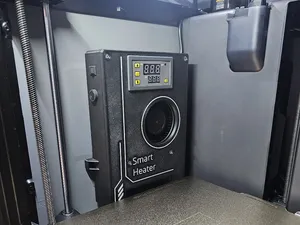
Bambu P2S - Smart Heated Chamber Mod 300W PTC
MakerWorld
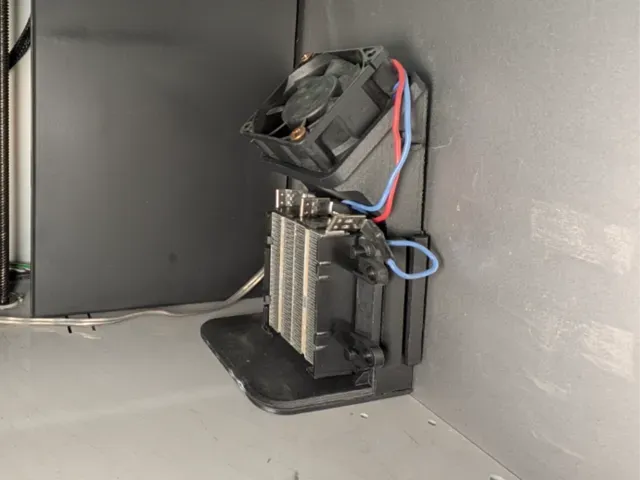
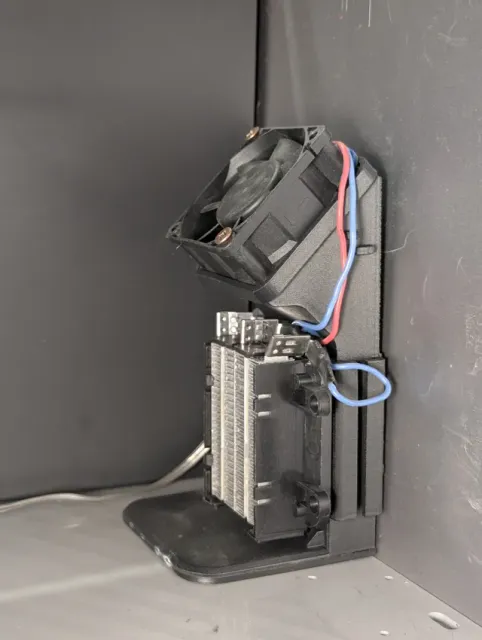
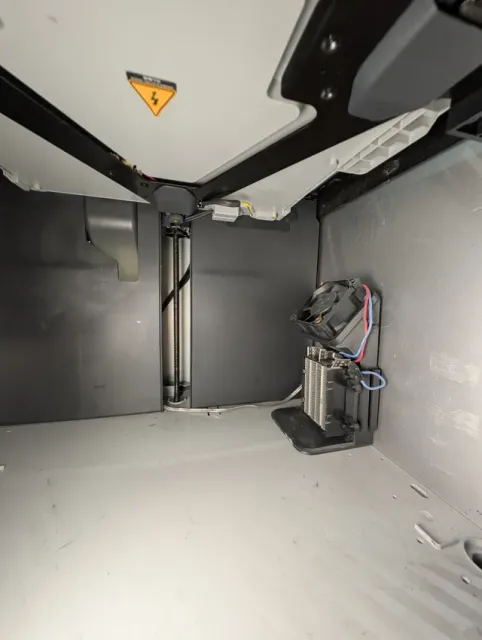
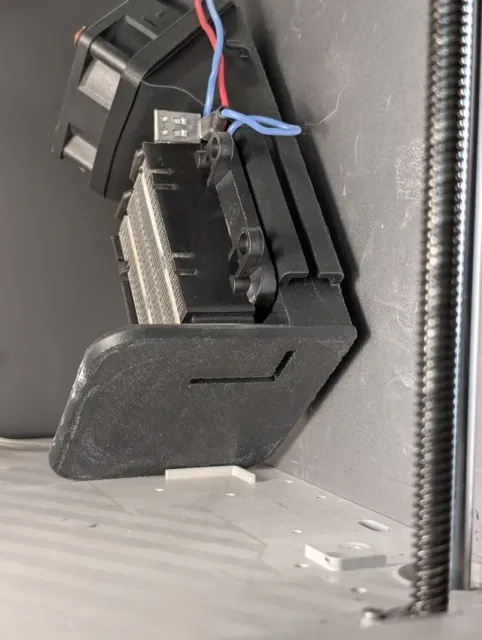
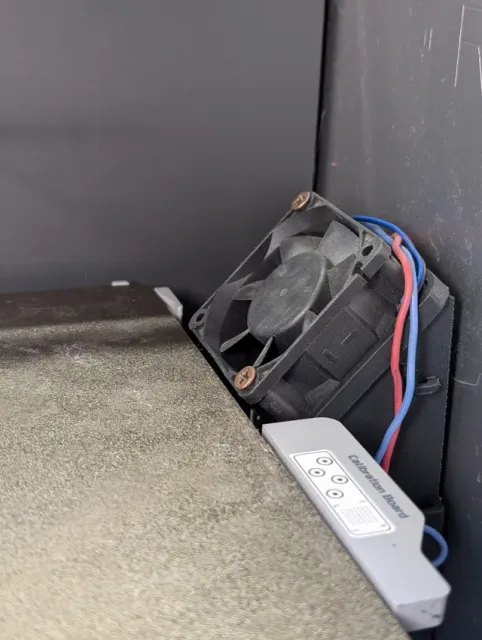
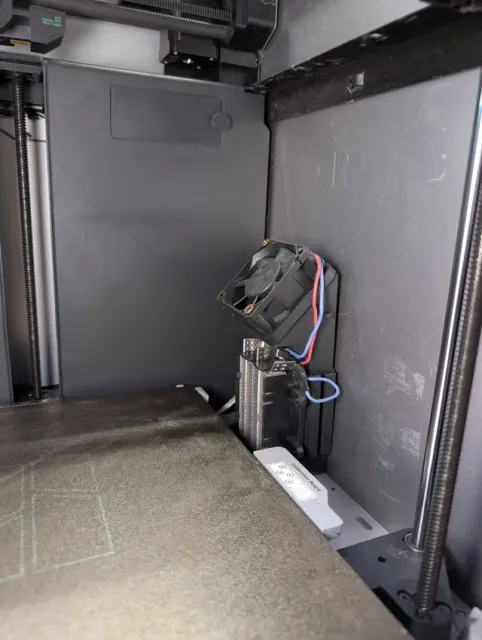
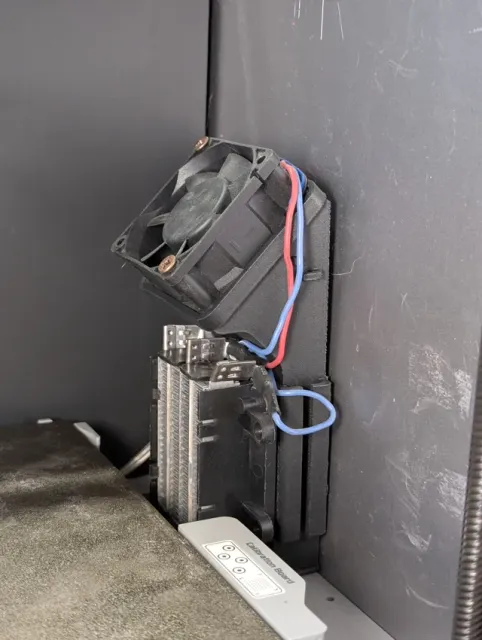
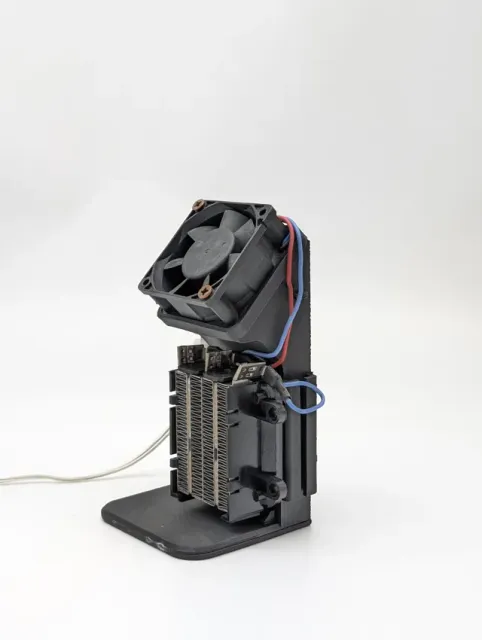
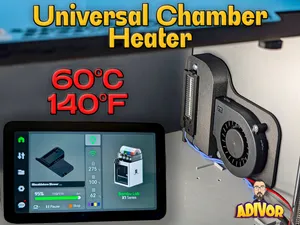
Take your technical filament prints to the next level with this active chamber heater for your Bambulab X1C! Designed for those who demand ultimate control over their printing environment, this accessory is essential for eliminating warping and improving layer adhesion when using materials like ABS, ASA, or Nylon .
This smart design houses a PTC heater and a 60mm fan, ensuring rapid and even heat distribution. Thanks to its precise fit on the printer's base, it remains stable without interfering with the build plate's movements. In testing, it can bring the internal chamber temperature to 55°C in just over 5 minutes , creating the ideal environment for your most ambitious projects.
What You'll Need:
- PTC Heater: The core component is a PTC heater element like this one . It's readily available or can be salvaged by disassembling a small plug-in fan heater, such as this example model . - Fan: A standard 60mm fan (e.g., 12V, already present in the fan heater and in the PTC heater element indicated). - Power Supply: An external 12V power adapter. - Control: A Smart Plug for manual control or a reliable automation system.
Assembly and Installation:
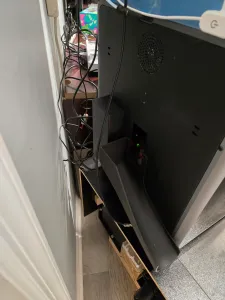
- Print the Model: Exclusively use ASA, ABS, or a material with superior heat resistance . PLA or PETG will deform. - Prepare the Heater: Gently bend the fins of the PTC heater to ensure a perfect fit inside the housing. - Assemble: Insert the heater and mount the 60mm fan on top, so it pushes air downwards. - Wiring: Route the power cables through the back of the printer, using the space near the filament poop chute. - Positioning: Clip the heater onto the "L" shaped ledge at the bottom of the chamber.
⚠️ IMPORTANT WARNING - READ CAREFULLY ⚠️ This is an advanced DIY project that modifies an electrical appliance. Use it at your own risk . Uncontrolled high temperatures can permanently damage your printer.
- Risk of Damage: Prolonged or uncontrolled use has caused warping of the auxiliary fan's plastic housing and sagging of the chamber floor . Monitor your printer carefully. - Temperature Control: External temperature sensors (e.g., compatible with Google Home/Alexa) have proven unreliable above 38°C. DO NOT rely on them for automation . The only reliable automation method is through Home Assistant , using plugins that can read the printer's native chamber sensor . Without such a setup, use a smart plug and actively supervise the process. - Liability: The author assumes no responsibility for any damage to property or persons resulting from the use of this model. Boost Me Do you like this project? Download the model and give it a BOOST to help me create new designs! Share photos of your prints and let me know how it has improved your results.
0.2mm layer, 2 walls, 15% infill




Names are used only to indicate the source of a result. Polyzon is not affiliated with the listed sites.
Comments 0
Loading comments…