
Free 
Framework Mainboard 19-inch Rack Mount
MakerWorld
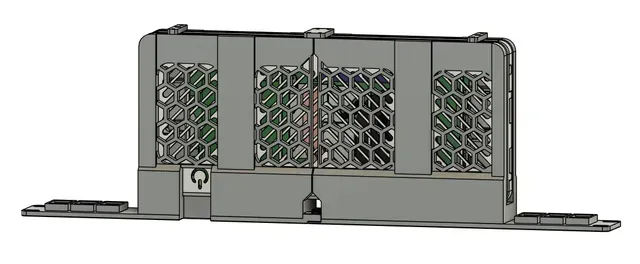
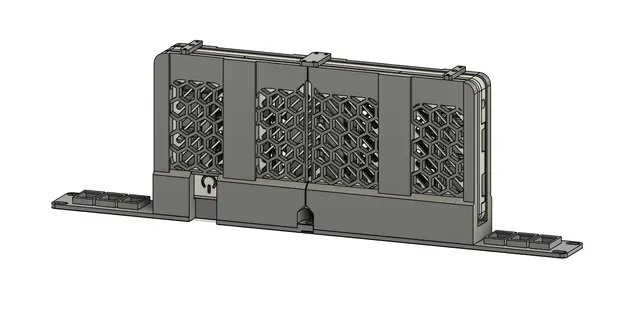
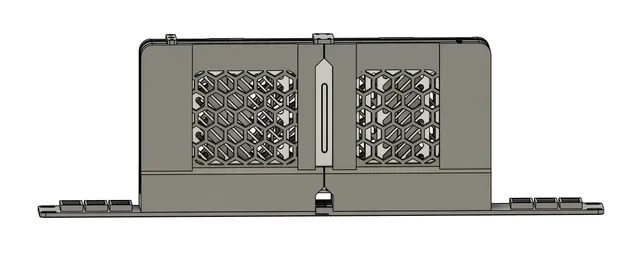
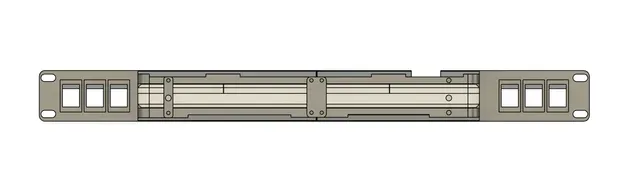
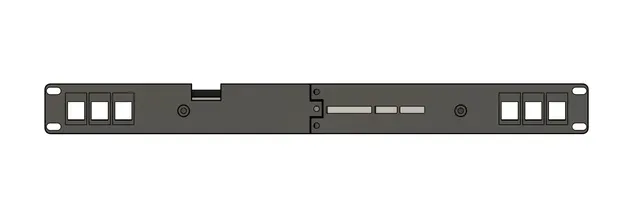
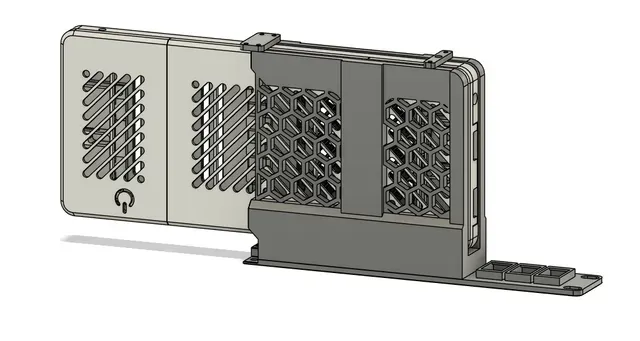
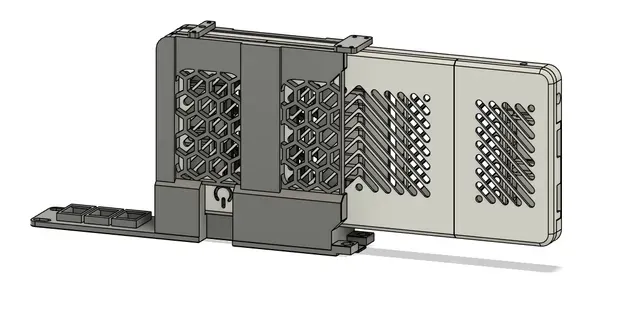
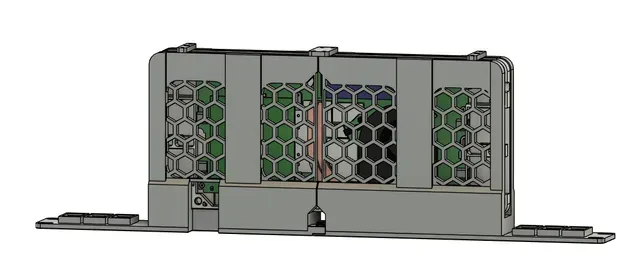
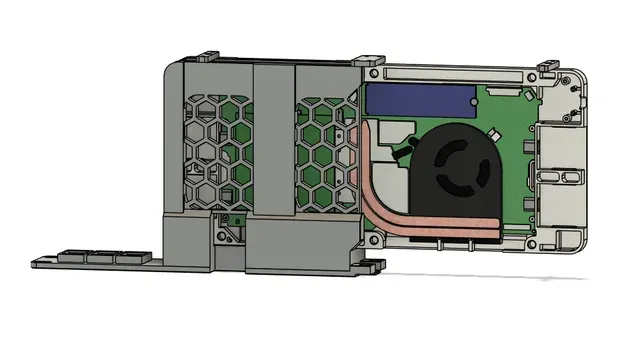
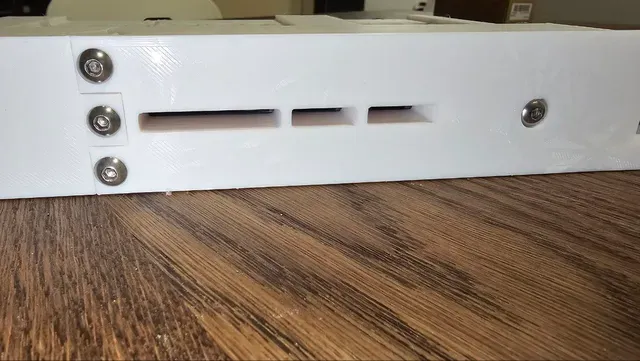
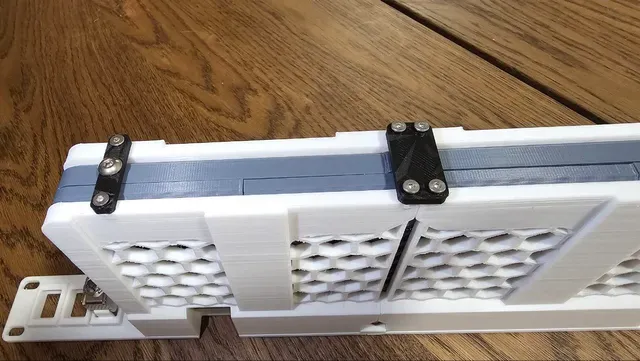
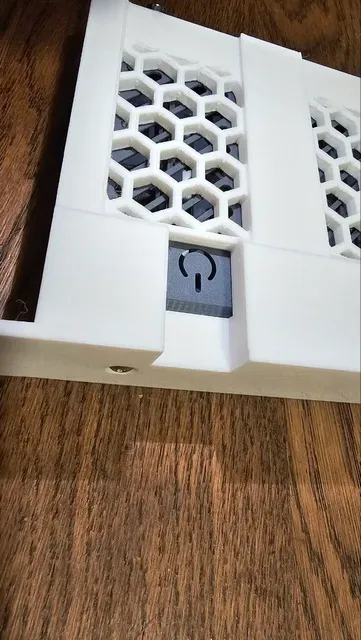
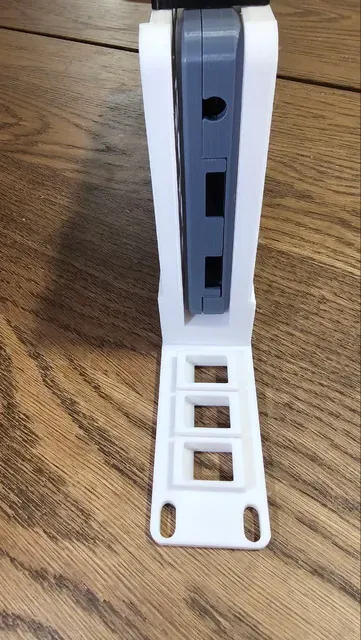
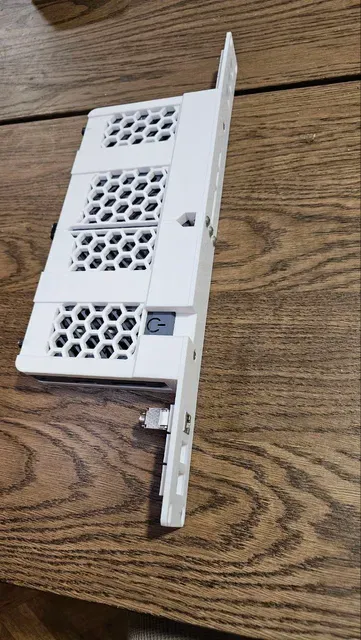
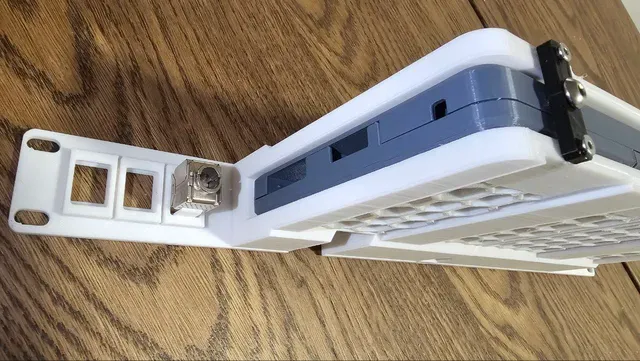
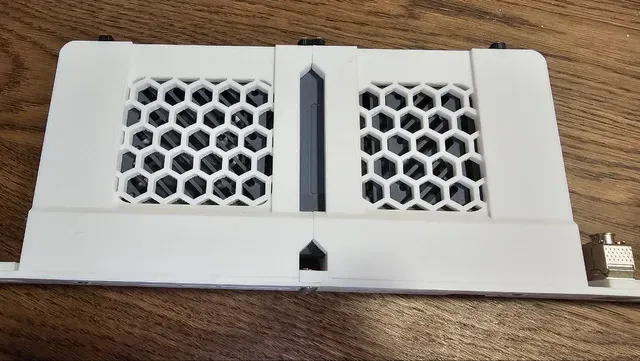
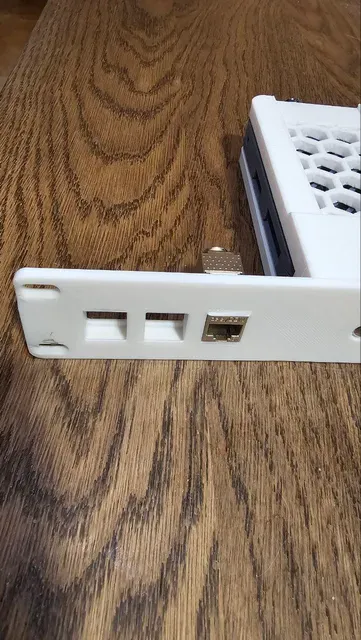
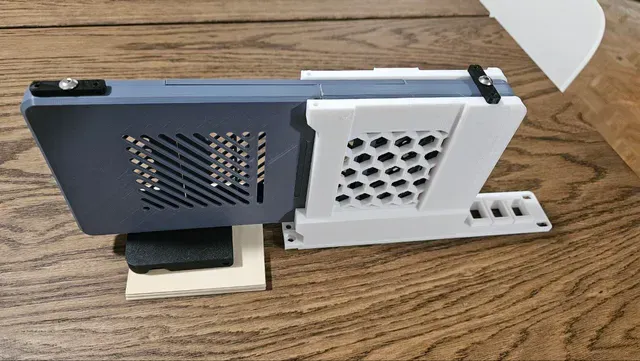
Inspired by my very first server, which happened to be an old laptop, I bring to you the 19-inch rack mount adapter for the Framework Mainboard. Breathe some new life into your old board! It can also be used as a desktop case if you don't want to rack-mount it anymore.
Do you like my models? Consider buying me a coffee ;)
Acknowledgments
This rack mount is heavily inspired by the Magmabow's remix of the original Framework desktop case . I remixed his model to fit on my 19-inch rack mount adapter, and I'm providing the modified version as well so it can be used in the rack. Huge thanks to Magmabow . :)
I have also used this model from Paul Lützner as a reference for the keystone adapters. Thanks!
Parts
- 3x M5x10mm screws (For joining the rack mount parts together). - 2x M5x25mm screws (To secure the board case to the rack mount). - 2x M5x14mm screws (To secure the back part of the board case to the rack mount). - 8x M3x10mm screws (To attach the back holders). - 8x M3 heat inserts. - 7x M5 hex nuts. - Optional: Up to 6 keystone adapters, for USB, Ethernet, Wi-Fi antenna, HDMI, you name it. Assembly
Case
- You can follow the same assembly instructions as the original case, however, before snapping the parts together, add the 4 M5 hex nuts into the corners with external holes, like the pictures below. - Then, add your main board, as you would do in the original case , and snap the parts together. Rack mount
- Before assembling the parts, add the 8 M3 heat inserts to the back of both Left and Right modules. - Then, To join the parts, insert the 3 hex nuts into the Left and Right modules. - Then, join both parts together by sliding them into place. Be careful not to bend the joints while doing it. - After that, add the 3 M5x10mm screws. The final result should look something like the example below. - After that, add the two M5x25mm screws to the front, but don't screw them all the way in, this will help with alignment later. - Slide the Framework case into the rack-mount, with the fan holes facing the front of the mount, and align it to the screws you just put into place. - Screw the front M5x25mm all the way in. - Get the Back_Holder_R, and screw it to the back of the rack-mount and case, using two M3x10mm and one M5x14mm. - Get the Back_Holder_Middle and screw it to the back of the rack-mount with four M3x10mm screws. This should firmly secure the rack mount modules together. - Screw the other front M5x25mm all the way in. - Finally, add the last back holder, using the remaining M5x14mm and M3x10mm. Optional - Keystone modules
- To add a keystone module, simply press it into place as you would normally do. The configuration is up to you! Print Settings
Rafts:
Doesn't Matter.
Supports:
Yes, for:
- FW_19i_L.stl - FW_19i_R.stl The rest can be printed without supports.
Resolution:
0.2 or 0.24
Infill:
20% or more
Filament:
Since the computer can get hot, I'd recommend: PETG/ABS/ASA/Nylon or similar.
The back holders can be printed in PLA/PLA+.






Names are used only to indicate the source of a result. Polyzon is not affiliated with the listed sites.
Comments