
Free 
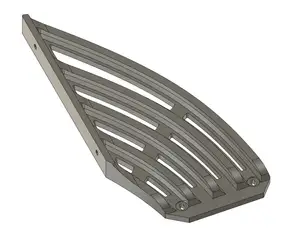
Prusa MK2/MK2S/MK2.5/MK3 R3 angled fan nozzle duct remake
Printables


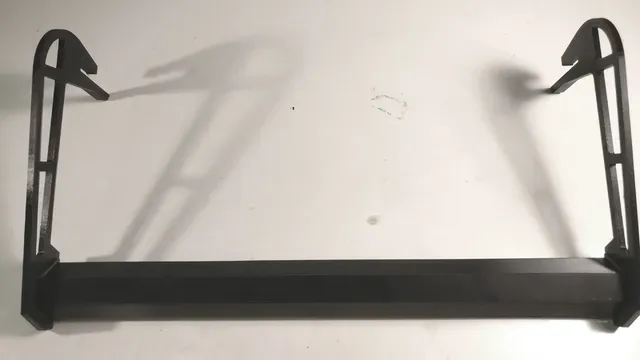


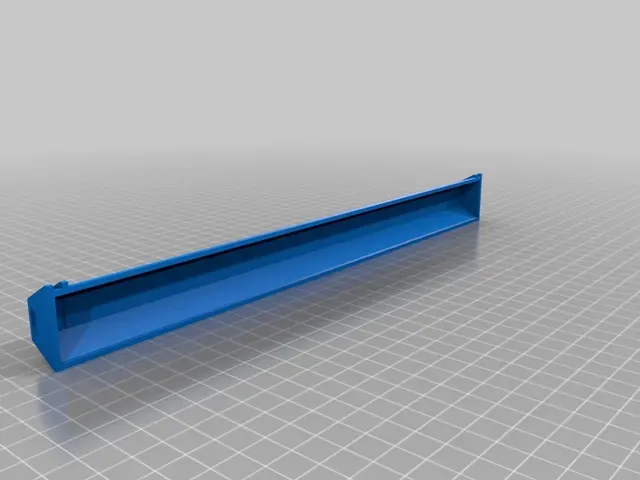


A nice led strip fixture for Prusa i3 Original MK2S._
Does not restrict extruder movement
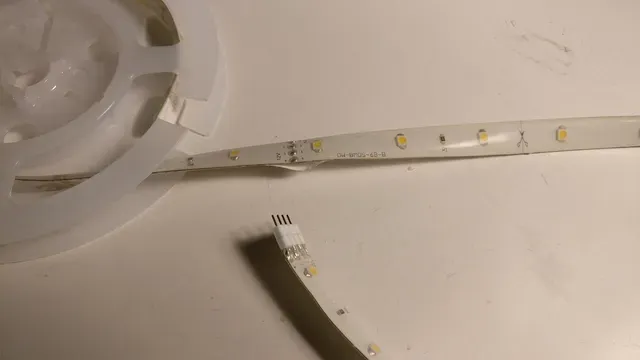
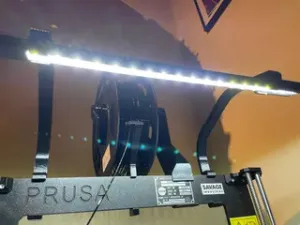
This lighting solutions uses a popular self adhesive 12V LED strip (see image).
Can be installed to use the printer's own 12V supply.
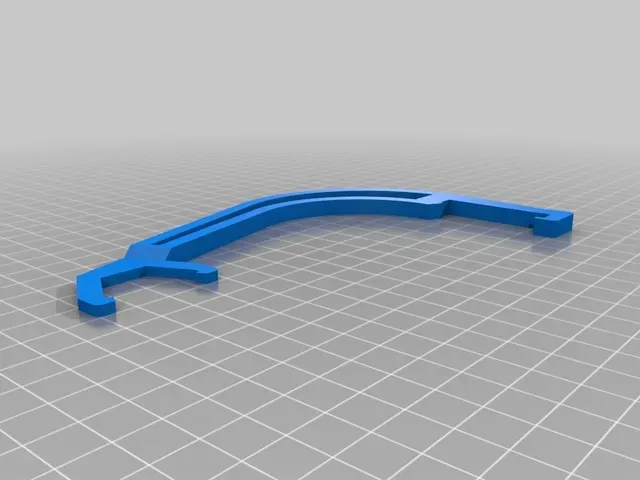
UPDATE MK3/MK2.5: I have added a new holder bracket that works with MK3 and MK2.5. The new holder does not restrict the X-carriage back plate or the extruder top cover. However, after installation, check your filament sensor wires and make sure they have clearance. Just push them in a bit if they don't.
Originally pubished in 2017: https://www.thingiverse.com/thing:2577287
See Post-Printing UPDATE below
Please post a Make if you make this!
Notes:
Printed in PETG.
The model file for the brackets is for the left side one. The right side bracket should be a mirror image of the left one. Do this in your slicer and save as a separate gcode-file (for Slic3r the procedure is Object => Mirror => Along X). This is mostly aesthetics, you should have no problem using two identical brackets, the light fixture would just not be exactly centered over the heatbed.
Post-Printing
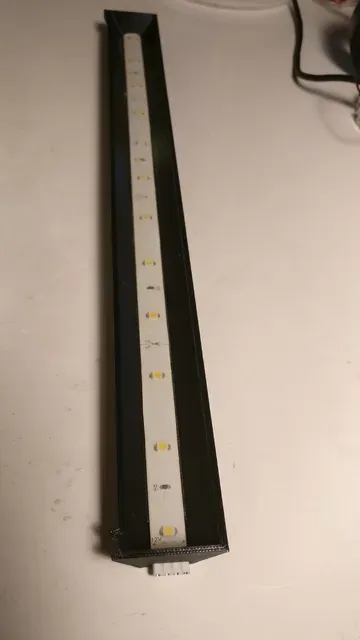
Cut the LED strip to length and tape to the bottom of the fixture. Make sure the connection terminal of the LED strip is accessible through the hole.
Snap the fixture into place in the brackets. Slide the brackets onto the frame so that the brackets are parallel to each other. Move Z all the way up and X all the way left and right. Nothing should touch, but the zip ties holding the bearings come very close. If they touch the brackets on your printer, just use a file or some sand paper on the bracket until you have clearance.
Now either use a separate power supply for the LED strip, or steal power from the printer's PSU. The MK2S PSU conveniently has an unused plus/minus terminal under the plastic cover. Only do this if you know how, and with the power cord removed from the printer!
Lastly, neatly attach the cable to the right side bracket with (drumroll...) zip ties!
UPDATE
One end of the LED strip started to hang down after a few days. Maybe the 3M adhesive surface wasn't completely fresh, or maybe it just doesn't stick so well to PETG. I fixed this by adding aluminum foil tape to the inner sides of the fixture, so that it overlaps the sides of the LED strip. This should work, as the aluminum tape seems to stick very well. Also it has the added benefit of reflecting light a lot better than the black plastic. See the last pic.
How I Designed This
Designed in FreeCAD 0.16, V2 Designed in Fusion360
Category: 3D Printing







Names are used only to indicate the source of a result. Polyzon is not affiliated with the listed sites.