
Бесплатно 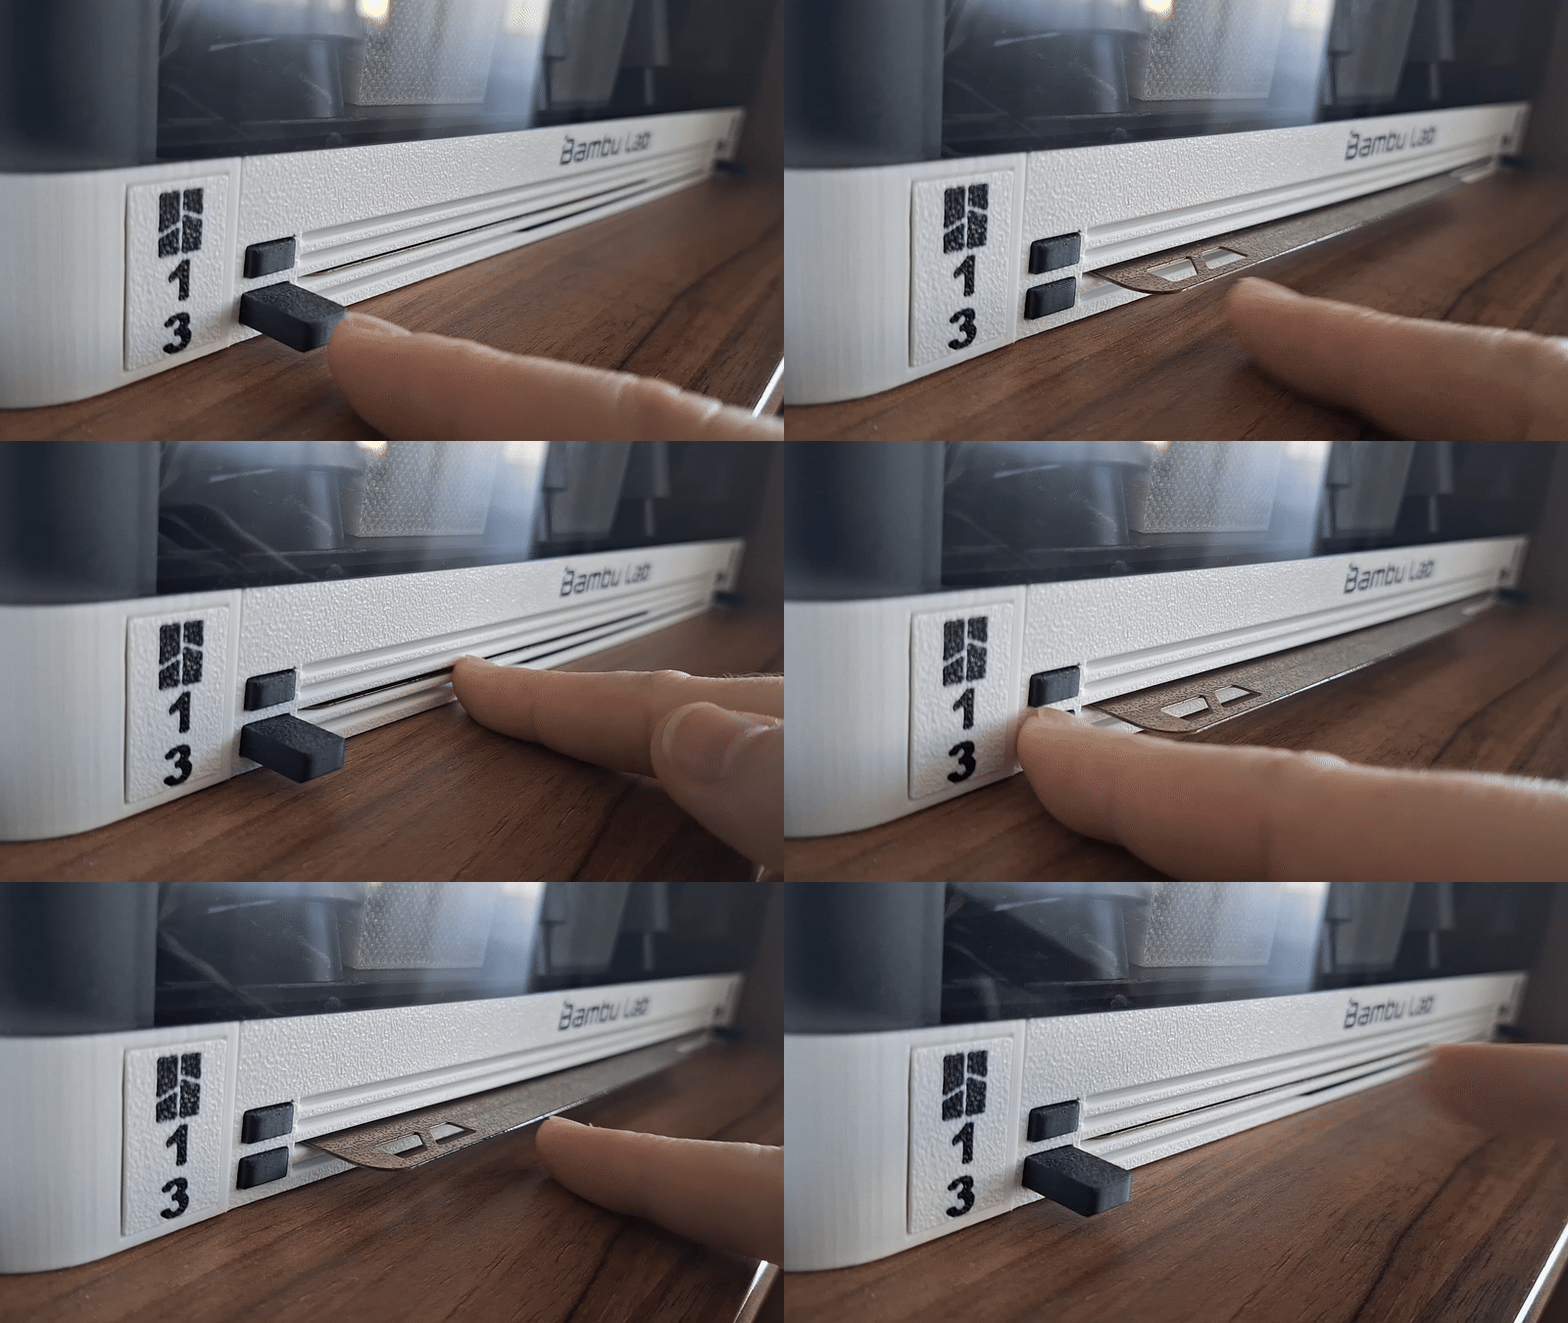
FNT AMS X1C/P2S buildplate holder
MakerWorld
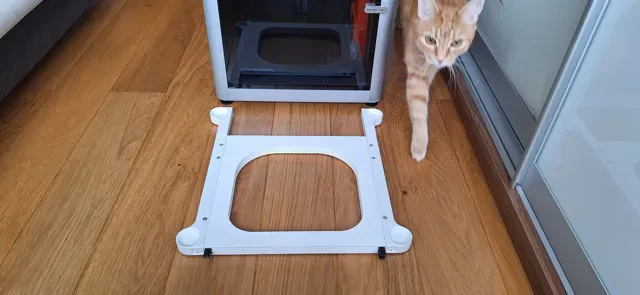
Read first, then print
please read this article , which explains the structure of the FNT model family and details the compatibility of each version with different 3D printers.
If you have a P2S printer, you are probably wondering if the feet plate storage under X1/P1 is compatible with the P2S version. The P2S has different dimensions than the X1/P1 . P2S version is published here
FNT X1 Base Anti-Vibration buildplate holder
(FNT X1/P1 Base Anti-Vibration feet buildplate storage holder for 4, 6 or 8 plates)
Update: 2.11.2025
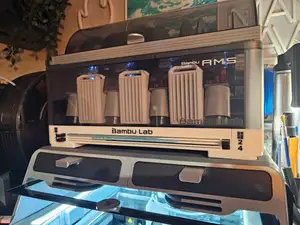
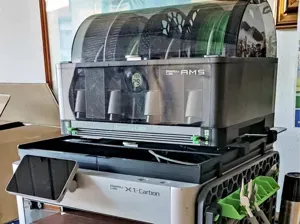
Maker budavari had a great idea how to easily add a dust cover to the model. If you already have a FNT Anti-Vibration feet plate storage under X1 model , don't hesitate to add this new cover to it. You can find the model to place on the plates holder among the printing profiles. Thank you for this idea!
Photo by budavari Photographed by budavari
FNT X1 Base Anti-Vibration buildplate holder
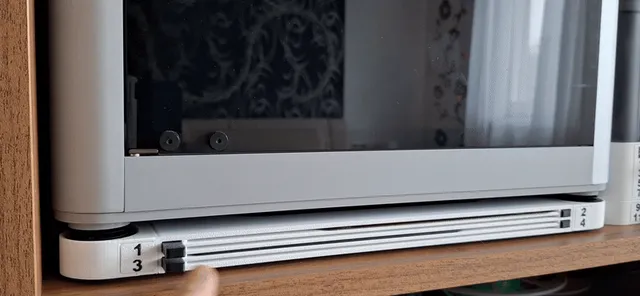
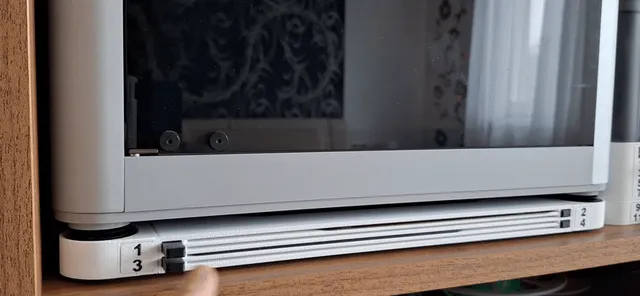
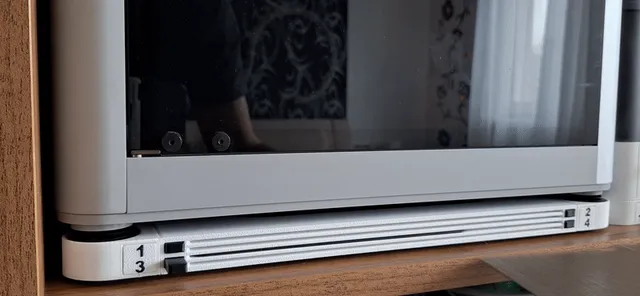
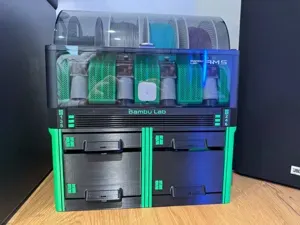
Are you looking for a practical solution to organize the print plates for your X1/P1 printer? The FNT Anti-Vibration Feet Plate Storage is the perfect accessory, designed to save space while reducing noise and vibrations during printing. This holder is engineered to be sturdy, stable, and discreetly positioned under your printer, freeing up valuable desk space and ensuring quieter, more stable printing.
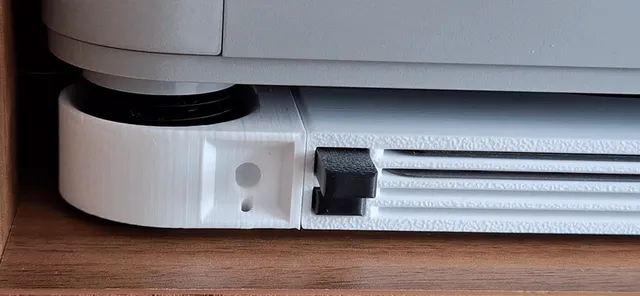
- Save Space – Utilize the area beneath your printer - Reduce Vibrations - Easy Installation This version of the holder is specially designed as a base/stand under X1/P1 series printers. It's actually very simple - just place the printer on the assembled holder and you're done. Don't forget that for proper function you will need BambuLab Anti-Vibration Feet.
Easy to slide in / out Double vibration compensation Boost Me Please support my work if you like the model. Boosts invests in purchasing material for prototype models. Thank you. :-) Discover the full FNT buildplates holder family here and explore all the ways you can build your perfect setup.
The FNT family includes: - AMS plates holders for 4, 6, or 8 build plates - “Stack” or standalone mountable holders for 4 or 8 plates
-Anti-Vibration feet plate storage under X1/P1 - Customizable plate logos - TPU feet - Adapters for AMS Raisers
FNT Anti-Vibration feet plate storage under X1/P1
Introduction
I have many build plates for both Prusa and Bambu printers and very limited space for storage. So I decided to create plates holder with eject button for easy insertion and removal.
Inserting and removing build plates goes very smoothly. There is no danger of the printing surface getting dirty from greasy fingers :-)
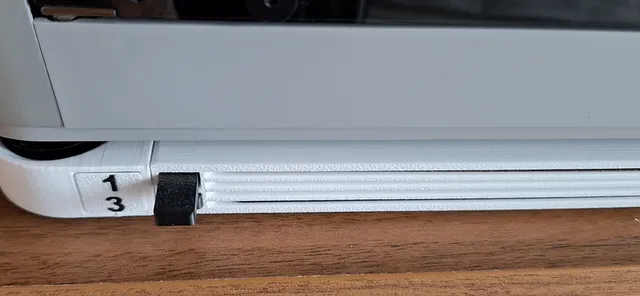
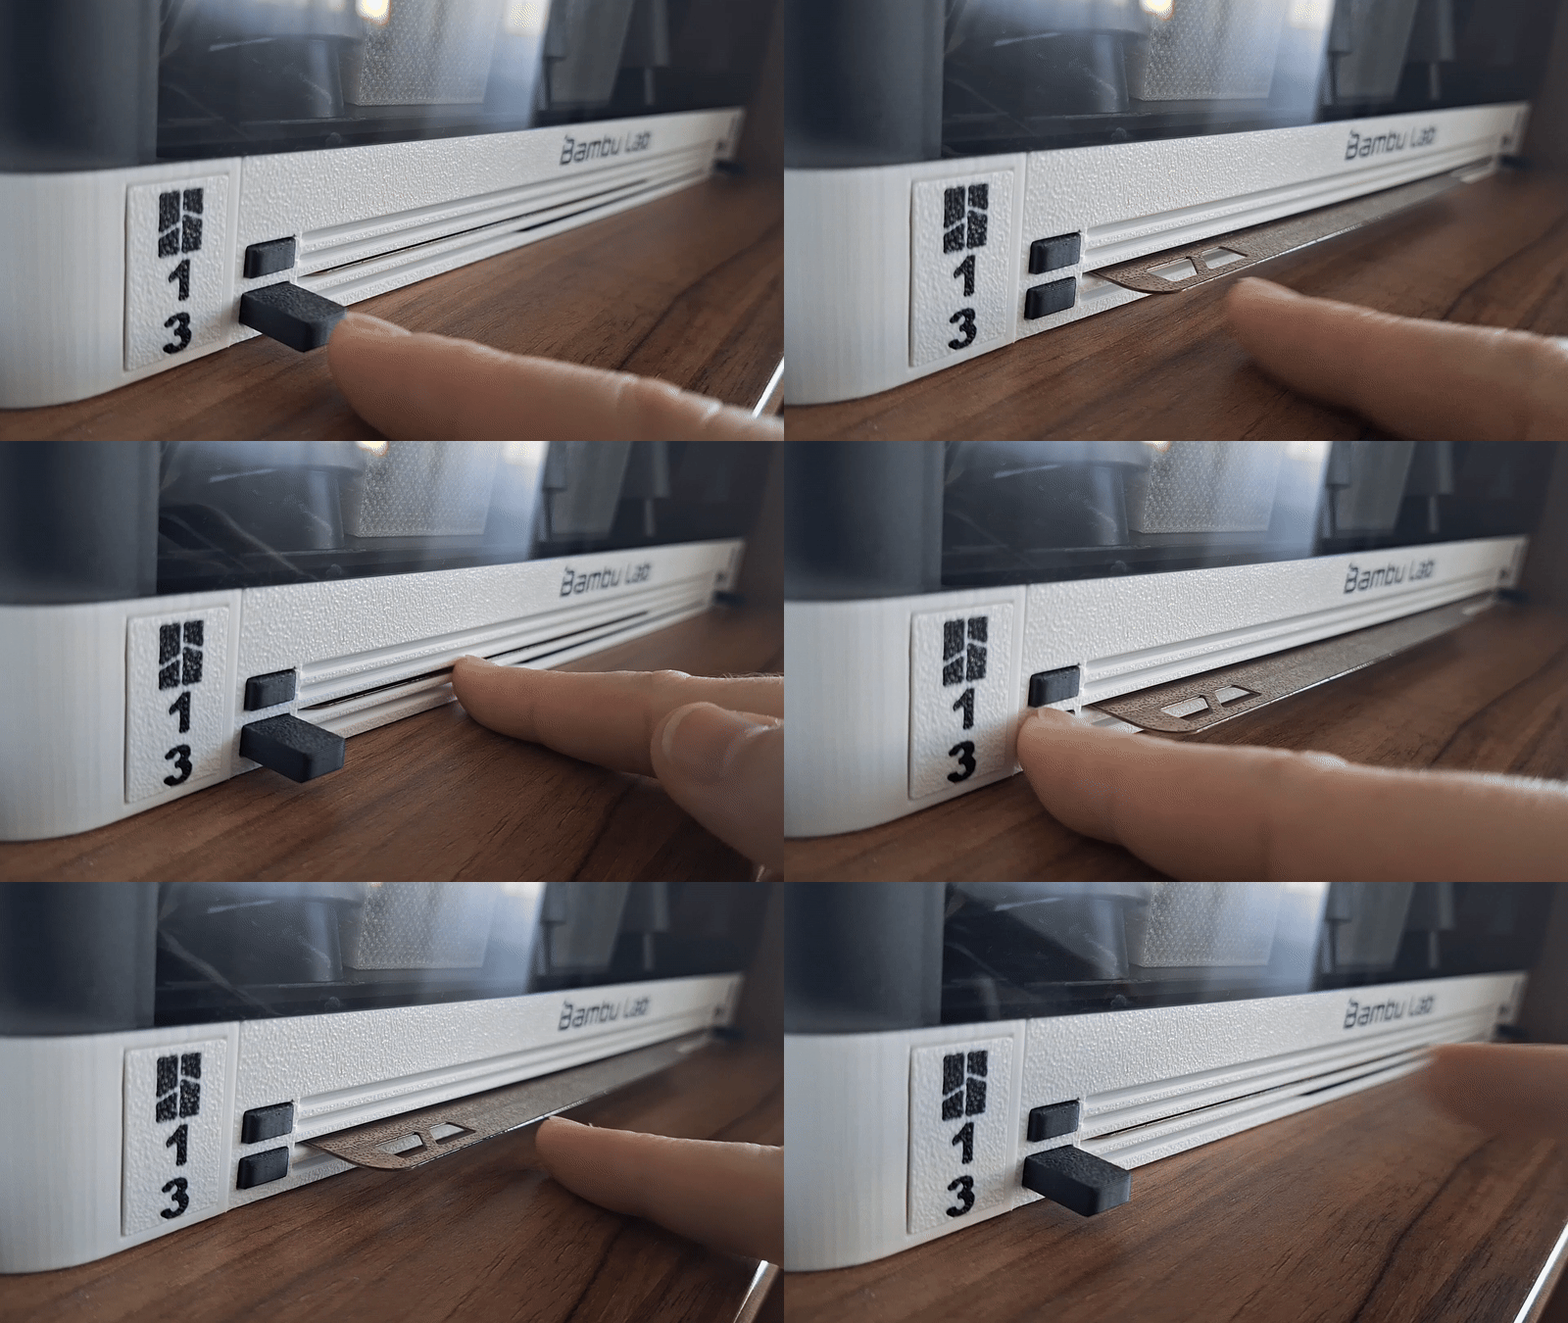
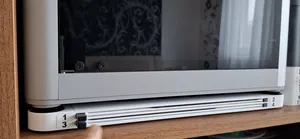
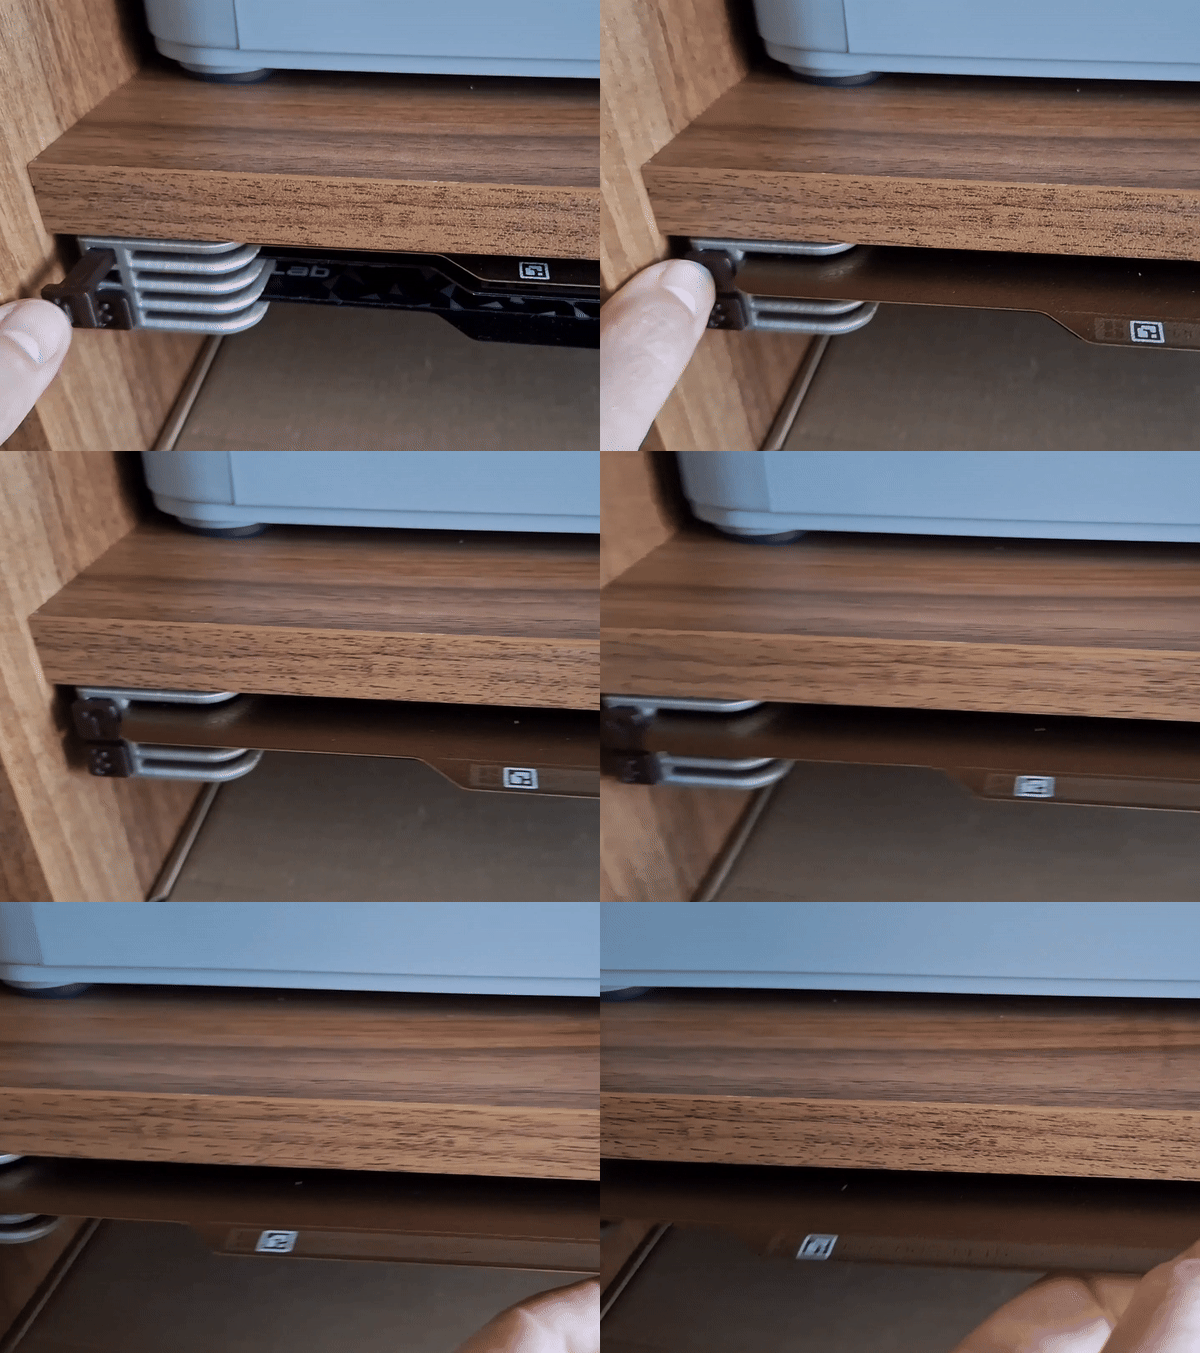
By pressing the button, the build plate ejects approximately 3 cm. By inserting the build plate, the button will pop out easily.
Vertical placement/sticking to the side of the printer also works great.
A demonstration of how the buildplate extension works on the FNT family holder What non-pressing parts will you need?
- Anti-Vibration Feet https://eu.store.bambulab.com/products/anti-vibration-feet - 6 pieces of M4 nuts - 6 pieces of screws type DIN7985 or simmilar - M4x16 type (4-plates) - M4x25 (6-plates) - M4x30 (8-plates)
The holder contains several interesting solutions:
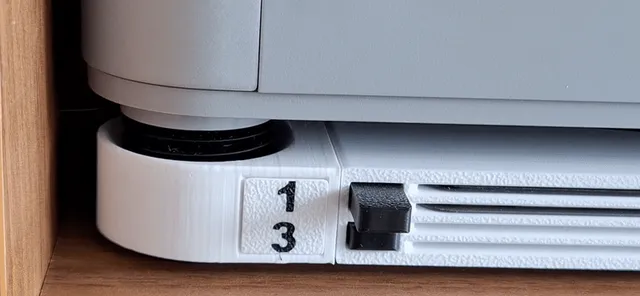
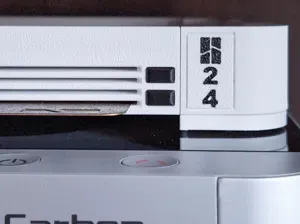
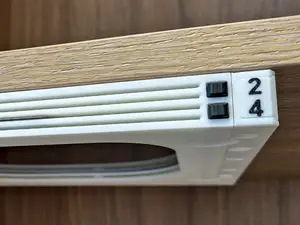
- Interchangeable labels on the sides. A simple click inserts the label, a hole on the other side allows it to be removed. - New anti-vibration feet and original printer's rubber feet are used. Overall, it is a double suspension. The printer is very stable and does not slip on the table. The build plates in the holder do not shake or make any other bad sounds. - Inserting and removing build plates goes very smoothly.
Printing instructions
- Please use the included print profile. It is tuned and tested for optimal results - Print only on closed printers such as X1C, P1S, H2D - Before starting printing, make sure the build plate is clean and degreased. If necessary, use 3DLac. - Use only good quality filament to avoid problems with peeling/non-functional buttons due to poorly printed surfaces. Bambu PLA Basic is OK - Do not increase the speed or change the height of the layer - layer 0.2mm, supports: yes, use Brim - I use Textured Pad 60°C and PLA. I have no problems printing on X1C. - When I used SuperTack and the recommended 45°C, the model peeled off Assembly:
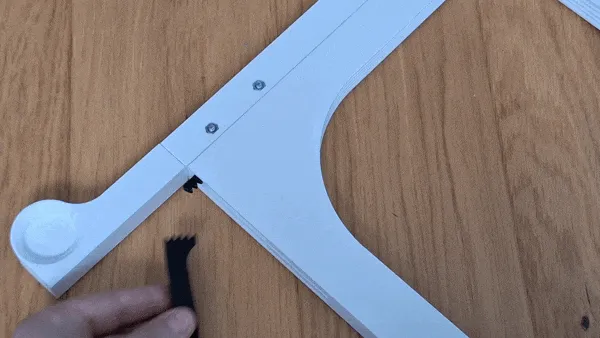
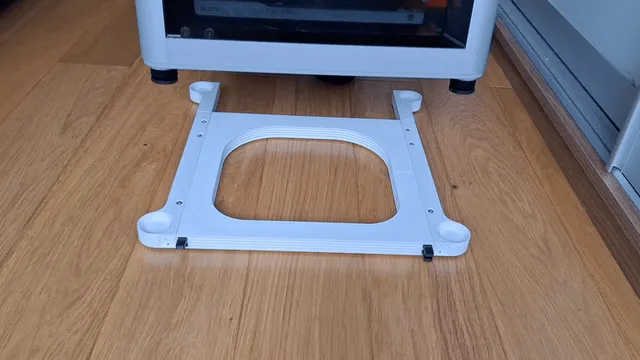
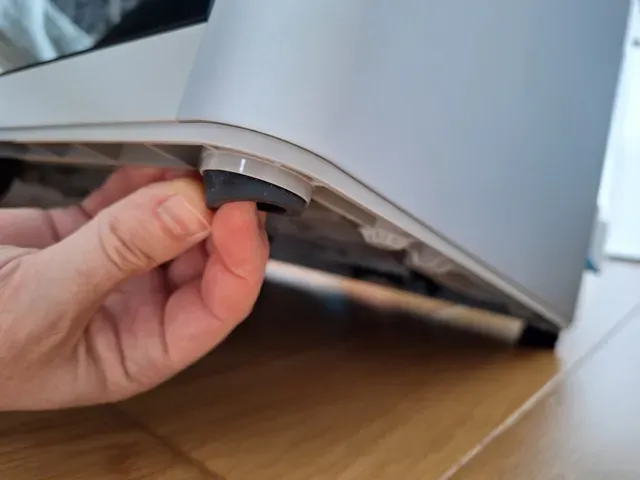
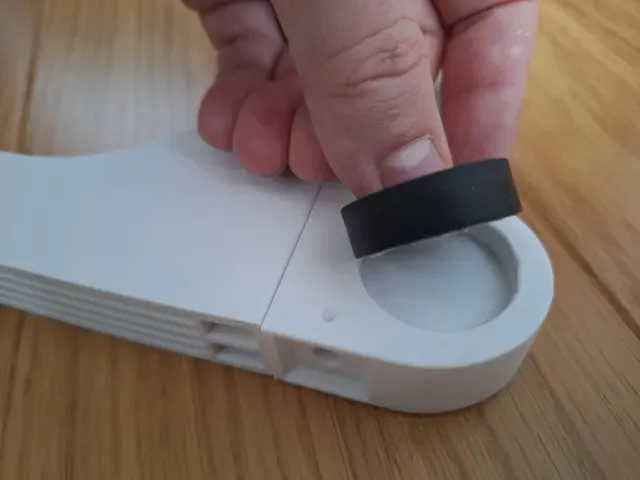
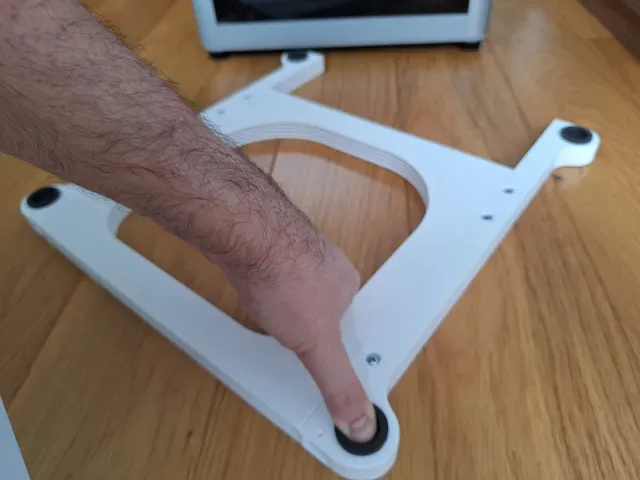
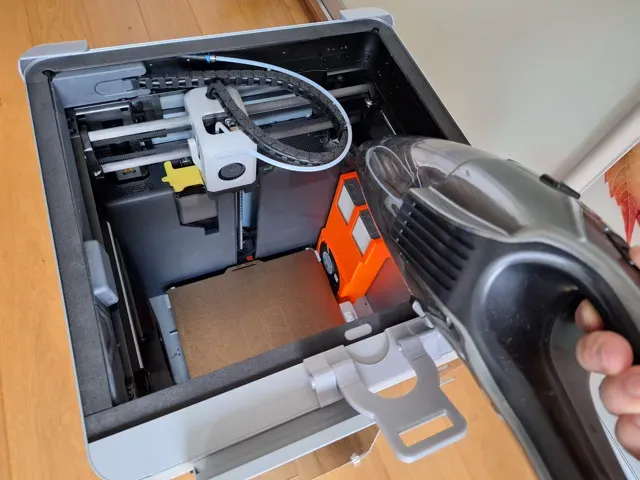
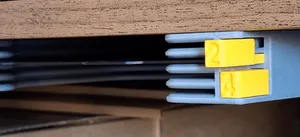
- First of all, please remove the top glass. When working, it is necessary to tilt the printer. This will prevent possible damage to the top glass. I also recommend vacuuming the printer. This is an ideal opportunity :-) - Print Holder body (Front, Back and side parts), buttons and arms of selected version - Slide Front / Back parts into the Side parts - Insert 2 pcs of M4 nuts into the holes - Use M4x16 type DIN7985 or simmilar for fixing the holder body. Start with back side screws. - Use the remaining nuts and bolts and assemble the bracket step by step. Tighten the bolts firmly. - Insert button to the holder. Slide in / out several times to clean slot and button bar from printing imperfections - Rotate Holder body - Align the button and arm teeth according to the picture. Push the arm into the holder firmly. First attach the upper arms (1 and 2), then the lower arms (3 and 4). - Test whether the button and arm move easily - Remove all 4 feets from your X1/P1 printer - Insert theese 4 original feets to the holes of the assembled FNT Anti-Vibration feet plate storage under X1/P1 - Install Anti-Vibration feet. When inserting the feets, you will need to turn them slightly to make sure they fit properly. Once this happens, press firmly to lock them in place. - Install your printer on the holder - Install logo plates Slide Front / Back parts into the Side parts Use M4x16 type DIN7985 or simmilar for fixing the holder body. Start with back side screws. Use the remaining nuts and bolts and assemble the bracket step by step. Tighten the bolts firmly. Insert button to the holder. Slide in / out several times to clean slot and button bar from printing imperfections Slide in / out several times to clean slot and button bar from printing imperfections. If the buttons do not move easily, please use sandpaper to smooth the buttons.
Align the button and arm teeth according to the picture. Push the arm into the holder firmly. Test whether the button and arm move easily Remove all 4 feets from your X1/P1 printer Insert theese 4 original feets to the holes of the assembled FNT Anti-Vibration feet plate storage under X1/P1 Install Anti-Vibration feet to the priinter. When inserting the feets, you will need to turn them slightly to make sure they fit properly. Once this happens, press firmly to lock them in place. Install your printer on the holder Install logo plates
X1/P1 feets
If you don't have X1/P1 legs anymore, there's nothing easier than printing them out. He recommended TPU 90A, or a similar flexible material.
Dust Cover Addon
If you already have the open version printed and decided need a cover, you can print it. The cover is sturdy enough and you just put it on the holder. You can glue it if you want, but it's not necessary. Use the dedicated print profile.
An emergency button / arm removal procedure
If for any reason the arm or button needs to be removed, I am adding an emergency removal procedure. The removal should not damage the body of the holder, but the button and arm will likely be damaged.
Happy printing!
FNT_X1_P1_Base_4_Plates FNT_Base_4_Plates
0.2mm Layer
FNT_X1_P1_Base_6_Plates FNT_Base_6_Plates
0.2mm layer, 2 walls, 15% infill
Fixed the hole issue.
FNT_X1_P1_Base_8_Plates FNT_Base_8_Plates
0.2mm layer, 2 walls, 15% infill
FNT_Base_Stack_Adapter FNT_Base_Stack_Adapter
0.2mm layer, 2 walls, 15% infill
Feets X1_P1 style X1/P1 feets
If you don't have X1/P1 legs anymore, there's nothing easier than printing them out. Recommended TPU 90A, or a similar flexible material.
This is a top dust protection lid for the FNT plate storage. I recommend to print first the “FNT_Base_lid test frame” to check how it will fit into your plate holder. In my case I had to scale up and increase the size 0.5mm both X and Y direction. This file is the upscaled version of both the test frame and the full lid, which was fit in to my one.
底部防尘盖,省料版,仅72g 在原有基础上做了一点小小改动,节省约 50g 耗材,其它丝毫未变。用法和注意事项一样。
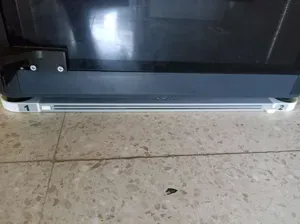
用于六层打印板版本的螺丝垫片 我打印的是能容纳 6 块打印板的版本,按照作者大佬的说明,应该使用 M4x25mm 的螺丝,但实际安装中发现螺丝会伸出很长一截,这让我很不舒服,于是做了这个螺丝垫片。使用后的效果如图,让安装后的表面看起来更加平整。每套是一大一小,小的是用在螺母一边,大的是用在螺丝那边,一共六套。跟我一样有强迫症的朋友可以试试。
Названия используются только для указания источника результата. Polyzon не аффилирован с перечисленными площадками.
Комментарии