
Бесплатно 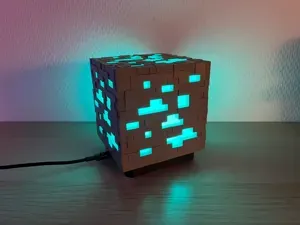
Minecraft Ore Lamp (WLED / ESP32 D1 Mini USB-C)
MakerWorld
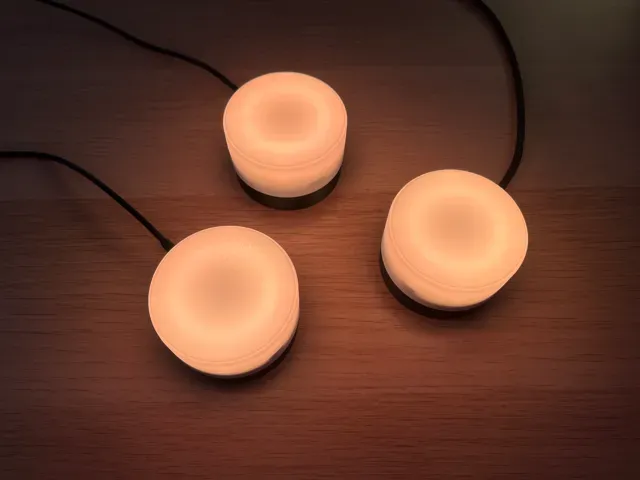
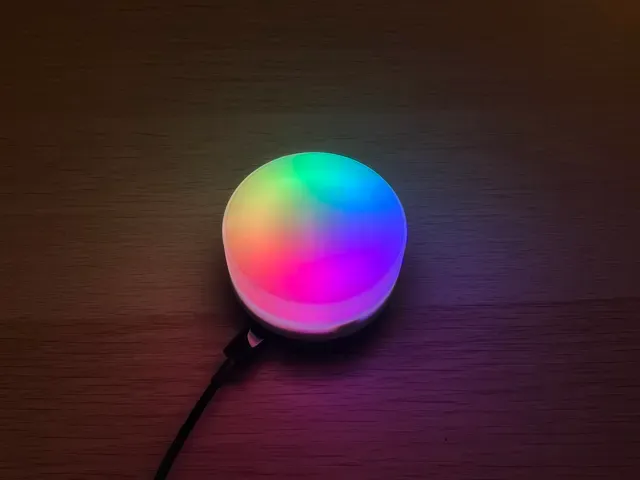
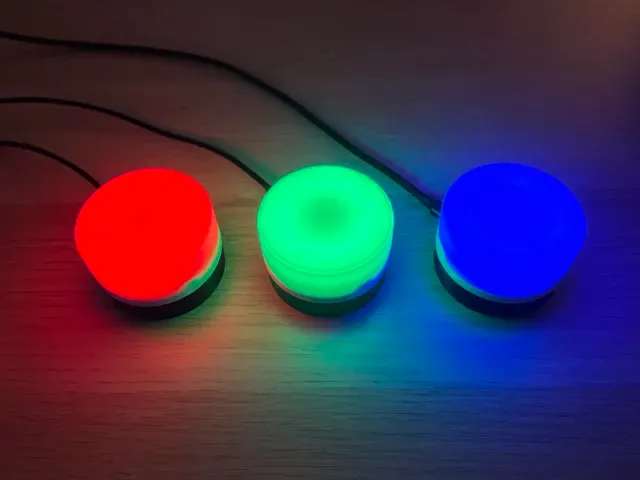
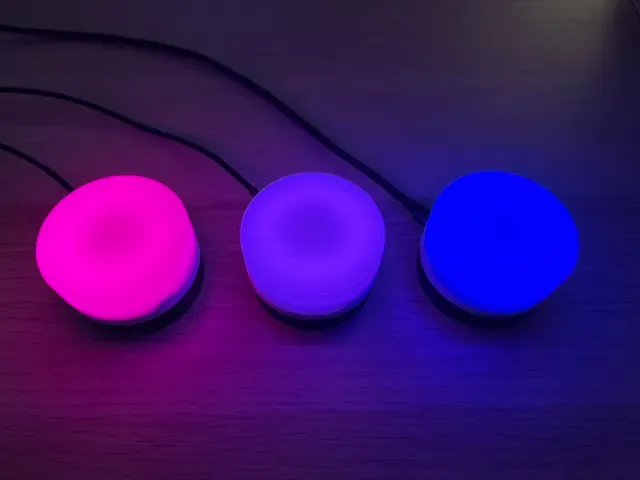
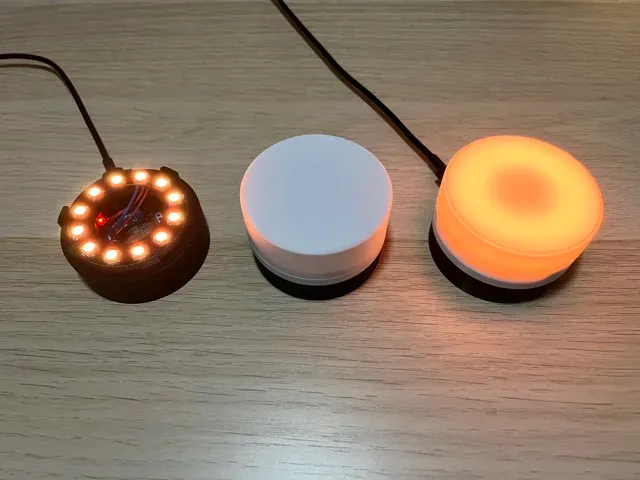
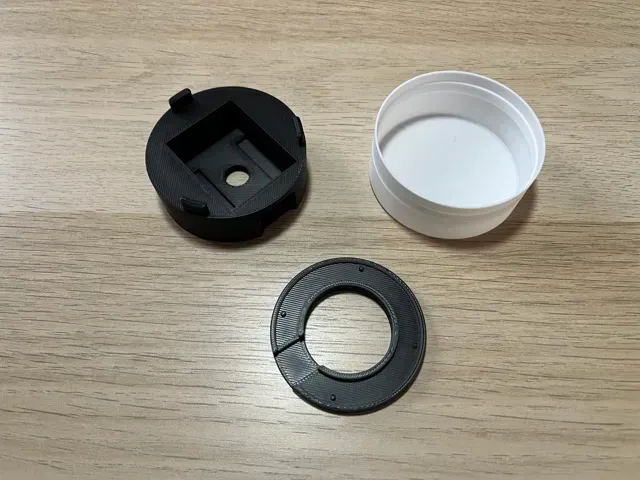
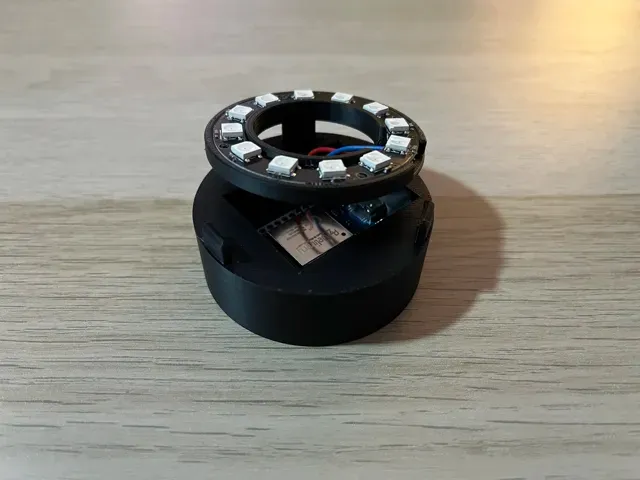
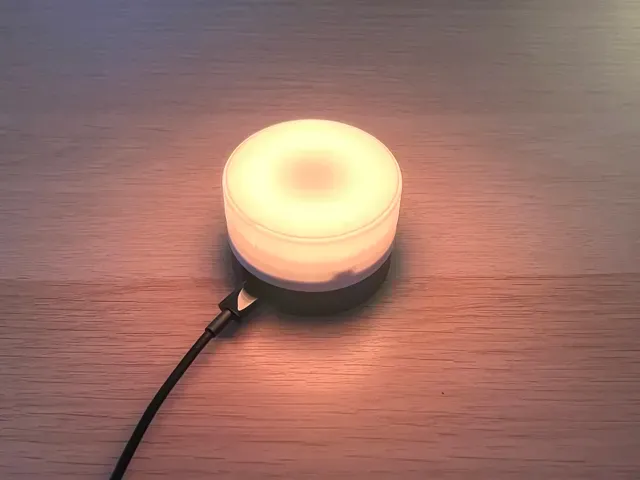
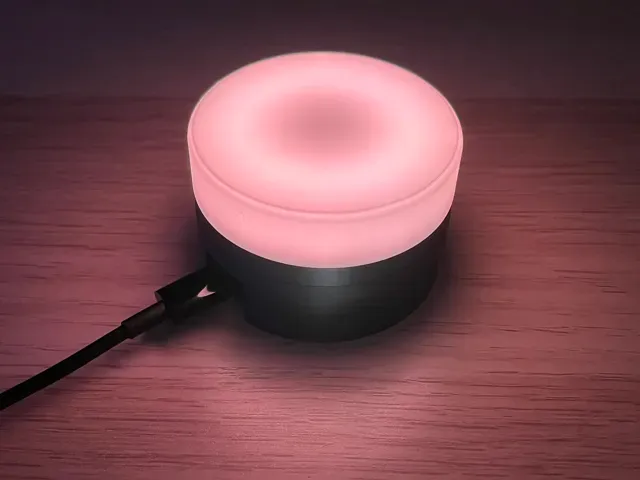
A small and compact ambiance light powered by a USB-C ESP32 D1 Mini and a WS2812B LED Ring , running WLED for full RGB lighting control.
Bill of Materials
The lamp was designed to perfectly fit the following components:
- USB-C ESP32 D1 Mini from AZ-Delivery - 50mm WS2812B LED Ring from AZ-Delivery You’ll need to solder the LED ring to the ESP32 using three short wires .
ESP32 D1 Mini & LED Ring Printing recommandations
- The diffuser is meant to be printed upside down on a smooth build plate . Using a textured plate will alter the surface finish and reduce light diffusion quality. - Any build plate type will work fine for the base and the LED ring holder . Instructions
1. LED Ring
Solder first three wires to the LED Ring, facing toward the center of the ring. Do not connect them to the ESP32 yet .
You will need to connect:
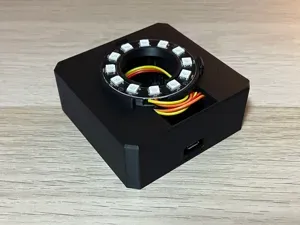
- LED Ring GND - LED Ring 5V - LED Ring DI Wires soldered to the LED Ring & LED Ring holder Next, assemble the LED Ring with the LED Ring holder . The wires should pass through the center of the ring.
Assembled LED Ring and holder (back) Assembled LED Ring and holder (front) 2. ESP32 D1 Mini
Once the LED Ring is in place, solder the wires to the ESP32 , making sure they come through the back of the LED Ring.
Solder the LED Ring to the ESP32 as follows:
- LED Ring GND → ESP32 GND - LED Ring 5V → ESP32 5V - LED Ring DI → ESP32 IO16 ( as recommended by the WLED documentation ) Then follow the official WLED documentation to install WLED on your ESP32:
- WLED installed site (recommanded method) - WLED documentation ESP32 & Assembled LED Ring 3. Lamp Base
Mount the ESP32 into the base .
Insert the USB-C connector first , then gently push the antenna side past the retaining clips.
ESP32 clipped to the base If you need to remove the ESP32, you can push it out through the bottom access hole (a pen works well):
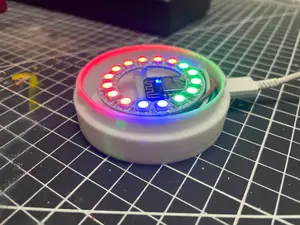
Bottom hole for ESP32 dissabembly Finally, clip the LED Ring to the base.
Base and LED Ring 4. Lamp
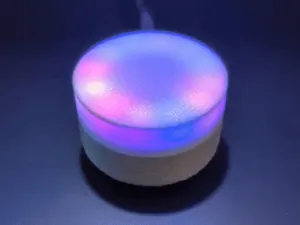
Place the diffuser on the top of the lamp base , and you're done!
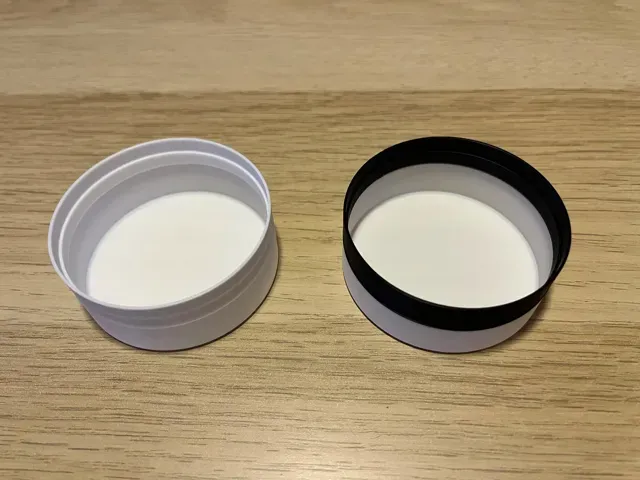
Final assembly 5. Bonus: Fancier Diffuser (using AMS or manual filament swap).
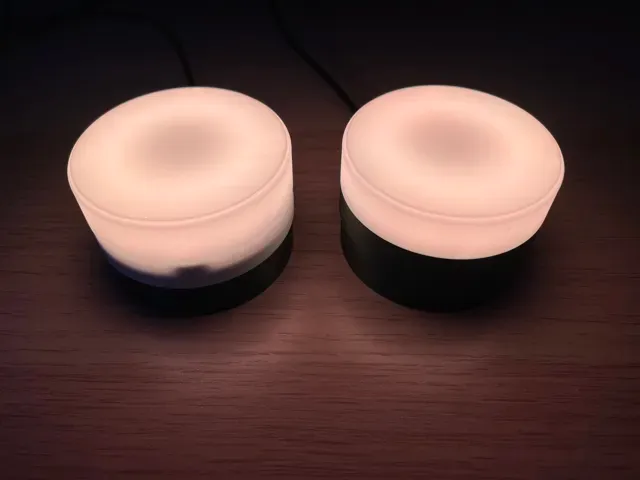
Using an AMS, you can print a few layers of the diffuser with a non–light-diffusing color (e.g., black) to enhance the lamp’s appearance. Check out the alternative profile with a preconfigured two-color diffuser for a result like the one shown below.
Two-color diffuser (on the right) Two-color diffuser (on the right) 6. Bonus: Home-Assistant Automations
This lamp can easily be integrated into Home Assistant or any WLED-compatible automation setup.
You might be especially interested in:
- The official WLED integration
0.2mm layer, 2 walls, 15% infill The diffuser is meant to be printed upside down on a smooth build plate . Using a textured plate will alter the surface finish and reduce light diffusion quality
Any build plate type will work fine for the base and the LED ring holder .
two color diffuser, 0.2mm layer, 2 walls, 15% infill The diffuser is meant to be printed upside down on a smooth build plate . Using a textured plate will alter the surface finish and reduce light diffusion quality
Any build plate type will work fine for the base and the LED ring holder .



Названия используются только для указания источника результата. Polyzon не аффилирован с перечисленными площадками.
Комментарии 0
Загружаем комментарии…