
Бесплатно 
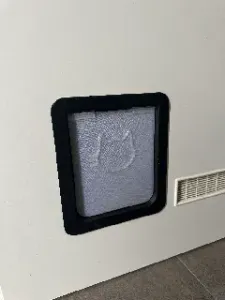
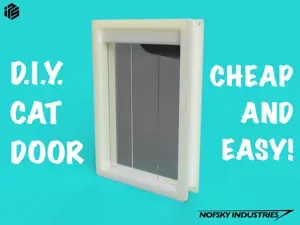
Cat & Dog Flap / Door for metal door
Printables
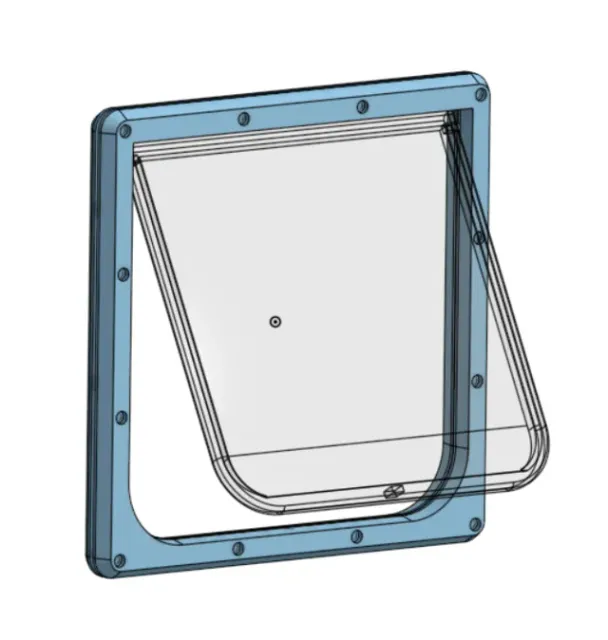
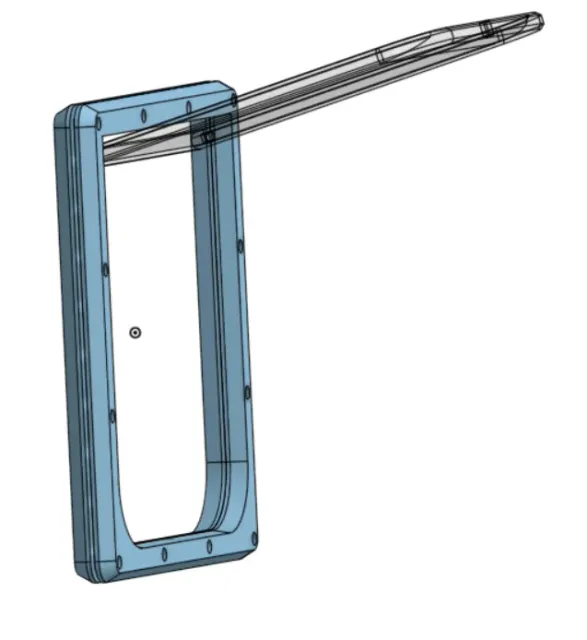
DIY Pet Door Build Instructions
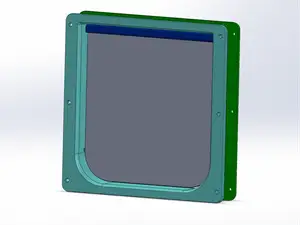
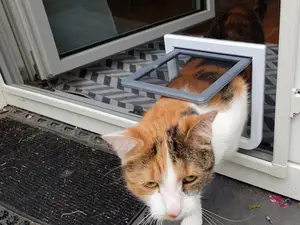
This pet door model is designed for cats and small dogs with a 190 mm x 190 mm clear doorway opening . The design allows for a wide opening suitable for small dogs.
📐 Project Specifications
Feature Value
Doorway Opening (Clearance) 190 mm x 190 mm
Maximum Wall/Door Material Thickness 2 mm
Hole Cutout Size (in door/wall) 210 mm x 210 mm
Recommended Print Material PETG (for durability)
🔩 Required Materials
Component Specification Quantity Notes
Hinge Pins 4mm x 12mm Dowel Pins 2 An M4 screw (headless) can be used as a replacement.
Threaded Inserts M3 Heat Inserts 12 Used in the outside frame part.
Screws M3 Socket Head Cap Screws (SHCS) 12 Minimum length of 16 mm.
Tape Foam Tape 1mm tick, 5mm wide about 80cm long For an air-tight seal.
Shims/Washers Flat Washers or Shims M4 1mm tick 2
Magnets (Optional) N52 Magnets 6mm x 3mm 2 also work with smaller magnets
Adhesive (Optional) Super Glue (CA) Small bottle For securing the magnets.
Adhesive 3D Printing Bed Glue As needed For adhering the jig to the print bed.
Step-by-Step Assembly Instructions
1. Part Preparation
- Print the Parts: Print all necessary components, with PETG recommended for best durability. - Jig (if used): Apply glue to the print bed to secure the jig during printing. - Install Threaded Inserts: Insert the 12 M3 heat inserts into the screw holes on the outermost face of the Outside Frame Part . These are the holes that normally pass all the way through. - Clear Inner Holes: The Inside Frame Part uses a beveled design without completely clear screw holes. Use a hex key to gently clear the material from the screw holes to prepare them for mounting. - Install the Flap Magnet (Optional): Insert the magnet into the designated pockets on the pet Flap . Apply a drop of Super Glue (CA) to lock it in place. - Install the Frame Magnet (Optional): Insert the magnet into the designated pockets on the pet Frame (inside or Ouside) . Apply a drop of Super Glue (CA) to lock it in place. - Install Hinge Pins: Insert the 2 x dowel pins into the square holes on the sides of the Flap . 2. Door Modification
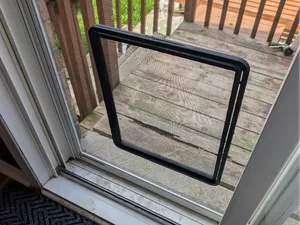
- Mark the Cutout: Mark a square cutout on your door or wall material. You can use the provided jig . - Cut the Hole: Carefully cut a 210mm x 210mm hole. This is critical for a proper fit. - Verify: Double-check the hole dimensions and ensure the corners are square (90 degrees).
3. Frame and Flap Installation
- Preliminary Frame Assembly: Align the Inside Frame Part and Outside Frame Part on either side of the door hole, clamping the door material between them. Secure the two bottom-most screws to hold the frame pieces together, but do not fully tighten them yet. - Install Flap and Shims: Place a 4mm x 1mm shim or washer around each of the two hinge pins extending from the flap. - Carefully insert the Flap into its final position in the frame, ensuring the two shims do not fall out during placement. - Secure the Flap: Insert and tighten the two top screws of the frame to lock the flap into place and maintain proper hinge alignment. - Final Frame Tightening: Insert the remaining screws and fully tighten all screws to securely clamp the frame to the door/wall.
4. Weather Seal
- Frame Sealing: Apply the foam tape overlapping the Inside and Outside Frame Part along the left, right, and bottom edges where the flap will rest. - Flap Sealing: Apply the remaining foam tape to the top edge of the Flap (or the corresponding top edge of the frame) to complete the air-tight seal.
0.2mm layer, 2 walls, 15% infill Print the flap in translucent material to enable light to pass through clearly.


Названия используются только для указания источника результата. Polyzon не аффилирован с перечисленными площадками.