
Бесплатно 
ESP8266 clock | Digital Clock (ESP8266 D1 mini)
MakerWorld
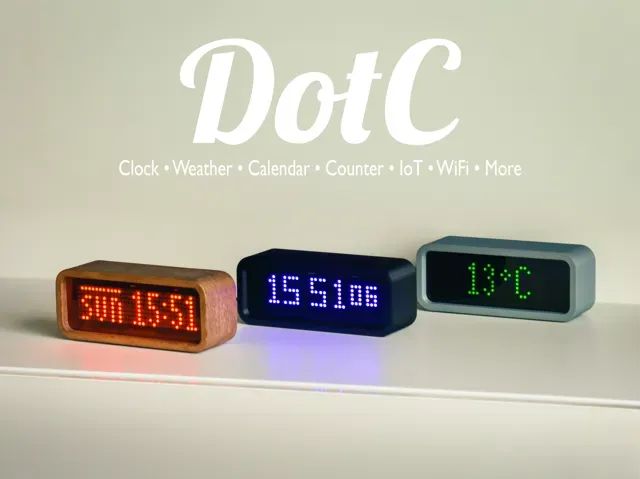
DotC
Boost Me Like this model? Boost it! 🚀🔥 Thanks for supporting my work! 🙏
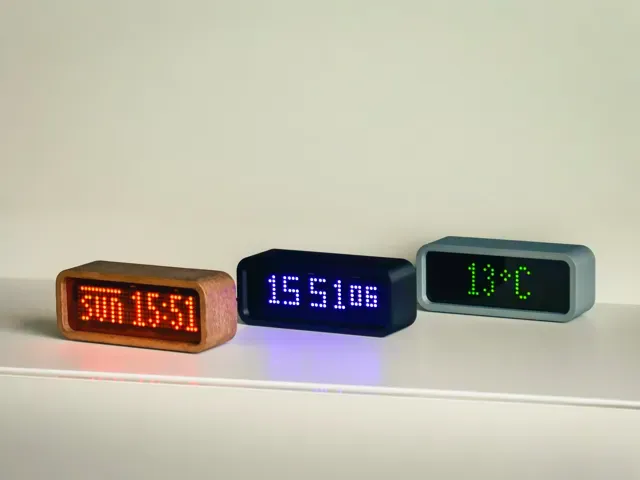
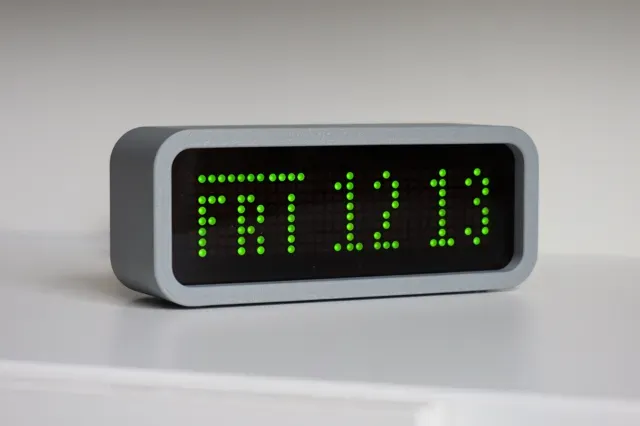
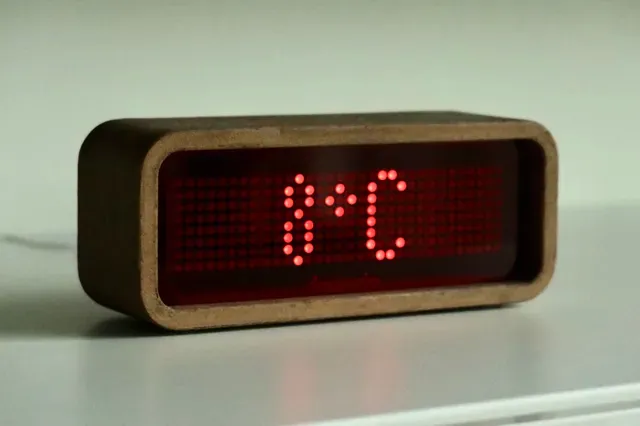
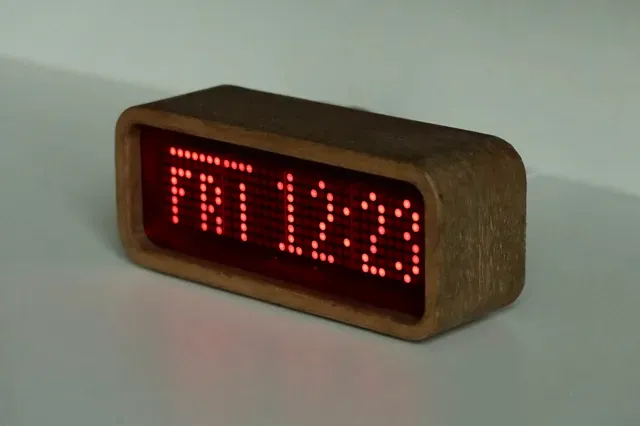
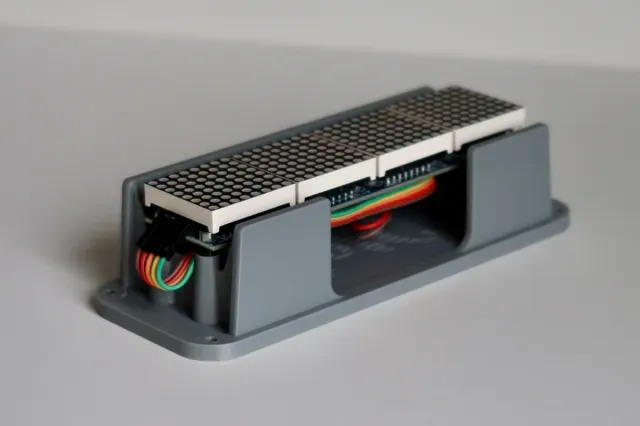
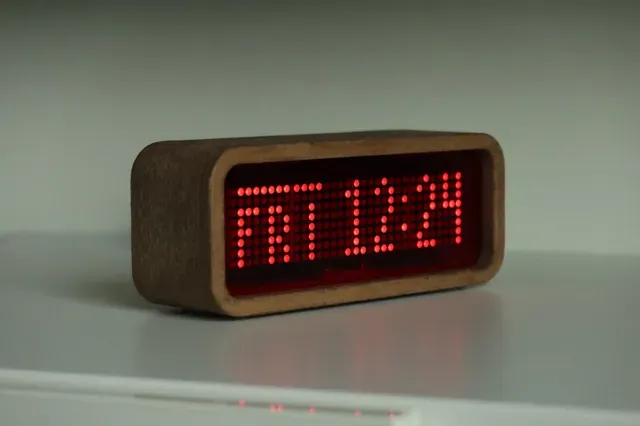
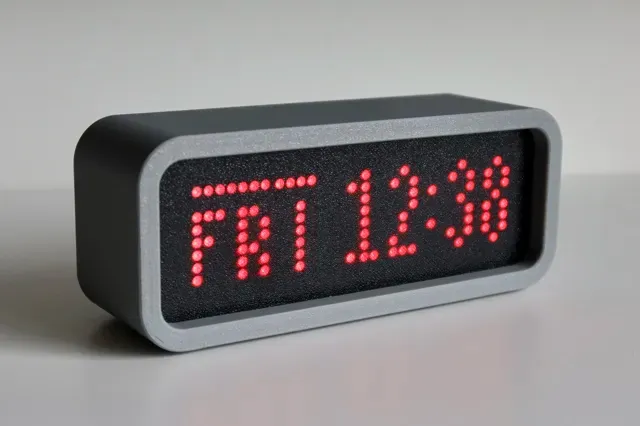
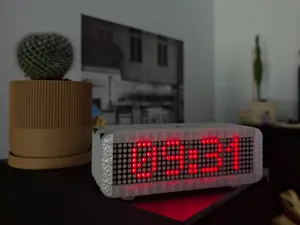
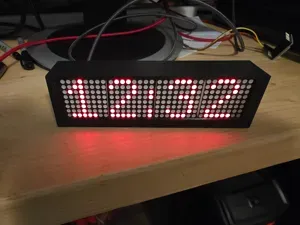
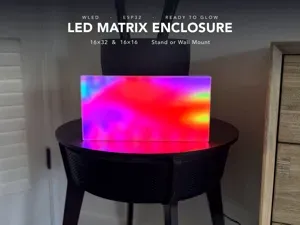
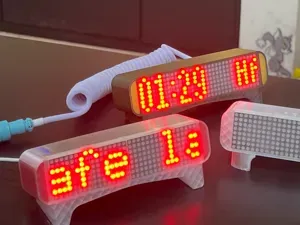
This enclosure is designed for MAX7219 LED dot matrix display modules paired with an ESP32 microcontroller, creating a clean, timeless housing for a wide range of LED matrix projects.
While it works great as a clock, this enclosure is intentionally flexible and well-suited for many builds, such as:
- Clock (NTP / WiFi synced) - Weather station display - Counter or timer - Calendar - IoT status display - Custom WiFi-connected dashboards Features
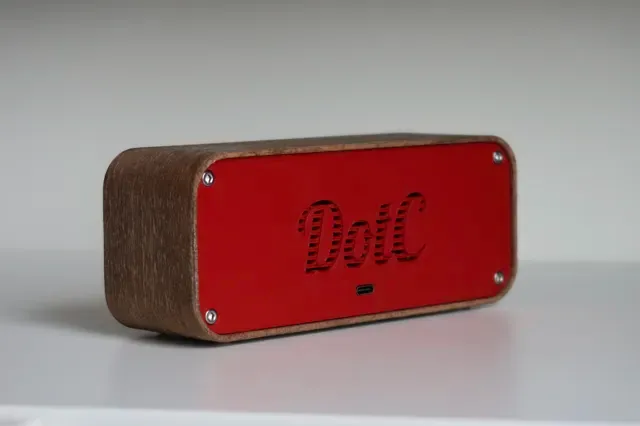
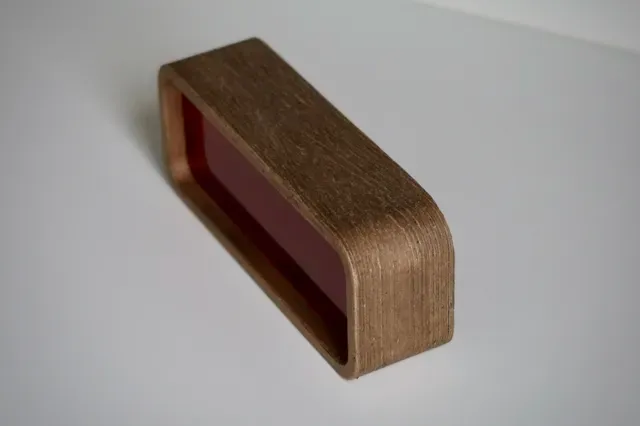
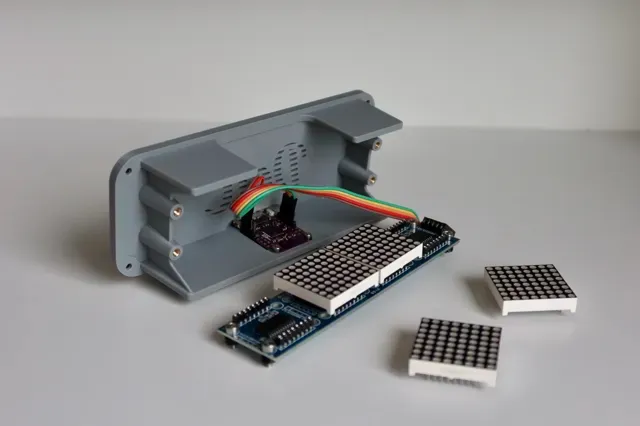
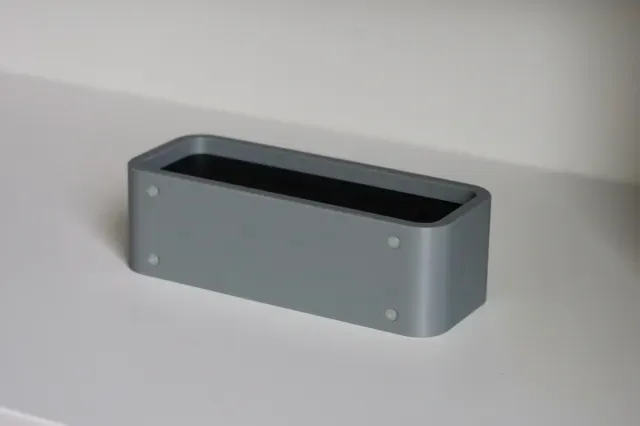
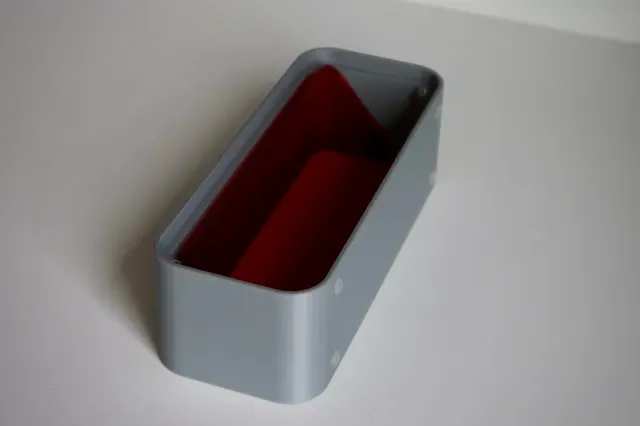
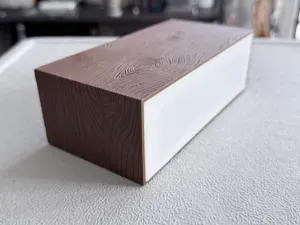
- Two enclosure versions - Standard smooth version - Wood-texture version that looks great with wood-filled filaments and stained (light sanding is suggested for the best result). It is included in CAD files as a .3mf file, ready to slice with the required settings, due to its mesh complexity and long slicing time. - Front panel options - Best visual result with a 3 mm acrylic front panel (DXF included for laser cutting) - Fully 3D-printed front panel included as an alternative - The printed front panel works especially well in PETG - When using the printed front panel, the LED matrix should be mounted with the included spacers to keep the display crisp and evenly aligned - Powered directly via the ESP32’s USB-C port , which is exposed at the rear of the case for easy access and a clean setup (no extra wiring or connectors needed) - UPDATE Sep 2026: A new print profile has been added to accommodate different display PCB variations . The standard model has horizontal holes 126 mm apart. This print profile adds versions for 122 mm and 124 mm . Remaining parts are compatible with the main print profile. Assembly & Hardware
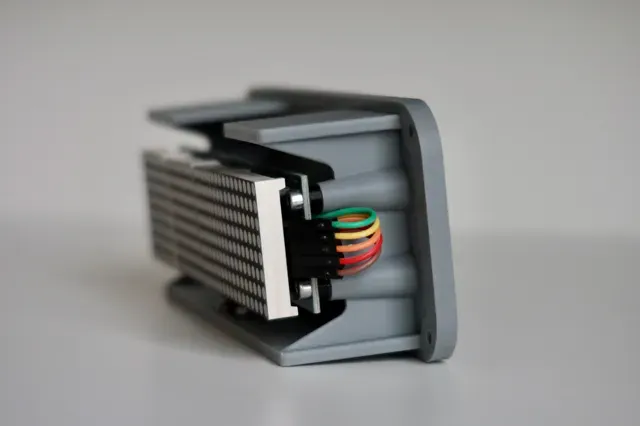
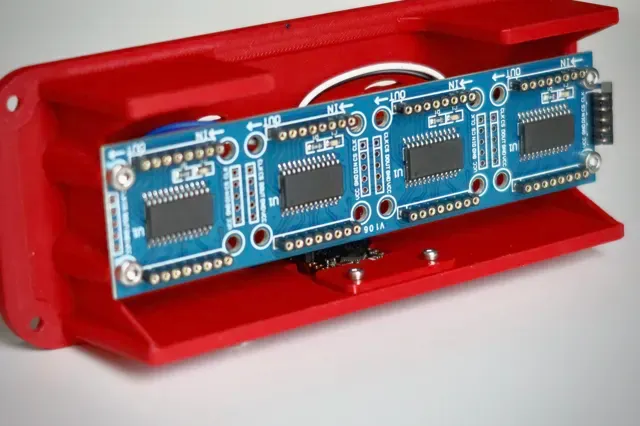
- The front panel slides into the outer shell at the angle shown in the photos - Required hardware: - 8× M3×6 mm heat inserts - 8× M3×8 mm cap head screws (case assembly + display mounting) - 2× M2×3 mm heat inserts - 2× M2×4 mm screws (ESP board mounting) - (Optional) 4x rubber feet, 6mm diameter , self-adhesive, for an elevated finish and look - Default support for ESP32 S2 Mini - ESP32 C3 Super Mini is also supported using the included mounting adapter - I suggest soldering only the used pin headers closest to the USB-C port to avoid interference with the LED Matrix. - If the Dot Matrix is connected with the included jumper wires, the header should be bent slightly to fit into the case (see photos). Example Firmware
DotC works well with many available firmwares. Please note that this project is not associated with the development of any of them. A few popular examples:
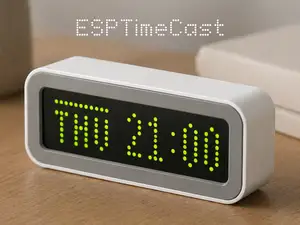
- ESPTimeCast™ - ER Great's Clock - WiFi Message Board This enclosure is easy to print, straightforward to assemble, and suits both functional builds and display pieces—especially if you prefer a cleaner, more classic look.
0.2mm layer - Main Parts, smooth variant
Back Insert - Alternative Spacing for different displays This print profile includes models of the back insert for displays with 124 mm and 122 mm hole spacing



Названия используются только для указания источника результата. Polyzon не аффилирован с перечисленными площадками.
Комментарии