
Бесплатно 
CHRONOS Annual Clock - IoT Circular Calendar
MakerWorld
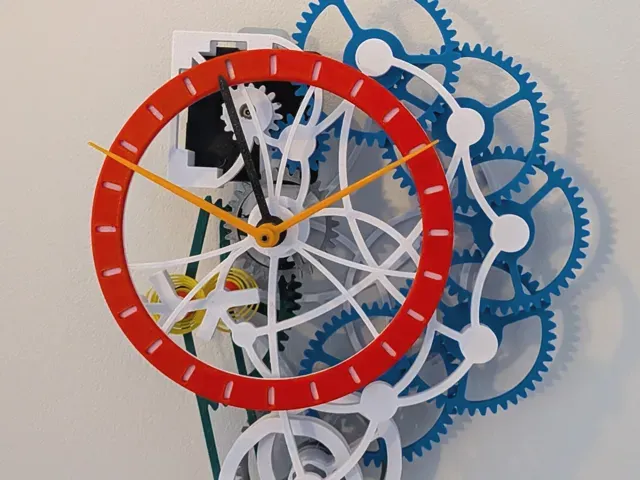
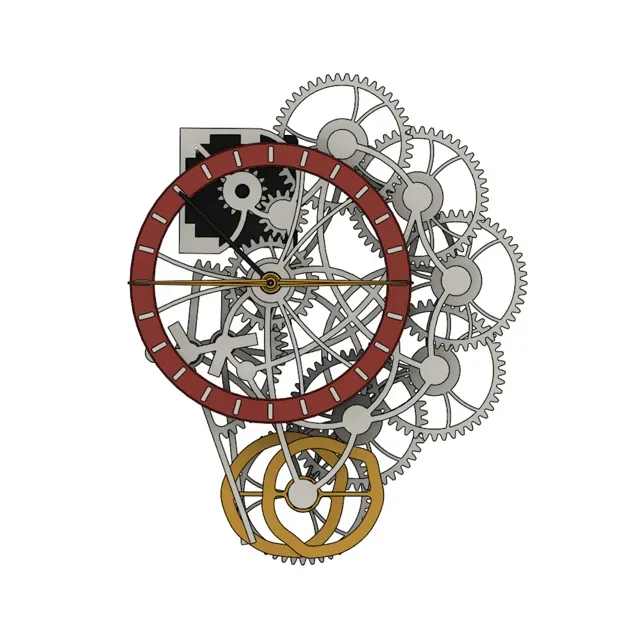
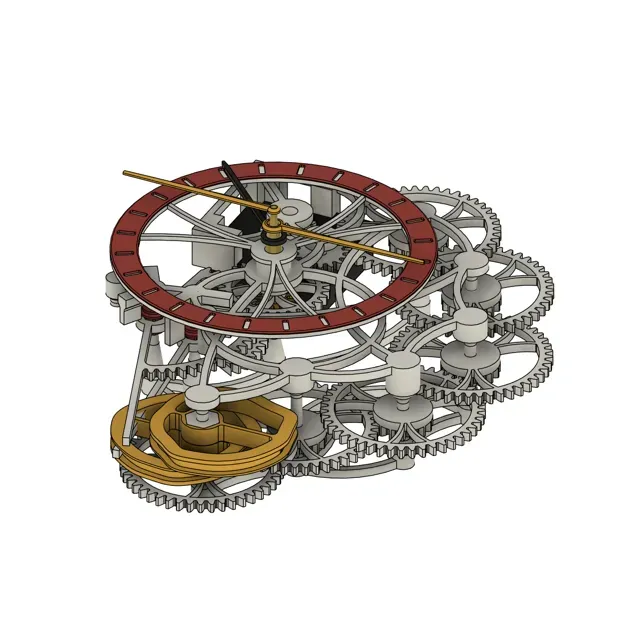
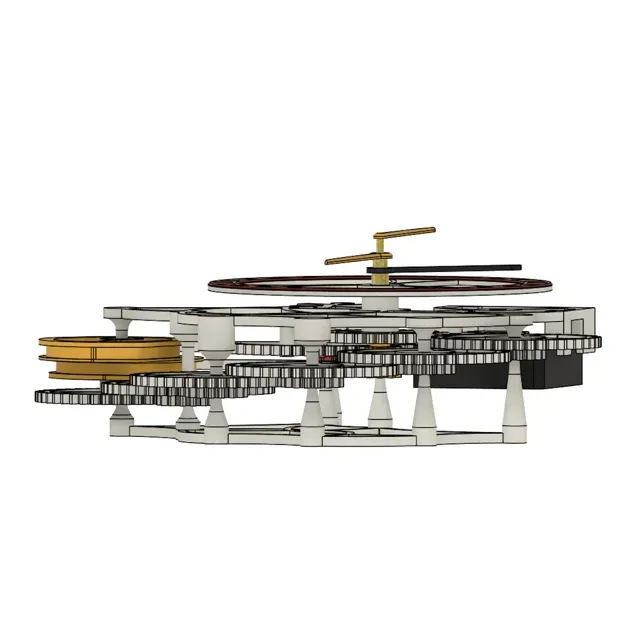
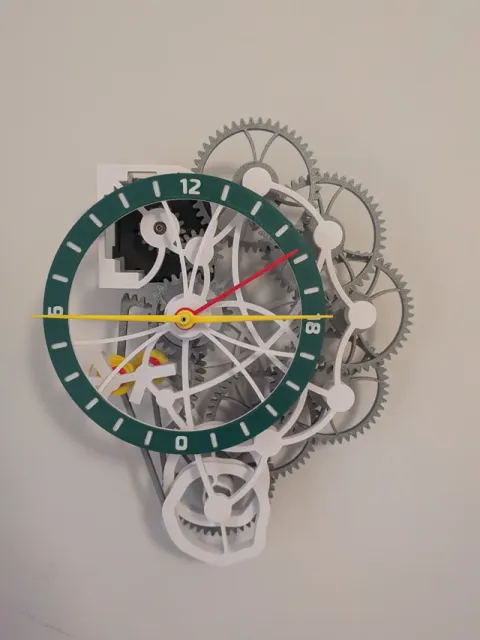
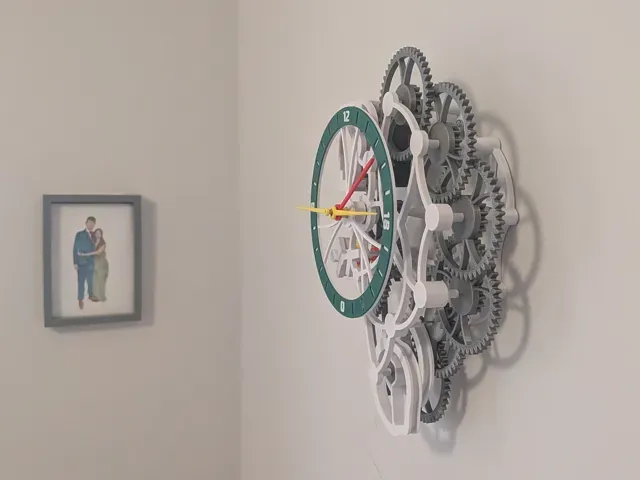
Assembly guide is now available, please read the difficulty note before printing:
Assembly guide · Sunrise Clock .
This is a v1 design - it's not the best, and it's a demanding build. It works - I've built it several times - but it isn't easy. You'll need to ream printed holes in rotating parts for perfect alignment, cut steel rod and brass tube to length, press-fit the hands with pliers. Calibration is essentially one-shot - if the clock stops, resetting it means partial disassembly and recalibration. Perhaps read it through from start to finish before you begin, so that you know what you're up against.
I'm working on a v2 redesign that will make assembly and calibration much easier - pretty much all the files will be changed. v1 files will stay available.
---
Mechanical Sunrise Sunset Clock - shows 24-hour time plus sunrise and sunset indicators that change throughout the year based on astronomical calculations. Each sunrise and sunset cam profile is unique to a specific Latitude/Longitude location.
Read all about how it works here:
Sunrise Clock · amiablealex
---STILL IN DEVELOPMENT---
This upload includes all 3D printable parts. You'll also need some brass tubes, rods, and a quartz clock mechanism. Working on making this easier to assemble, including fixing some tolerances, detailed parts list, assembly guide, Cam profile calculator coming soon!
You will need a way of cutting the stainless steel pins and brass rods to correct size.
A note on rotating parts (gears):
Rotating parts are deliberately modelled with centre hole too tight - the steel rod will not pass through straight away. This is because if they were printed with holes that fit the rods the chances are that they would be too loose and wobble around the axis. Axial alignment of rotating parts is very critical for the clockwork. The best way to achieve perfect alignment is to print deliberately too tight and gradually erode the centre hole, first with 1.5mm drill bit and then second with a burred piece of the steel rod. Eventually the gear will fit perfectly on the steel rods, you will know when it's right because it will spin on the rod with very little resistance and no axial wobble.
Questions? Please ask!
Change history:
- Update 15/09/2026
Assembly guide now available. No changes to printed files.
- Update 30/03/2026
V2 files - update to some tolerances and minor improvements. See attached V2_changes.txt
Plate-specific settings (0.2 / 0.12mm, slow for small parts) 0.2 / 0.12mm layer height depending on part size
slower speed settings for small parts / intricate perimeters
tree support for CAMs
Change History:
V2.2 - 13/Jun/2026 - Replaced both cams with correct profile versions V2.1 - 12/Jun/2026 - Flipped gear on plate 3 by 180 degrees - previously it was upside down and causing unprintable overhang
PETG - Hairspring Only (0.12mm, slow) PETG profile for hairspring (hotter, slower etc…)
as PETG is better material for spring than PLA




Названия используются только для указания источника результата. Polyzon не аффилирован с перечисленными площадками.
Комментарии