
Бесплатно 
AirRing - Air quality monitor MQTT
MakerWorld
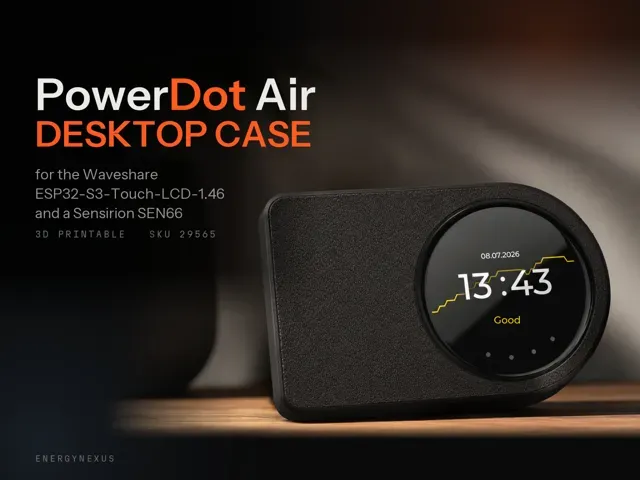
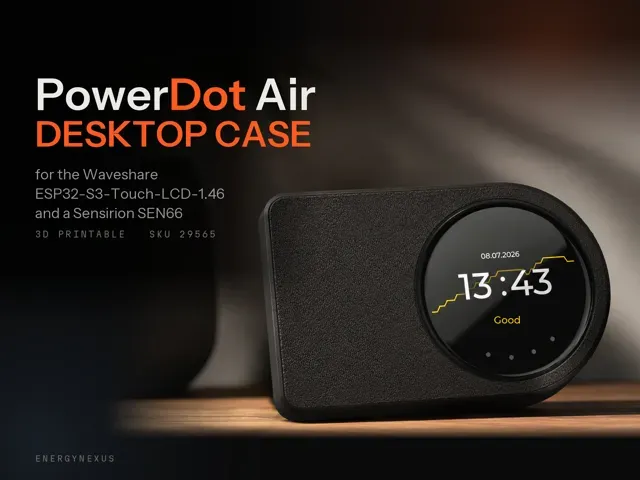
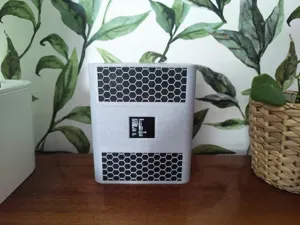
PowerDot Air – Home Assistant air quality sensor case for the Waveshare ESP32-S3-Touch-LCD-1.46
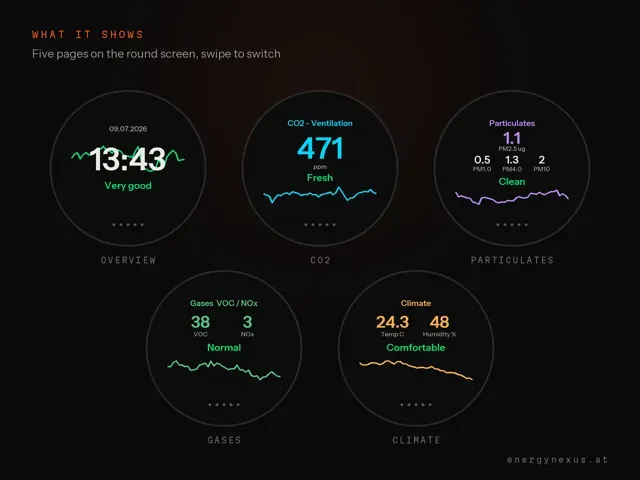
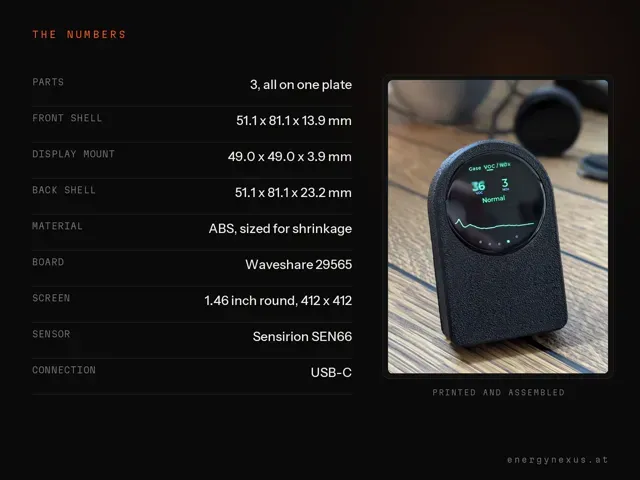
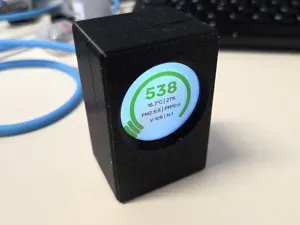
A three-part desktop case for the round 1.46-inch Waveshare ESP32-S3 touch display (SKU 29565, 412 x 412) and a Sensirion SEN66 sensor. It is the housing of the PowerDot Air : CO2, particulate matter (PM1.0, PM2.5, PM4.0, PM10), VOC and NOx index, temperature and humidity on one round screen, sent to Home Assistant over MQTT on your local network.
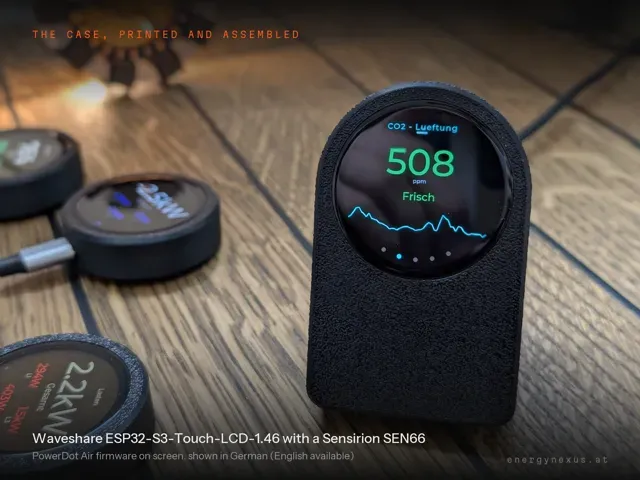
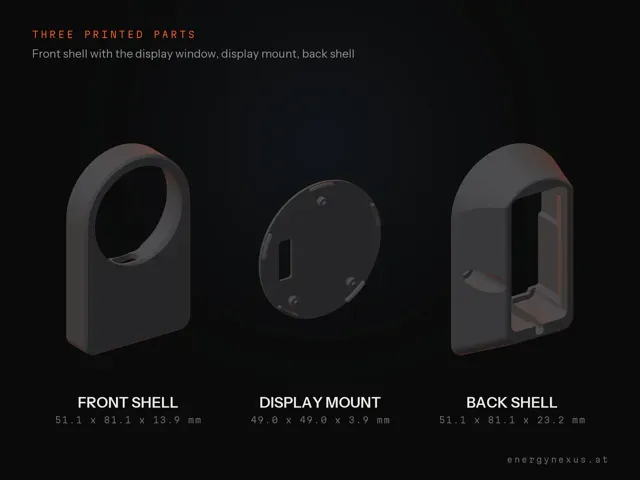
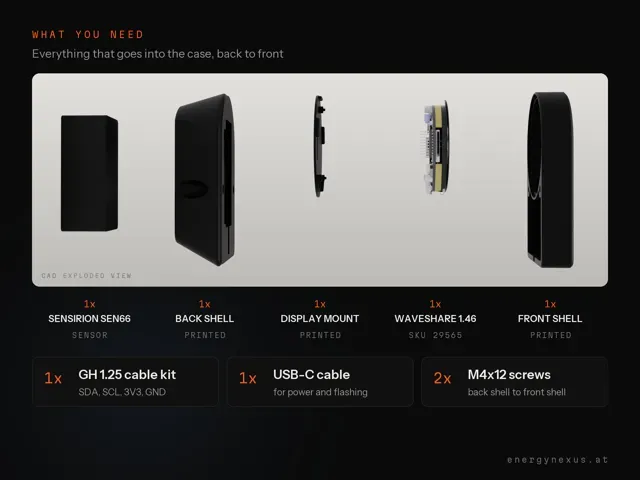
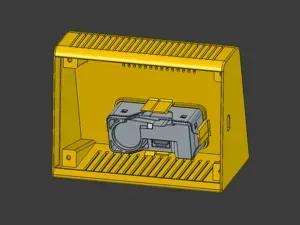
The Waveshare board sits in the front shell, the display mount holds it from behind, and the SEN66 sits in the back shell, which closes the case. The case stands upright or on its long side; with Auto-rotate switched on, the screen turns with it. It is sized for ABS shrinkage, so print it in ABS.
What you need
- 1x Waveshare ESP32-S3-Touch-LCD-1.46 (SKU 29565, the version with protective glass) - 1x Sensirion SEN66 - 1x JST GH 1.25 mm pre-crimped cable kit * for the four wires between the SEN66 and the board - 1x USB-C cable * for power (to flash the firmware, the cable must carry data) - 2x M4x12 screws to fasten the back shell to the front shell - The three printed parts below Check the SKU before you order: Waveshare sells the 1.46-inch board in three glass variants (29564, 29565, 33837) with different outer dimensions, and this case is made for 29565.
*Affiliate links.
The three parts
Front shell, with the display window 51.1 x 81.1 x 13.9 mm
Display mount 49.0 x 49.0 x 3.9 mm
Back shell 51.1 x 81.1 x 23.2 mm
Plate all three parts on one plate
Printing
The attached profile is what we print with: ABS, 0.16 mm layers, 2 walls, 15% infill. All three parts fit on one plate and take about 2.5 h and 29 g of filament. Print in ABS: the parts are sized for ABS shrinkage and will not fit together cleanly in PLA or PETG.
Assembly
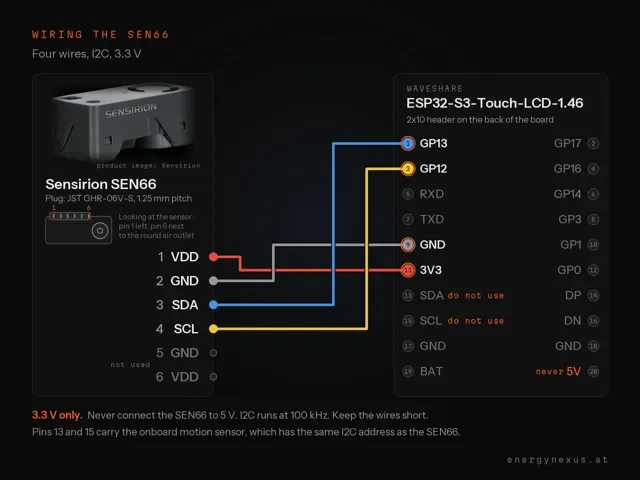
The SEN66 runs on 3.3 V only. Never connect it to 5 V.
Wire the SEN66 to the 2x10 pin header on the back of the Waveshare board: SEN66 pin 1 (VDD) to 3V3 (header pin 11), pin 2 (GND) to GND (header pin 9), pin 3 (SDA) to GP13 (header pin 1) and pin 4 (SCL) to GP12 (header pin 3). Do not use the header pins marked SDA and SCL (pins 13 and 15): that bus belongs to the onboard motion sensor, which has the same I2C address as the SEN66. Keep the wires short. The ESP32's internal pull-ups are enabled and are enough for short wires; if the sensor is not detected, add a 4.7 kΩ resistor from SDA to 3V3 and one from SCL to 3V3.
Insert the Waveshare board into the front shell from behind. Route the wires through the slot in the display mount and press the mount into the front shell behind the board. The SEN66 goes into the back shell from behind: unplug the cable from the sensor, pass the plug through the opening from inside the back shell, plug it back in and push the sensor in until it rests on the inner ledge; it is a tight fit. Plug the USB-C cable into the board and test the device before you fasten the back shell to the front shell with the two M4x12 screws, because they cut their own thread. The attached assembly guide shows every step.
What runs on it
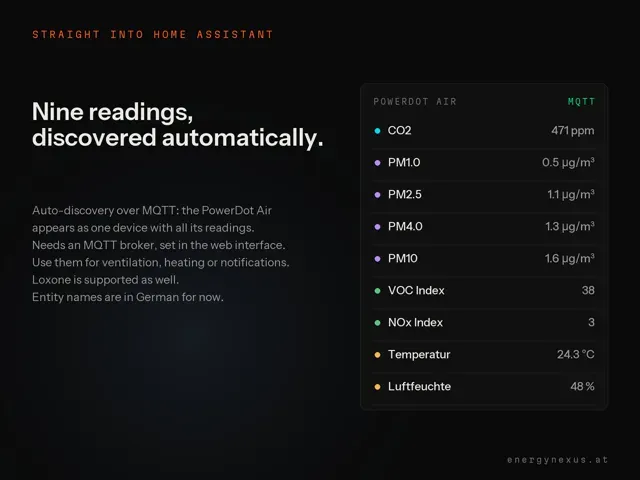
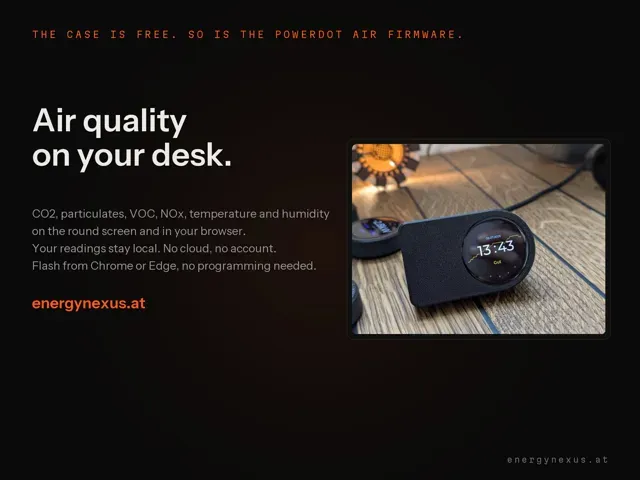
The PowerDot Air firmware shows all SEN66 readings on the round touch screen and in a web dashboard in your browser. Home Assistant discovers the device automatically over MQTT once you switch Home Assistant on in the web interface and enter your MQTT broker. Loxone is supported as well. Your readings stay on your local network, with no cloud and no account; the device only goes online to set its clock and when you check for a firmware update.
The display and the web interface start in German. To switch to English, open the web interface and go to Gerät > Sprache (Device > Language); the device restarts briefly. The Home Assistant entity names are in German for now.
Firmware, setup guide and flashing tool are on the PowerDot Air page at energynexus.at (in German). Connect the board by USB-C, open the page in Chrome or Edge and flash it in a few clicks, no programming needed. When the flashing tool says it is done, unplug the USB cable and plug it back in. Updates come over Wi-Fi. The case and the firmware are both free.
More from us on MakerWorld
- PowerDot – Victron Monitor (1.46" ESP32-S3) - ViewDot 700 – Victron Monitor Case (ESP32-P4 7") Boost Me This case is free. If it prints well for you, a Boost costs you nothing and helps us keep improving the model. Photos of your print are welcome in the comments. Thanks from EnergyNexus! Questions go in the comments, we read them.
ABS 0.16mm layer, 2 walls, 15% infill ABS – das Gehäuse ist auf die ABS-Schrumpfung ausgelegt. Bitte auch wirklich mit ABS drucken, sonst passen die Teile nicht sauber zusammen!





Названия используются только для указания источника результата. Polyzon не аффилирован с перечисленными площадками.
Комментарии