
Бесплатно 
HSW Insert Clearance Check Honeycomb Storage Wall
MakerWorld
Overview
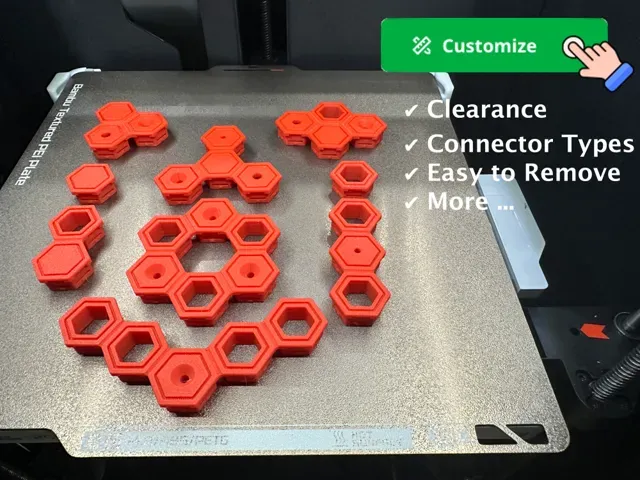
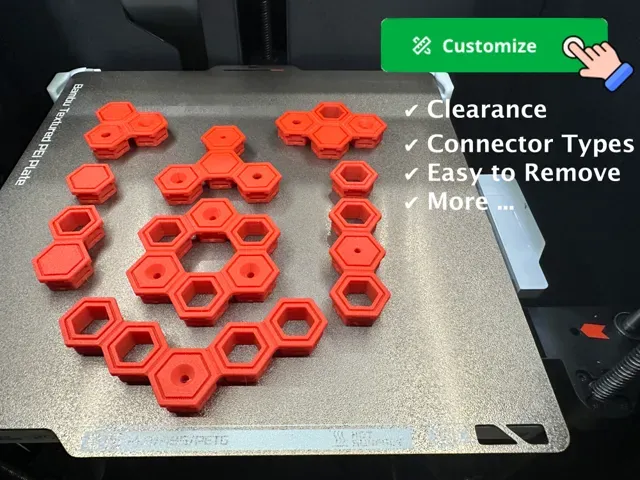
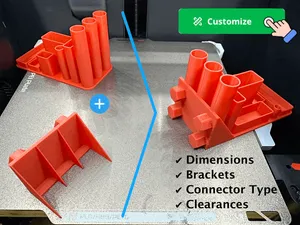
This parametric 3D model allows users to generate customized inserts for Honeycomb Storage Wall (HSW) systems. Unlike pre-made inserts that come in specific configurations and dimensions, this model provides the flexibility to create inserts that perfectly match individual needs.
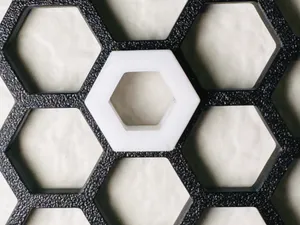
A separate clearance test model is available to evaluate clearance settings, addressing the sensitivity of HSW to exact physical dimensions influenced by printer, material, and print settings. That model is available on Makerworld at https://makerworld.com/en/models/551921 .
These two models comboned aim to be the ultimate solution for HSW inserts. I am open to requirements to further enhance this model to truly achieve this aim, if you have such please write them in the comments.
Boost Me If you enjoyed this model, please consider boosting it to encourage the creator to continue developing this and other models ! Follow Me
To receive updates on new models I upload, Honeycomb Storage Wall related and others
If you find this model helpful, be sure to check out my other related models, at the end of this document , to get even more out of your Honeycomb Storage Wall !
I really recommend you checkout my latest model - a unique filament clip. using a simple rubber band.
After not finding a filament clip that fit my requirements I designed my own.
Available at https://makerworld.com/en/models/1369230 .
Update (Aug 5, 2024) : Added support for a row of connectors (so three more) below the basic four connectors. Named using the prefix “Under ”. (Based on need I saw on Reddit). Please let me know in the comments if you encounter bugs or other issues .
Features
- Flexible Insert Configuration : Customize up to four connectors per insert, each selectable from various types. - Clearance Adjustment : Set precise dimensions for perfect fitting. - Connector Types : Choose from Covered, Hollow, M3, M4, M5, Countersunk-Deep, and Countersunk-Shallow. - Additional Options : Include or exclude tabs, top decorative grooves, and easy-to-remove grooves. Parameters
The Basics - The 4 Standard Locations
- Left Insert Type : Select the type of connector for the left side (Options: None, Covered, Hollow, M3, M4, M5, Countersunk-Deep, Countersunk-Shallow) - Top Insert Type : Select the type of connector for the top side (Options: None, Covered, Hollow, M3, M4, M5, Countersunk-Deep, Countersunk-Shallow) - Right Insert Type : Select the type of connector for the right side (Options: None, Covered, Hollow, M3, M4, M5, Countersunk-Deep, Countersunk-Shallow) - Bottom Insert Type : Select the type of connector for the bottom side (Options: None, Covered, Hollow, M3, M4, M5, Countersunk-Deep, Countersunk-Shallow) Extended - Additional Row Locations
- Under Left Insert Type : Select the type of connector under the left side connector from above (Options: None, Covered, Hollow, M3, M4, M5, Countersunk-Deep, Countersunk-Shallow) - Under Bottom Insert Type : Select the type of connector for under the bottom side connector from above (Options: None, Covered, Hollow, M3, M4, M5, Countersunk-Deep, Countersunk-Shallow) - Under Right Insert Type : Select the type of connector under the right side connector from above (Options: None, Covered, Hollow, M3, M4, M5, Countersunk-Deep, Countersunk-Shallow) Super Extended - For Long Inserts - Implemented on Special Request
- Bottom Right Insert Type : Try to see where it's located (Options: None, Covered, Hollow, M3, M4, M5, Countersunk-Deep, Countersunk-Shallow) - Under Right to Bottom Right : Try to see where it's located (Options: None, Covered, Hollow, M3, M4, M5, Countersunk-Deep, Countersunk-Shallow) Other Configuration Options
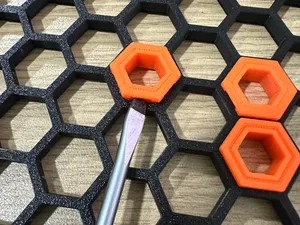
- Generate Face Down : Set to true if you prefer the insert to be face down during printing. If false, you will need to turn the model face down in your slicer. - Insert Clearance : Adjust to fine-tune the fit by subtracting from insert opposite-faces distance. - Hollow Clearance : Adjust to fine-tune the fit by adding to hole opposite-faces distance. - Top Decorative Groove : Include a decorative groove on top (true/false). - Easy-to-Remove Grooves : Include easy-to-remove grooves for easier extraction (true/false). - Tabs : Include tabs on the connector (true/false). Usage Instructions
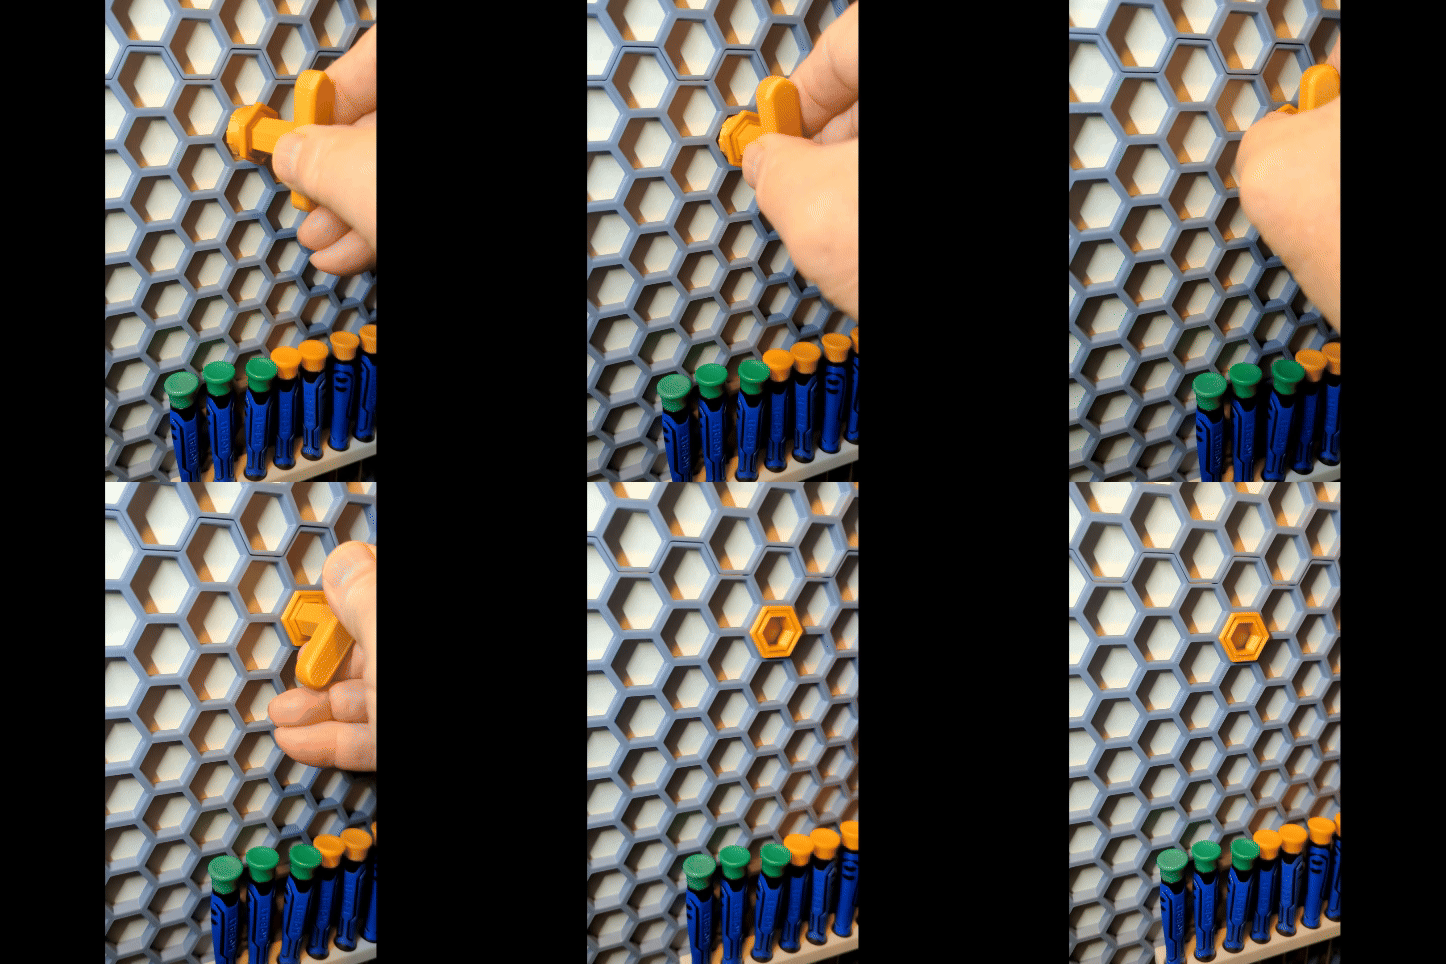
- Test the Fit : Use the separate test model to ensure the insert dimensions are correct before final printing. - Select Connector Types : Choose the type of connector for each side (left, top, right, bottom). - Set Clearances : Adjust Insert Clearance and Hollow Clearance to fine-tune the fit based on your printer and material. - Enable Easy-to-Remove Grooves : Ensure Easy-to-Remove Grooves is set to true for easier extraction of the connectors from the board. - Configure Additional Features : Enable or disable tabs and top decorative grooves as needed. - Set Generate Face Down : Adjust the Generate Face Down parameter according to your printing preference. - Generate the Model : Finalize your settings and generate the 3D model for printing. Printing Tips
- Material and Settings : Consider the material and print settings, as they affect the final dimensions. - Orientation : Depending on the Generate Face Down setting, you may need to reorient the insert in your slicer. It should print with the front visible face touching the bed. This model empowers users to create perfectly fitting HSW inserts tailored to their specific requirements, ensuring a secure and precise fit.
Examples
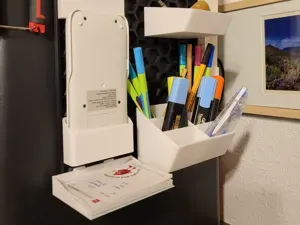
The following example is a more elegant solution to what ‘ Fix This Build That ’ (on youtube) is trying to achieve in his HSW video: Best Wall Storage for Makers? (youtube.com)
— News —
If you find this model helpful, be sure to check out my other related models:
1. Mount 'Make My Organizer' to HSW Skadis Multiboard - the easiest way to design and mount a custom made Organizer to your Honeycomb Storage Wall or other walls (Skadis, Multiboard).
It will also allow you to mount ANY model to Honeycomb Storage Wall, IKEA Skadis and Multiboard !
Available at: https://makerworld.com/en/models/552190
2. Customizable organizer designed with the Honeycomb Storage Wall in mind ! It's perfect for organizing tools, crafts, or any small items. With adjustable compartments, customizable details, and a solution for connector tolerance issues, this organizer can be tailored to fit your exact needs. Discover how it can revolutionize your workspace organization!
Available at: https://makerworld.com/en/models/497259
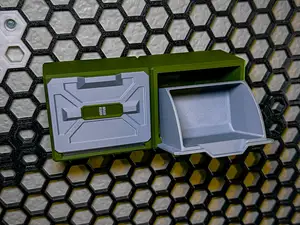
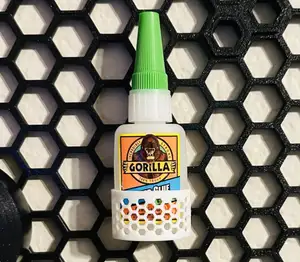
ONLY Examples to Non Standard Inserts - Zero Clearance These are ONLY examples to show what can be achieved using this parametric model. These are probably not very useful inserts, but are here to make a point. They are all using Zero clearance.
Please use the parametric model to generate inserts based on your needs both in terms of configuration and clearance values.
See model description for more information.
0.2mm layer, 2 walls, 15% infill



Названия используются только для указания источника результата. Polyzon не аффилирован с перечисленными площадками.