
Бесплатно 
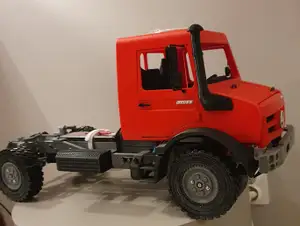
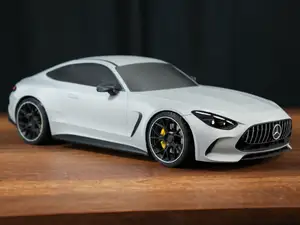
RC CAR body Peugeot 3008 (2024) 1:12 scale
Printables

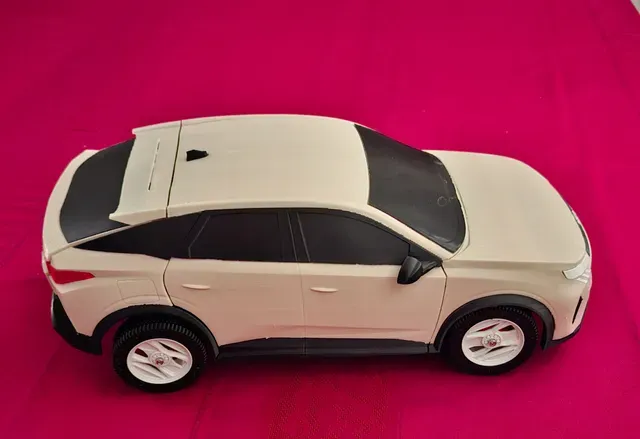

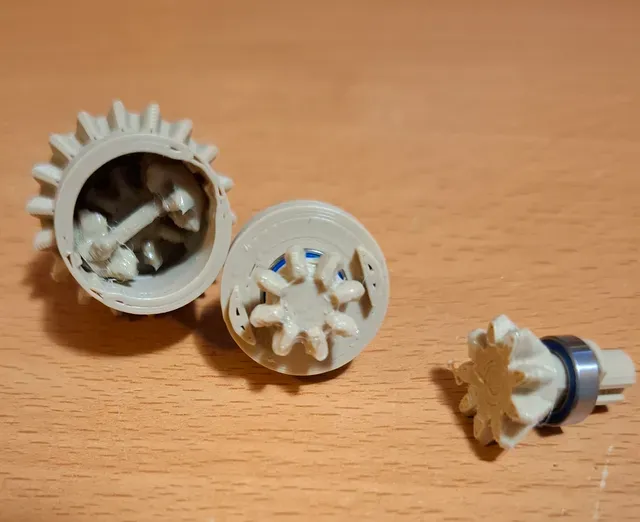


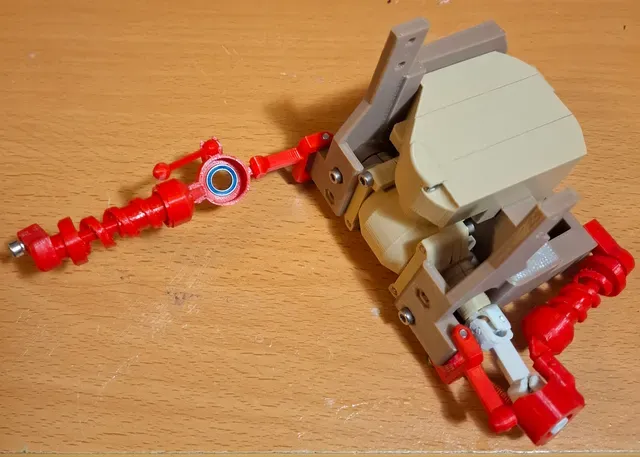
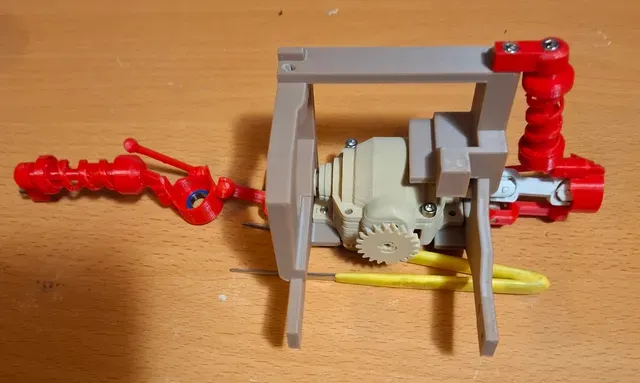


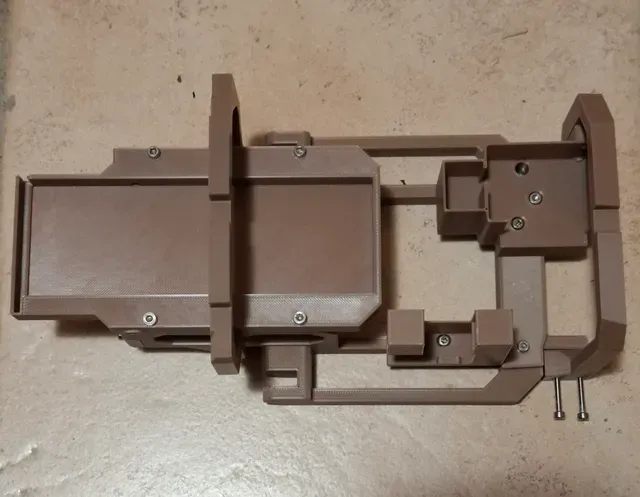


16/12/2025: I improved the Mc Pherson strut TPU spring using the design in my shock absorber #4
(New updated STL for part MCP07 and new print file).
Print TPU on some masking tape to protect your buildplate.
You can also use shock absorber #4 on the rear suspension of this chassis instead of the original SAB parts. You need to use retrofit adapter 3008 and mount SAB#4 upside down (the top link part connects to the suspension arms and the piston part connects to the chassis)
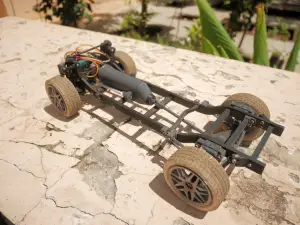
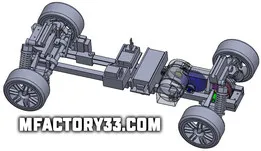
18/12/2024: I'm releasing the chassis that goes with my Peugeot 3008 (2024) body . It might be a little late for you to print everything for Xmas but here goes !
Trial run with a twist 😂
RC stuff used:
- 2216 brushless motor
- “Car” ESC with a fan and a switch
- a receiver and a radio (I'm using a flysky)
- a MG90S servo
Other hardware:
- M3 hex screws (no nuts) - choose the right length (starting at 6 mm)
- MR 117 (11x7x3) ball bearings (differential Qty 5, gearbox Qty 8, wheels Qty 4)
- 6700ZZ (15x10x4) ball bearings Qty 2 for the differential
Sub assemblies (the links are mainly for mounting tips/pictures; always use the STL or print files of this model )
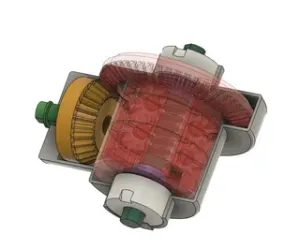
- a differential that is a remix form my #3 diff
- a specific gearbox that fits “under the hood”
- driveshafts (front axle only)
- a Mc Pherson strut front suspension
- a torsion beam rear suspension
- shock absorbers for the rear axle
- tires (TPU) and rims
- the chassis itself
All my print files have been tested so if you own a Prusa MK3S it is best to use my print files. But if you use another printer or wish to do your own setup, nevertheless look at the orientation and support choices I've made.
Now a few things are tricky; I've done my best to have printable parts but sometimes the print fails and using some 3DLAC does the trick … One difficult case is the PLA spring of the Mc Pherson suspension. Printing the coil (even at 0.1) without supports works provided the bed adhesion is good, hence the 3DLAC.
I've improved the TPU spring that sits in the dampener; it is now reasonably springy and easier to print. For TPU, if I don't need the flexibility on the first layer I usually print one layer of PLA and the rest in TPU. This way you don't need to protect the buildplate (The gcode asks for a color change - that's you cue to put TPU)
For tires, unfortunately this trick does not work, so you need to put paper stick glue (I call it lipstick glue) on the area where the tires are going to print.
Mounting tips:
For the servo, I've tried to print a spline on the rack gear but after a while, the servo gear would eat the plastic and steering stopped working. So I'm using the one sided horn that came with the servo and the rack gear has a dent to house the horn. Put the horn at 45 degrees on the left so it does not interfere with the motor; you don't need the screw as the steering clamp blocks everything in place.
For the differential, one of the screws needs to come from the other side because the screw head would interfere with the gearbox (crammed it is). Or if you are using Philips heads it might just work.
First mount the differential, then the gearbox. You need to fiddle with the gearbox a bit before it sits properly in place (then you can tighten the screws). Then mount the servo and motor assembly (part called steering support).
For the front wheels, the hex connector of the driveshaft is very short and barely bumps out of the knuckle. The best strategy is to detach the top link and the lower arm and then place the wheel correctly on the drive shaft (hex F to hex M) and tighten the screw. Once the wheel is mounted, you can attach the lower arm, the top link and the tie rod (and the other side of the driveshaft to the differential link). Repeat on the other side.
Now the following parts might break when mounting the front axle: the lower arm (ball joint), knuckles (also at the ball joints), the tie rod when removing supports… So be gentle and maybe print a few extra !
Mounting the chassis and the RC brackets should be pretty straightforward.
For the torsion beam suspension, first put the beam though the 2 holes in the L and R rear chassis. Then mount the trailing arms. The beam is caught in-between. Tighten the 2 screws that hold the beam. Then mount the 2 shock absorbers. The wheel spacers go between the wheel and the arm.
BTW the torsion beam really works ! If you press on one side the other barely moves and the torsion beam twists…
------------------------
Naming convention for parts:
XXXnn-kk-name





Названия используются только для указания источника результата. Polyzon не аффилирован с перечисленными площадками.