
Бесплатно 
Torsion bar rear suspension for 1/12 RC CAR
Printables
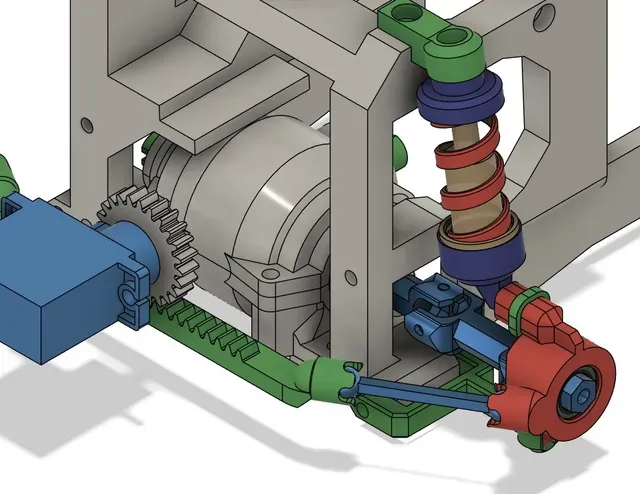


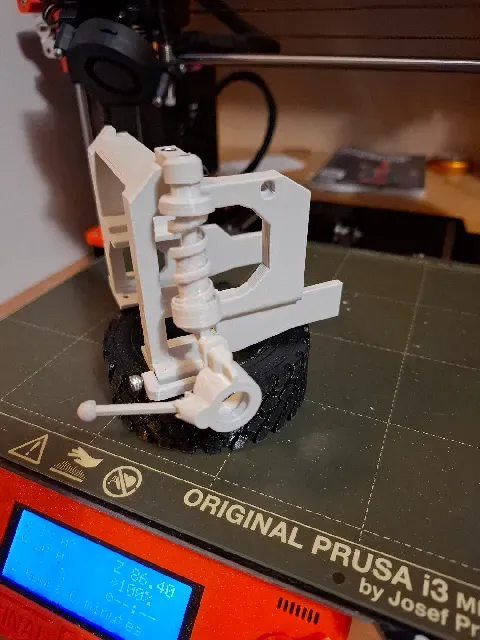
This a first subset of my new RC car project.
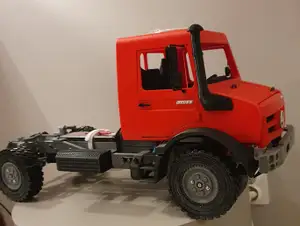
I'm trying to replicate as much as possible a European medium compact car at 1/12 scale (in the likes of a Peugeot 3008).
Usually, these cars don't have a double wishbone suspension so I had to make a McPherson strut design.
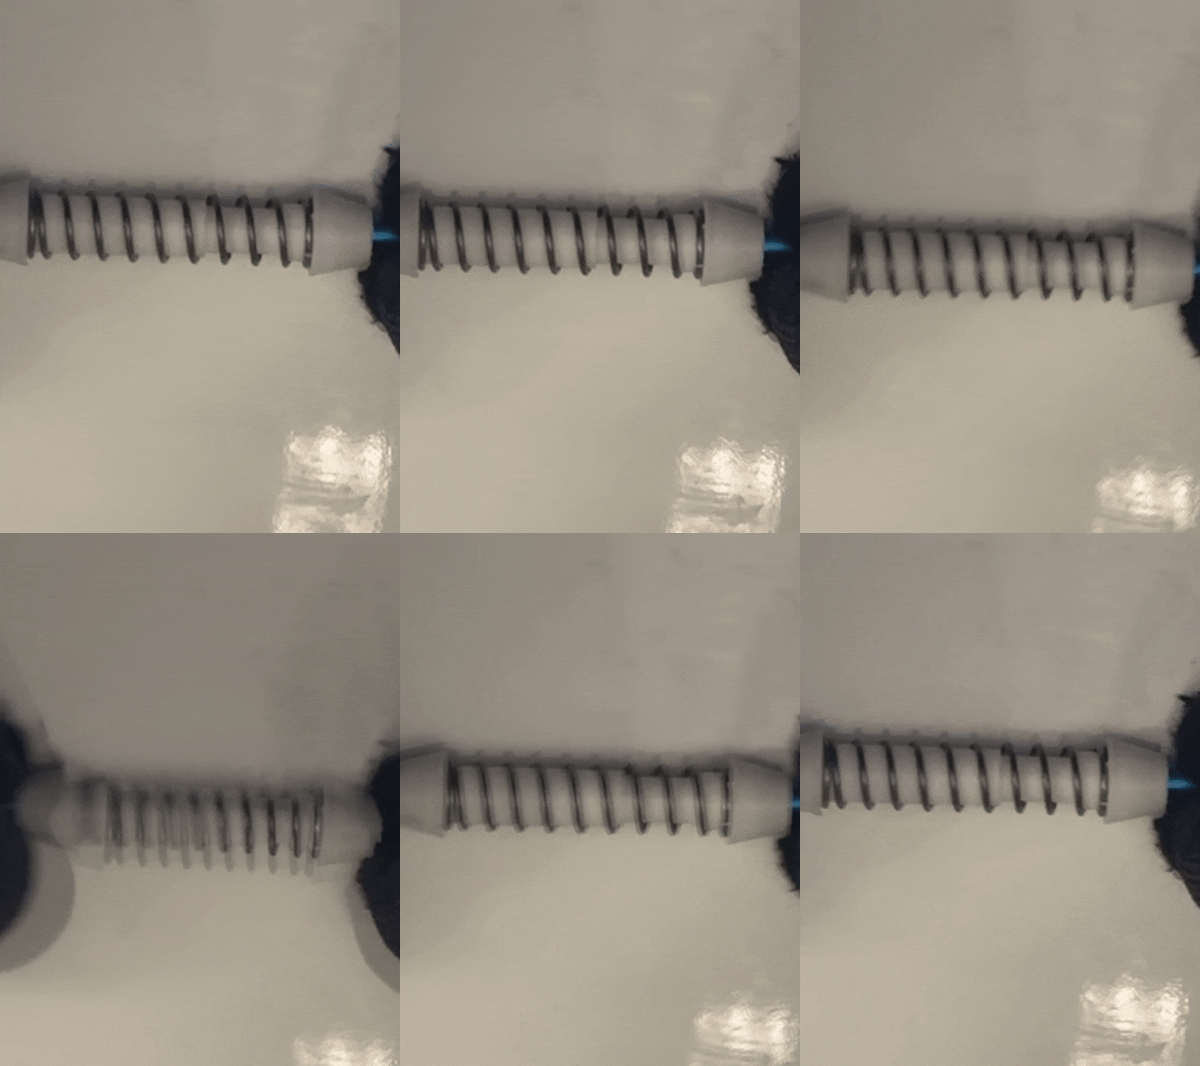
The PLA coil spring is mostly for show (but works) as the real spring effect comes from the TPU spring that sits in the "dampener" part. The TPU spring is strong on purpose to get a more realistic suspension travel.
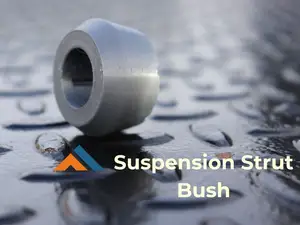
The steering geometry and the kingpin angle are trying to mimic real life Mc Pherson suspension tradeoffs. Because the upper pivot is now at the top of the shock absorber, 2 PLA parts (the bushing and the top cup) might have some (very little) interference. I didn’t use a “rubber” bushing (TPU seemed overkill) but I'm counting on tolerances to prevent that.
This time the servo will be in front of the wheels so in order to get the Ackerman angle right, the attachment for the tie rod goes deeper in the wheel rim. The differential will be based on my diff #3 as this project is more of an indoor vs off-road car.
It will be a front drive only and the rear suspension should be based on a torsion beam once I figure out how to make that out of plastic (stay tuned)!
Printing / mounting tips
Use my print files preferably for better results. 0.1 is enough to print the coil spring without supports and get the PLA screw to work (low link to shock tube).
You need a 16 mm M3 screw that serves as the dampener's piston core and a 6mm M3 screw to mount the top cup with the top link. Leave .5 mm of play to avoid the aforementioned interference. The piston sleeve should provide an acceptable sliding (plastic to plastic contact) provided you put some grease.
The TPU spring is better printed at 0.2. It moves a bit during print but the result is still fine. And remember to put PLA first when you print TPU. The “color change” lets you put actual TPU once the first (PLA) layer has been printed eliminating the need to protect you build-plate.
The knuckle and the lower arm are connected with a ball joint. The ball (knuckle side) snaps into the lower arm (gently so you do not break anything). You might need to sand the ball in order to get a smooth rotation.
The chassis is the test jig so you can mount everything (M3 screw for the lower arm and top link) and try suspension and wheel turns … Put some grease on the coil spring and piston and maybe leave the TPU spring out for the time being as you don't have the weight of the car yet.






Названия используются только для указания источника результата. Polyzon не аффилирован с перечисленными площадками.