
Бесплатно 
ODroid H4 NAS Case
Printables

Stats
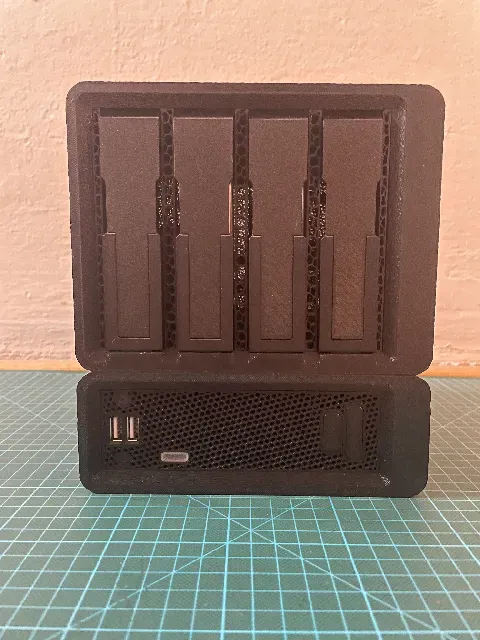
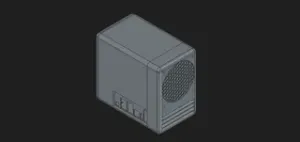
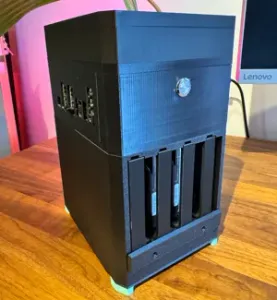
NAS case for Odroid H4+ or Ultra single board computer
- supports up to four 3,5" HDDs - support up to two NVMe drives with Odroid M2 expansion cards m-2-2x2-card ( m-2-4x1-card variant not tested but it should fit in also) Temperatures with ARCTIC P14 SLIM at 50% and average ambient temperature of 24°C (depends on particular drive brand/revision)
- HDDs Seagate IronWolf Max 46°C in span of ~6 months, idle Max 29°C - NVMe Verbatim Vi3000 Max 31°C in span of ~6 months, idle Max 20°C Bill of materials:
- 1x Odroid H4+
- 1x 140 × 16 mm FAN
- 4x SATA Data and Power Cable (required just for power connector)
- 2x 40cm - HDD SSD SATA Power Cord Male To Female - 2x 30cm - HDD SSD SATA Power Cord Male To Female
- 1x Dual USB 2.0 A Type Female
- 44x M3x4.6x3.0 - Heat Set Insert
- 26x M3x10 - Flat head screw
- 26x M3x10 - Countersunk screw - 20x M3x5 - Countersunk screw Printing
- Odroid/Disk main frame have 3 perimeters for rigidness however it can be printed with just 2 perimeters resulting less rigid case print everything can be printed with just single 1kg spool of filament - All parts except for odroid and disk frame can be printed without supports - odroid/disk frames uses custom supports with auto-generated top interface - All parts should be printed at least with PETG as based on HDDs and cooling profile they can reach ~45°C - LED funnel part needs to be printed in vase mode - In case the front plate with USB IO and builtin buttons doesn't suit your needs front-cover-blank.stl/front-cover-simple.stl can be customized - In case the flex HDD trays doesn't suit your needs caddy-aio can be used
Printing
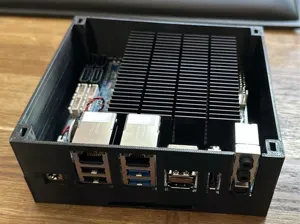
- Remove supports from odroid/dist frames and HDD tray frame - odroid frame build-in supports
- disk frame build-in supports
- cleanup flat sides with sand paper if needed - Insert heat inserts to following parts - odroid frame
- sata clips
- tray bumpers
- Insert back cover into odroid frame it should be a press fit
- Fix odroid motherboard with 2 M3x10 - Flat head screw
- Assemble power/reset levers to its stand with 2 M3x10 - Countersunk screw
- Mount lever stand and LED difuser stand with 2 M3x10 - Countersunk screw
- Assemble front cover - check if buttons can freely move if not try to free it by wiggling it or strong push - press fit LED diffuser - attach front USB with 2 M3x10 - Countersunk screw - Insert front cover into odroid frame it should be a press fit
- Attach front USB cables to motherboard
- Mount LED diffuser funnel into it stand it should be a press fit
- Attach bottom cover to odroid frame with 4 M3x5 - Countersunk screw
- Attach disk frame to odroid frame with 8 M3x10 - Countersunk screw
- Assemble sata clips - replace sata power connectors on HDD SSD SATA with the Odroid one (either cut & re-solder or re-crimp) - attach SATA cable with 2 M3x10 - Flat head screw and pre-bend cables into the clip cutout
- starting from left with the longest cable clip attach each clip into disk frame by 2 M3x10 - Countersunk screw from back - cables can be router under each clip if needed - connect cables to odroid motherboard - tidy up cable management of SATA cables (validate with side plate that nothing pretrudes)
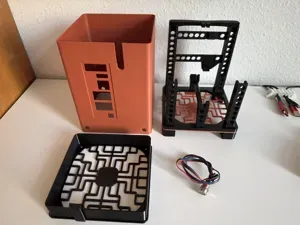
- Assemble fan divider - with provided screws so that fan blows air trough the divider tray - connect cables to odroid motherboard - tidy up cables so that nothing protruded above the heat-sink that can block fan from spinning - insert fan divider into disk frame
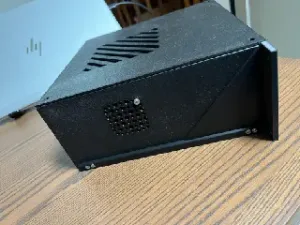
- Insert sata side plate into disk frame it should be a press fit
- Insert sata divider into disk frame and fix it into place with 4 M3x10 - Countersunk screw
- Insert front cover into disk frame by slightly bending each rib it should be a press fit
- Assemble HDD tray - slide on tray cover by slightly bending it
- insert front of lock pin into tray and interlock it with tray cover
- interlock lock pint spring into tray - attach side bumbers to tray by 4 M3x5 - Countersunk screw - attach HDD to tray by 4 M3x10 - Flat head screw - Insert all trays into disk frame by sliding tray cover and sliding it in





Названия используются только для указания источника результата. Polyzon не аффилирован с перечисленными площадками.