
Бесплатно 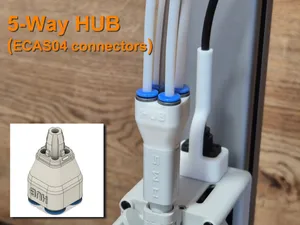
A1 5-Way AMS Hub with ECAS04 connectors
MakerWorld







Thanks to ramservices for the original design.
I have redesigned for metric hardware and a better passthrough of filament. Thanks to ramservices for the original design, I have redesigned for metric hardware and a better passthrough of filament.
I have redesigned the rear conector to use captive nuts & ECAS04 Pneumatic Connector, additionally only 5 M2.5 holes need to be drilled into the clear polycarbonate top shell for 4 M2.5 X 12mm fixings and filament to pass through.
BOM
1X hygrometer/thermometer - https://www.aliexpress.com/item/1005008841100994.html?spm=a2g0o.productlist.main.13.17cf19cbwd0wUq&algo_pvid=76df6ef1-c495-4d17-844b-3bbb69e0a039&algo_exp_id=76df6ef1-c495-4d17-844b-3bbb69e0a039-12&pdp_ext_f=%7B%22order%22%3A%22749%22%2C%22eval%22%3A%221%22%7D&pdp_npi=6%40dis%21GBP%212.29%212.29%21%21%2121.36%2121.36%21%40211b816617565052130006221e2ad4%2112000046905925246%21sea%21UK%213890367161%21X%211%210%21n_tag%3A-29919%3Bd%3Ae48617ae%3Bm03_new_user%3A-29895&curPageLogUid=KBgx1z2xbrCx&utparam-url=scene%3Asearch%7Cquery_from%3A%7Cx_object_id%3A1005008841100994%7C_p_origin_prod%3A#nav-description
4X M2.5 X 12mm screws
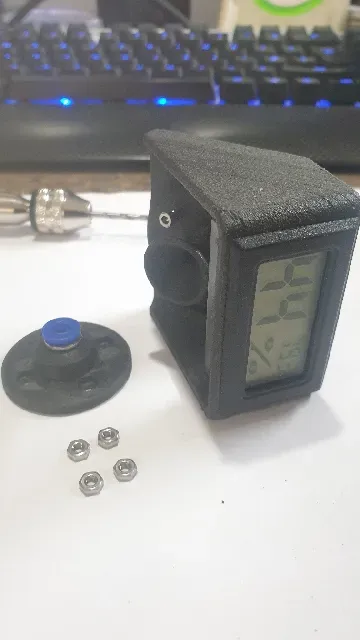
4X M2.5 nuts
1X ECAS04 Pneumatic Connector - https://www.aliexpress.com/item/1005008678124178.html?spm=a2g0o.order_list.order_list_main.73.76ef1802ARcmyQ
All you will need is a drill with a 2.5mm drill bit to cut the 5 holes needed for the fixings and filament pass through.
BUILD INSTRUCTIONS
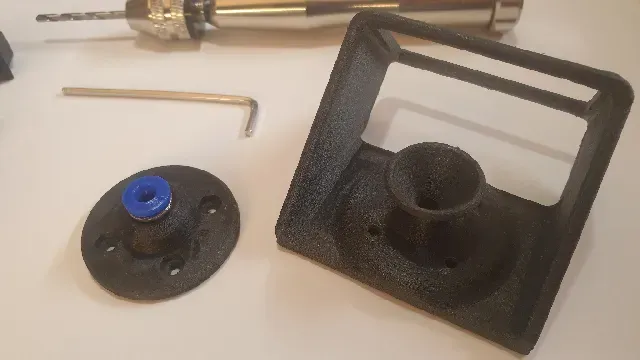
I printed the parts and run a drill through the holes in the printed parts, I then temporarily installed the internal part with a bit of double sided tape in the correct location to mark the position of the holes to be drilled.
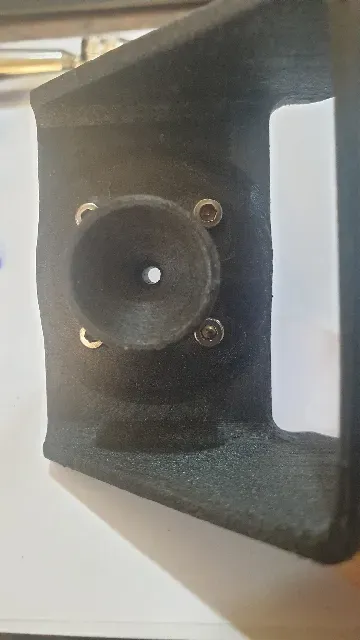
Once all 5 holes have been marked I removed the internal section and drilled the holes through the clear polycarbonate lid. (make sure to cleam the hole in the centre for the fillament to pass through by removing any burs from the drilled hole.
now its time to install the hygrometer into the internal cradle and install the 4 M2.5 x 12mm screws ans push theassembely into the interior and through the 4 x holes you have drilled.
Take the external part and press fit the ECAS04 connector into the printed part(you may need to persuade it into its new home if your print is a bit tight)
now slide the external part onto the 4X screws and put in the nuts.
From the inside of the lid use your hex key to screw the two parts together.
Your done.


Названия используются только для указания источника результата. Polyzon не аффилирован с перечисленными площадками.