
Бесплатно 
Core One/+ Cable Cover Magnetic
Printables


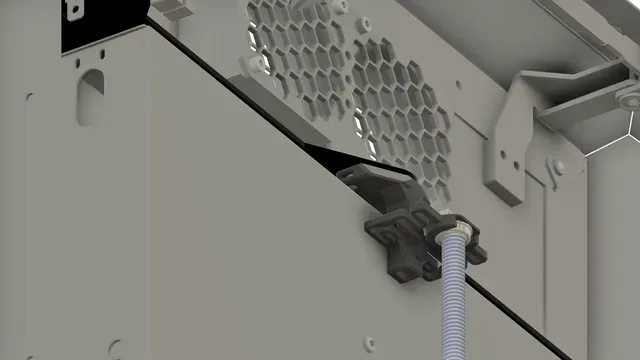

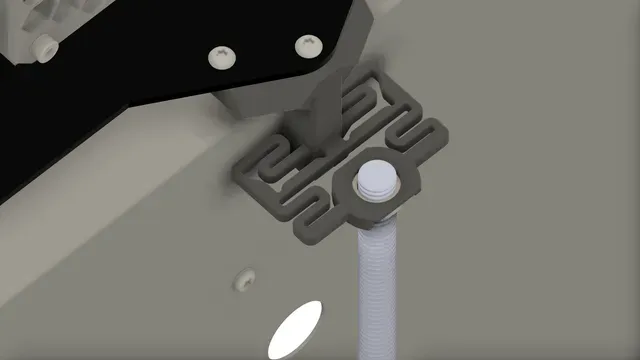
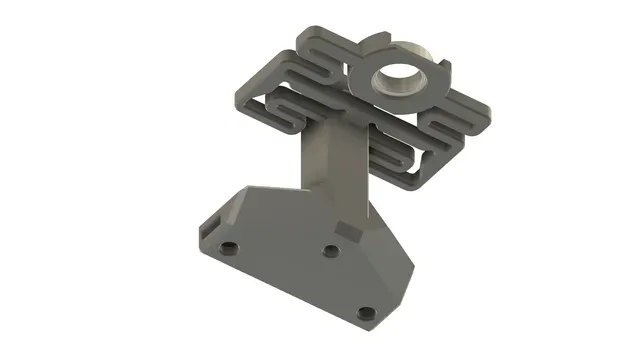
The new CORE ONE L printer uses anti-vibration mounts on the Z-axis trapezoidal screws.
I modified the model to fit on the CORE ONE / + printer.
My Core One + after phase stepping calibration, reduced the vibration of the "Y" motor by 93%
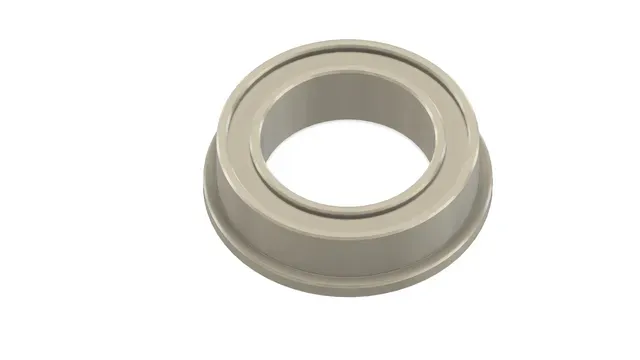
(ZEN) MF 128 - 2Z /bearings
8×12*3,5×0,8
I purchased the bearing here in the Czech Republic.
ZEN MF 128-2Z kuličkové ložisko s přírubou | Prumex.cz
( 24.1.2026 _ I asked Prusa Support if this bearing could appear as a spare part, for the CORE ONE L and XL printers, where it is used. I was told that it is for a long time? and sent an external link.? maybe it will help someone with the bearing. :-)
Let's be surprised, maybe it will appear in the e-shop someday :-)
https://www.123bearing.com/bearing-housing/deep-groove-bearing/single-row/mf128-2z
D - 12mm
d - 8mm
D1- 13,2mm
B - 3,5mm
C - 0,8mm
I recommend PCCF material !
print settings in 3mf file
5 - perimeters
Solid layers top - 7, bottom - 7
Infill - 20%
I recommend this support setting. My print failed with organic supports.
Style - Grid, Top contact Z distance: 0,1mm, Pattern spacing:5, Interface pattern spacing:0mm
Support enforcers only
Pay attention to the screw holes, there must be no supports here !!!!
tested on multiple prints, PCCF supports are easily separated from the model. Please note that with this setting, small visible marks will remain on the bottom of the model. They are on the bottom and cannot be seen after installation.
The supports can be easily removed, you can use a knife to help you.
Construction
Unscrew the two screws and keep them for reassembly.
all installation material will be reused
remove the back cover
remove the rear screw of the bed stop rear part
remove the 3 screws of the bed stop rear part
Remove the original square nuts and insert into the new model
Check the holes before inserting the nuts, and clean them with a file if necessary.
check the alignment of the nuts
Test the screws before assembly, they must move freely.
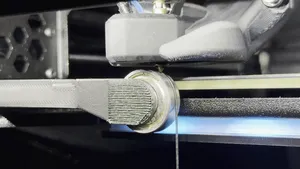
Insert the bearing, the part has a small tolerance to fit tightly, it requires a little force.
When installing the bearing, do not press on the springs, hold the model by the bearing housing!!!
Set the print bed down in the menu control



Названия используются только для указания источника результата. Polyzon не аффилирован с перечисленными площадками.