
Бесплатно 
LLH DrayBox XL/INDX - System with Ø245 mm Microwave Lid
Printables






🇬🇧 English version
Prusa CORE One+ / INDX – Vibration-Damping Feet
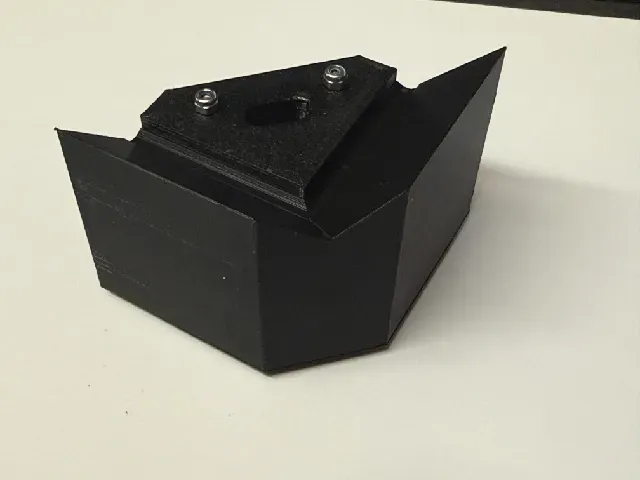
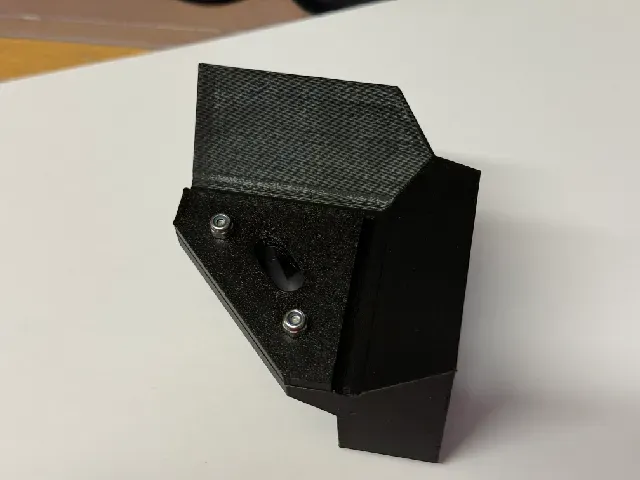
I designed these new feet specifically for the Prusa CORE One+ .
My goal was not simply to raise the printer slightly. I also wanted to reduce the noise and vibrations that can travel from the printer into the table and cause the tabletop itself to act as a resonating surface.
For this reason, I designed the feet using a sandwich construction:
S-Flex 90A → PETG → S-Flex 90A
The structural part is printed in Prusament PETG Prusa Galaxy Black , while the vibration-damping parts are printed in Spectrum S-Flex 90A .
The construction consists of:
- 4 mm S-Flex 90A at the top , between the CORE One+ and the PETG foot.
- PETG in the centre as the strong and stable structural component.
- 5 mm S-Flex 90A at the bottom , between the PETG foot and the supporting surface.
This prevents a direct rigid connection from the printer's metal frame, through the PETG foot and into the table.
The flexible layers on both sides of the PETG structure help absorb and isolate vibrations before they reach the supporting surface.
Designed specifically for the Prusa CORE One+
These are not universal printer feet.
I designed them around the corners and shape of the Prusa CORE One+ , allowing them to fit closely and precisely against the enclosure.
I have also tried to follow the original design language of the printer so that, once installed, the feet look like a natural part of the CORE One+.
The S-Flex 90A layer between the printer and the PETG foot also means that the hard PETG does not sit directly against the CORE One+ enclosure.
Print settings
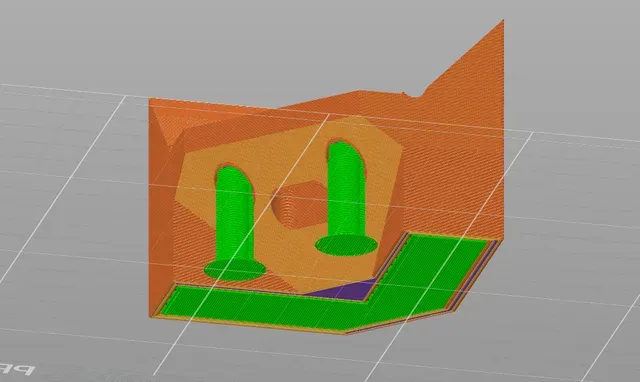
The PETG feet must be printed with supports.
See the photos for the recommended support placement.
The S-Flex 90A parts are printed separately and fitted to the PETG feet afterwards.
For the cleanest possible visible surfaces, I also recommend using Seam Painting in PrusaSlicer and placing the seam on the rear of the foot .
This keeps the seam concentrated on the side that is largely hidden once the feet are installed.
Materials
PETG
The structural parts are printed in:
Prusament PETG – Prusa Galaxy Black
I recommend following Prusa's current PETG material and printing recommendations:
Prusa – PETG Material Guide
Flex
The vibration-damping parts are printed in:
Spectrum S-Flex 90A
I also recommend following Spectrum's current material and printing recommendations:
Spectrum – S-Flex 90A
I also use 3M double-sided adhesive tape to secure the S-Flex parts.
If Flex/TPU gives you trouble
Flexible filament can be more difficult to feed reliably on some printers than standard PLA or PETG.
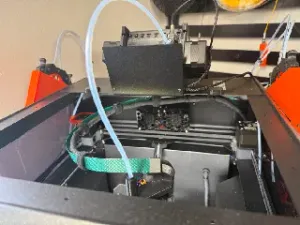
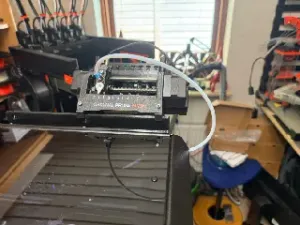
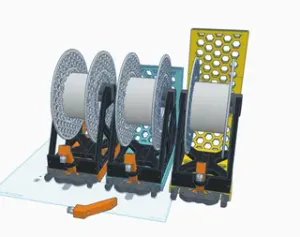
On my Prusa MK4S with MMU3, I therefore designed a small tool that makes it easy to switch between standard filament and Flex/TPU and then return to the same extruder setting afterwards.
If you have the same challenge, you can find my solution here:





Названия используются только для указания источника результата. Polyzon не аффилирован с перечисленными площадками.