
Бесплатно 
Creality K1 belt tension meter
Printables
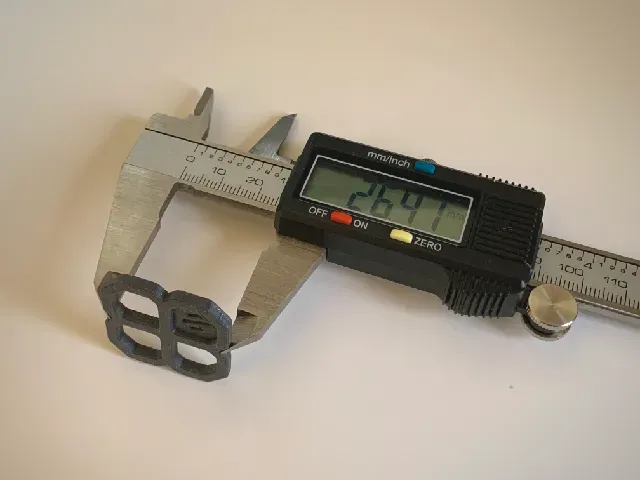

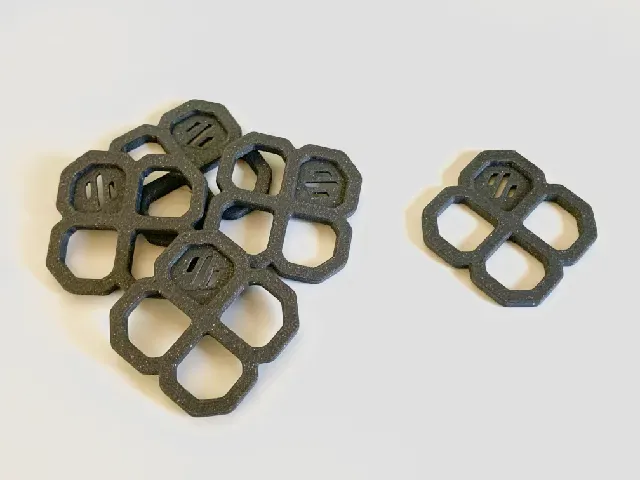
Having troubles setting the belt tensions on my V2.4, I was directed towards this calibration by Bruno Porto . This seems like an unique approach to determine belt tensions, so I decided to update the design and include a spreadsheet to help in the process.
Calibration Guide:
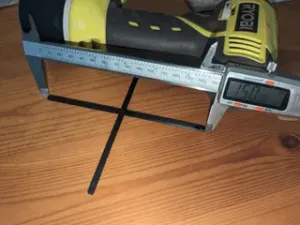
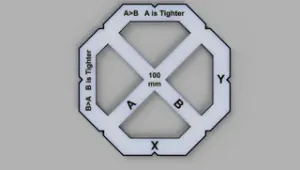
- Preparation: Insure any dimensional modifying settings are disabled, including but not limited too; input shaper, skew correction, XY compensation, shrinkage, XY steps/mm are equal . These can mess with the results. - Print out a test piece: You can use your goto print settings as they will provide more realistic results in the long run. - Measure the lengths of A and B three times and input the numbers into a column in the spreadsheet - see diagram below for what's A and B. - If you get a difference between +0.03mm and -0.03mm then you're jolly, but if not adjust the belts and repeat steps two onwards. For info on how to adjust belts, look below. I strongly recommend once getting an acceptable difference, that you print another test piece to ensure repeatability !
Measurements Guide
You want to be measuring from in the indents of A to A and of B to B to get the lengths for A and B respectively.
Adjusting Belts
Firstly you want to identify which belt you want to be adjusting. This can be done quite simply by moving just one of the belts and watching in which diagonal it moves the toolhead. If you match this diagonal to the one being measured on the print - either A or B - altering the tension on this belt will alter the dimensions in the same diagonal on the print.
Now you've have identified which belt adjusts what, do you tighten or loosen them ? Typically we want to be making adjustments to the shorter of the two diagonals aiming to increases its length to match the other diagonal - we are not aiming for dimensional accuracy, just for length A to equal length B . This can be done by tightening the belt - increasing tension will increase the respective diagonals' length. When making the first adjustment, I recommend comparing the new lengths to the old to get a rough idea of how much adjustment translates into added length - bare in mind tension is not directly proportional to length so two full bolt turns on a tensioner won't always increase the length by 0.1mm, for example.
If you find your belts are feeling considerably different when pushed against or are different tones when plucked, I recommend checking the following; the printer is properly deracked, XY belts are of equal length, measurements on the calibration print are accurate and/or XY steps are the same.






Названия используются только для указания источника результата. Polyzon не аффилирован с перечисленными площадками.