
Бесплатно 
Skådis - Steam Deck Holder T-nuts
Printables

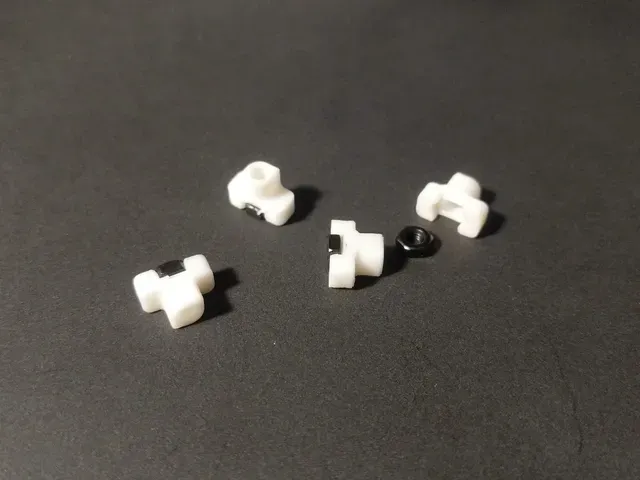

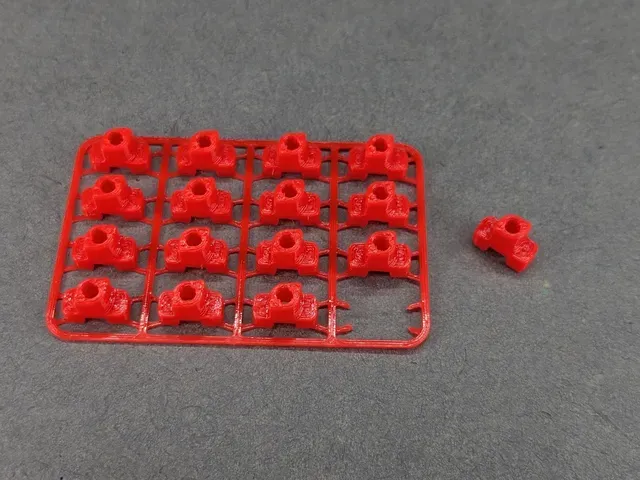

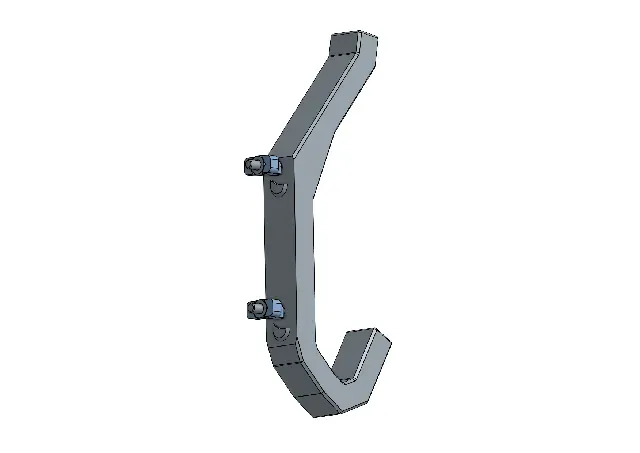
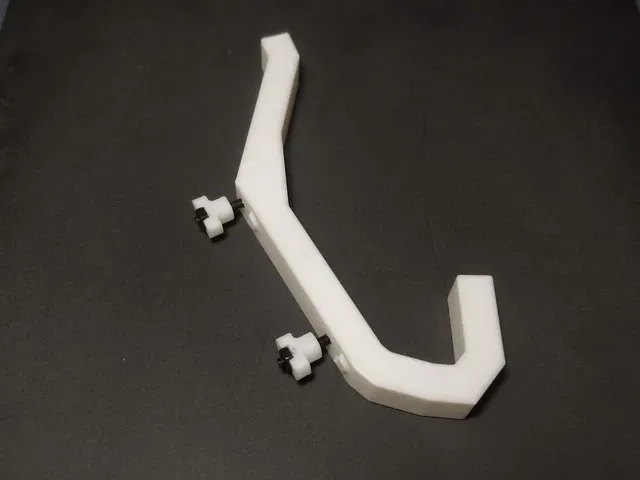
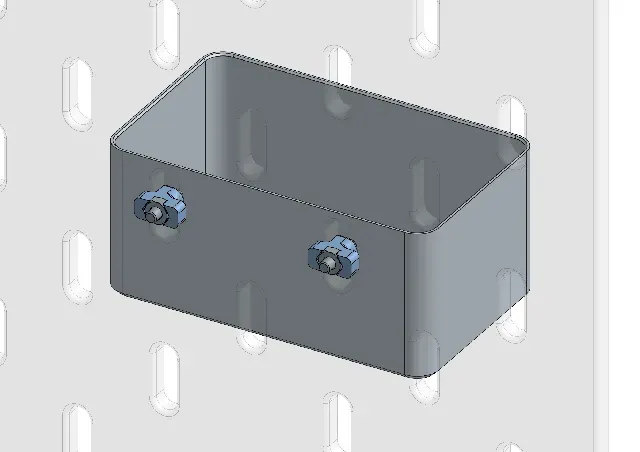
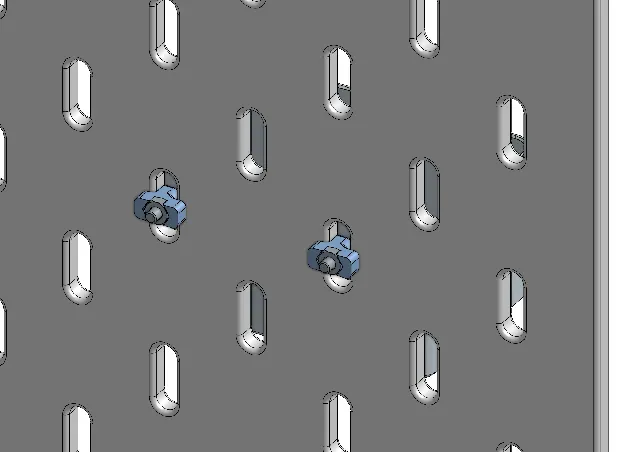
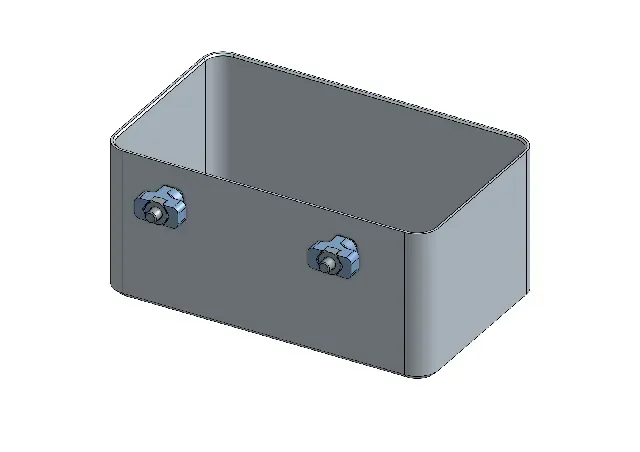
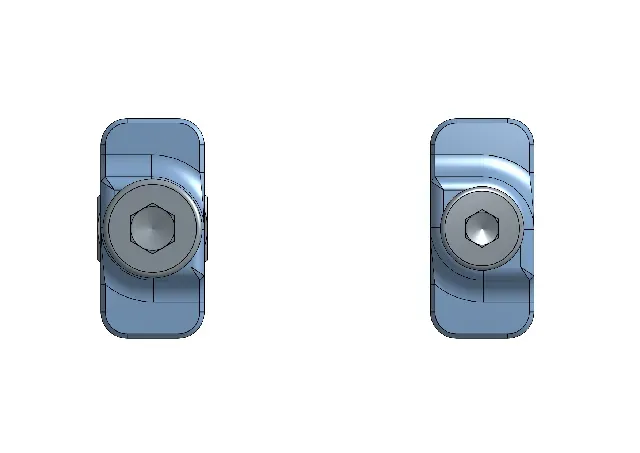
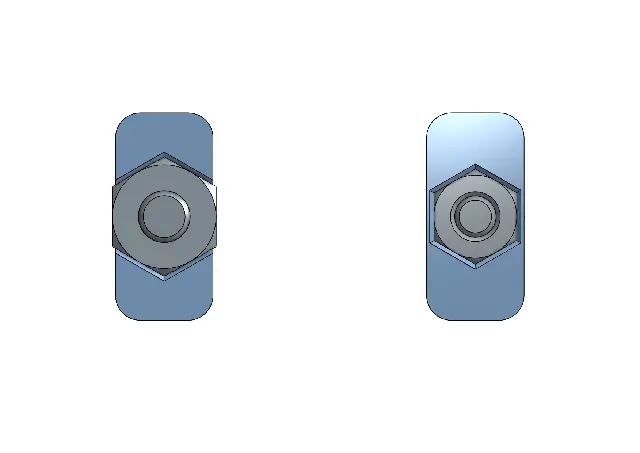
These are T-Nuts for IKEA SKÅDIS pegboards that make installing accessories on your pegboard much easier . You no longer have to design custom mounting hooks into your part. All you need is holes and alignment guides. The T-Nuts come in two different sizes for M2 and M2.5 screws. Check out alternatives for M3 in the FAQ section.
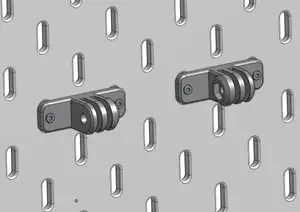
In addition to easily creating your own Skadis accessories, you can use the T-Nuts to securely mount other non-printed objects to the pegboard by simply drilling holes with the appropriate spacing and using the separately printable alignment guides.
Discover Skadis Accessories That Use T-Nuts
You can find many Skadis accessories that use the Skadis T-Nuts Mounting System in the Skadis T-Nuts Collection (over 450 models and growing). I regularly add new compatible models that I find to that collection. Also check out the remix section . If you create a compatible model please use the “skadistnut” tag so I can find it.
How do T-Nuts Work?
The Skadis T-Nuts work the same way as drop-in T-nuts for aluminum extrusions which you might already be familiar with. Turning the screw clockwise (tighten) makes the T-Nut lock in a horizontal orientation and turning the screw counter-clockwise (loosen) puts it back into the vertical orientation. This is due to the lemon-like shape if you look at the T-Nut from the top.
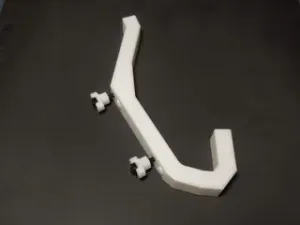
Watch the video below to see how a simple hook that uses T-Nuts can be attached to a Skadis board. It's easy to position due to the integrated alignment guides. The 2nd half shows the perspective from the back of the board where you can see how the T-Nut locks into the horizontal and vertical orientations.
Why T-Nuts Over Hooks and Clips?
- You don't need to design L-shaped hooks into your design that might make your part require support material or make it more difficult to print.
- Integrated hooks often easily break due to unfortunate layer orientation.
- Clips can be bulky and not visually pleasing.
- You don't have to find the perfect tolerances for your hooks. Hooks often have a loose fit or are too tight and difficult to install or remove. T-Nuts fit all the time .
- T-Nuts provide a very strong hold and are easy to install and remove with a screwdriver without damaging your pegboard.
- T-Nuts are low-profile , not bulky , and easy to hide in your custom parts.
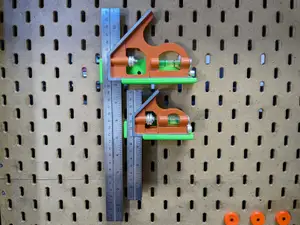
- You can convert existing accessories (printed or non-printed) into SKÅDIS accessories by just drilling holes in the right locations.
What Are the Disadvantages?
- Needs screws. You need one M2 or M2.5 screw and a matching nut per T-Nut. And therefore a screwdriver to install your accessories.
- There are designs where screw driver access might be difficult to implement.
- For accessories that are meant to be moved frequently, T-Nuts might not be the right solution. It doesn't take much time but you have to have a screwdriver ready.
- You should design alignment guides into your part because T-Nuts have to be centered in the pegboard hole. No biggie though. More info below.
FAQ
- Should I use M2 or M2.5 hardware? Go with M2.5 if possible. M2.5 screws are stronger and the screw head is larger which distributes the pressure over a slightly larger area which puts less stress on your part. The M2 version exists because M2 screws are sometimes easier to find in hardware stores.
- Why is there no M3 version? M3 nuts are too big and wouldn't fit through the holes. The Skadis pegboard holes are 5mm wide and M3 DIN934 hex nuts have a diameter of 5.5mm.
However, other designers have developed adaptations of the T-Nuts that work with M3 screws that you might want to check out. Some accessories made for for M2.5 screws can be easily converted to M3 by widening the hole with an 3mm drill bit. Check out these M3 adaptations:
- Direct screw in T-Nuts by rynn uses M3 and M4 threads that are tapped into the printed part using a tap.
- M3 T-Nuts by Samuel Häberli uses M3 threads that are tapped into the printed part using a tap.
- M3 T-Nut that uses brass standoffs by contrapuntal uses M3 hexagonal brass standoffs instead of hex nuts. Standoffs have smaller diameter than DIN934 nuts and fit through the pegboard holes.
- Threaded T-Nuts for M3 or UNC #5-40 screw by ORM have printed threads and don't require tapping.
- Threaded M3 T-Nuts by Arough have printed threads and don't require tapping.
- M3 brass heat-set insert T-Nut by B0rax uses M3 D5.0 L4.0 heat-set inserts instead of hex nuts.
- Alternative M2 versions M2 DIN934 have a low thread count and may not be as reliable as larger nuts. Check out these alternative M2 versions:
- M2 heat-set insert T-Nut by Roland Deschain works with M2 D3.6 L3.0 and M2 D3.6 L4.0 brass heat-set inserts.
- M2 heat-set insert T-Nut by hein (unknown heat-set insert spec).
BOM - M2.5 Version (recommended)
Qty
Description
Sourcing
1
M2.5 DIN934 Hex Nut
Aliexpress , Amazon (kit)





Названия используются только для указания источника результата. Polyzon не аффилирован с перечисленными площадками.