
Бесплатно 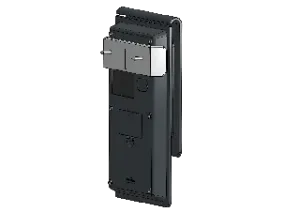
Hario V60 Drip Scale Hook Wall Mount
Printables
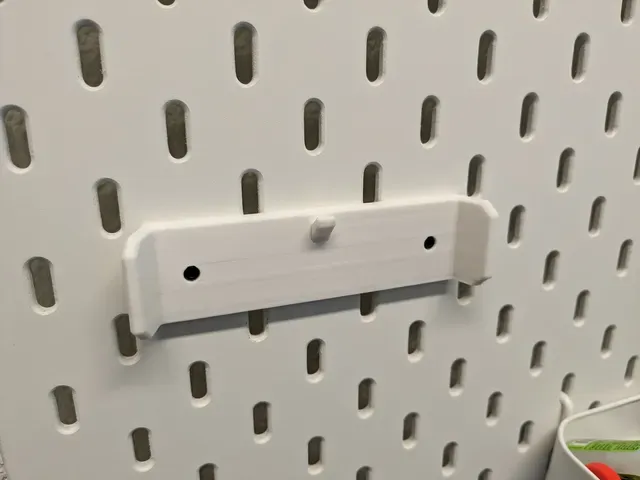
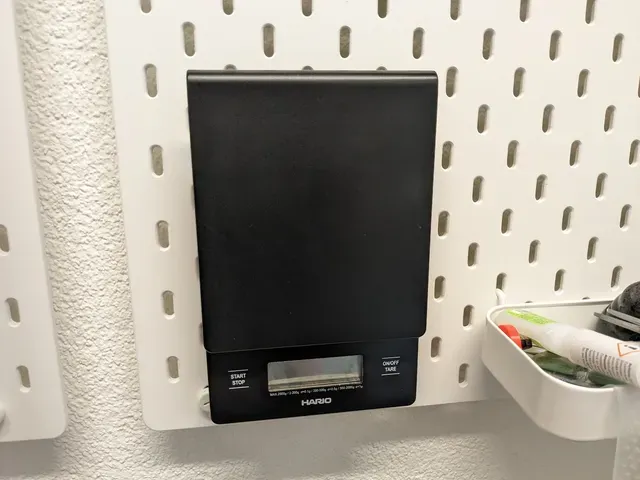
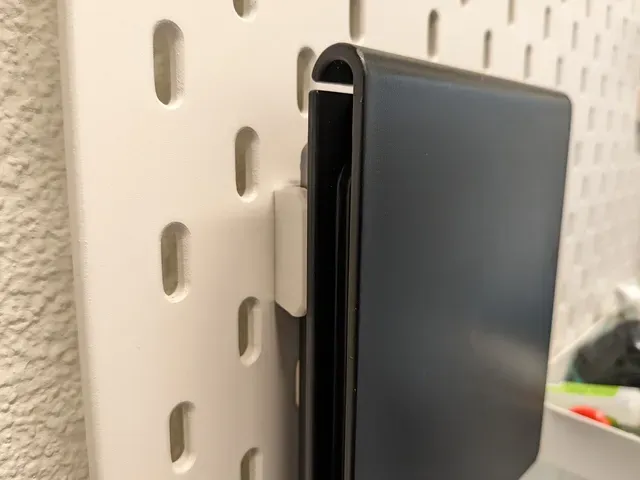


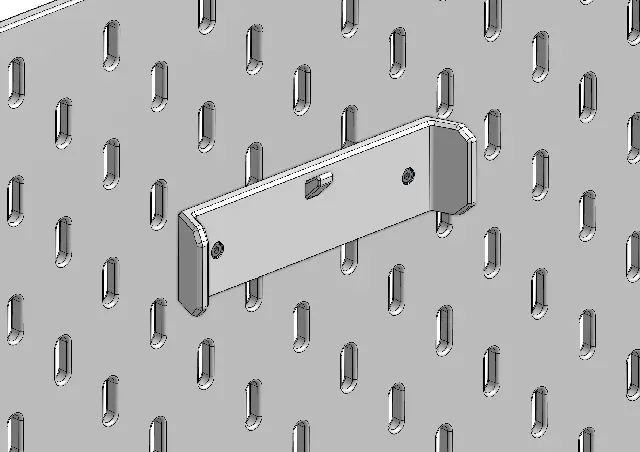
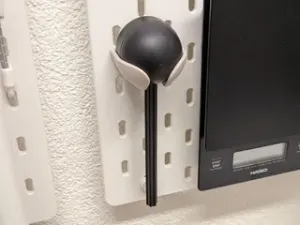
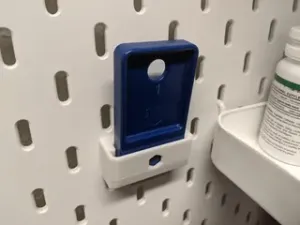
A bracket with hook to mount the Hario V60 Drip Scale on IKEA SKÅDIS pegboards. It has guide wings that guide the scale to the hook. Super easy to use, no fiddling to find the hook. It uses Skadis T-Nuts for a very solid installation that doesn't rattle.
- Looking for a regular screw-mounted version? Check out the V60 Scale Wall Mount . - Looking for a version that uses Command Strips? Check out BirdmanTheWelder's remix . Read more about the Skadis T-Nuts Mounting System and check out the Skadis T-Nuts Collection for more Skadis accessories that use T-Nuts.
BOM
Qty Description Sourcing
2 M2.5 DIN934 Hex Nut Aliexpress
2 M2.5x16mm Socket Head Cap Screw Aliexpress
Printed Parts
Qty Part Download
2 Skadis T-Nut M2.5 Download here
1 V60 Scale Skadis Mount this project
1 V60 Scale Hook this project
Printing
Print the parts in the original orientation. All STLs are pre-rotated for printing.
Recommended setting for 0.4mm nozzle.
- Layer height: 0.2mm - Perimeters: 3 or 4 - Infill: 20% - Extrusion width: 0.4 - 0.45mm - Solid layers: 4 top, 4 bottom You might want to print the T-Nuts separately and a little slower as they are pretty small.
Assembly & Installation
Step 1: Glue Hook
Apply some superglue to the cavity for the hook in the mount. Then push the hook through through the hole in the mount. Let the glue cure.
Step 2: Prepare T-Nuts
Insert the hex nuts into the bottom of the T-Nuts. The nuts should fit tightly and not fall out. Use superglue if the fit is loose and be careful to not get any glue onto the threads.
Step 3: Assembly
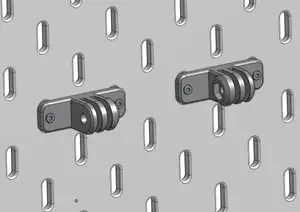
Push the M2.5 screws through the part all the way and screw on the T-Nuts from the back until there is a gap of about 2mm between the T-Nut and the mount.
Step 4: Installation
Align the T-Nuts in the vertical orientation and push the whole assembly into the desired holes on the pegboard.
While maintaining some pressure on the screw driver, tighten the screws. The T-Nuts will orient themselves in the horizontal position.
Step 5: Use
Attach the scale using the hole on the back.



Названия используются только для указания источника результата. Polyzon не аффилирован с перечисленными площадками.