
Бесплатно 
Lithophane frame
MakerWorld



Note:
The examples are printed in Prusament Vanilla White, but is not the best choice. In my opinion, Prusament Pristine White is much more suitable, but I can't test this because I don't have it.
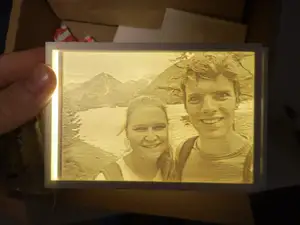
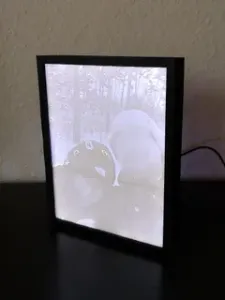
It is difficult to show an accurate representation on the photos of an illuminated lithophane.
Updates:
- 19/02/2023 - Model modified where the LEDs can be glued to the frame or pushed in. 2 versions available - Gcode recreated with Gyroid infill
Materials:
- Frame : PETG - Lithophane : PLA - Leds : 2835-60LED-1M - The following components can be found on CONRAD: - Switch : code 1587515 - Low power connector : code 1567097 - Power supply : code 2264177 - Wires - Glue
Assembly:
!!!!! Test the wiring before gluing !!!!! After gluing, the wiring cannot be adjusted !!!!!
- Frame-Back - Insert switch (no glue needed) - Insert power connector (no glue needed) - Before attaching the LEDs, best to solder the wiring to the LEDs first. Do not solder the other side of the wiring yet. - Carefully insert the led strip, no glue needed (version for sliding) - - Solder everything according to the diagram - Test the wiring, after gluing, the wiring cannot be adjusted. - Frame-Plate - Wrap the plate with aluminum foil for better light reflection - Make sure the aluminum foil is facing the matte side inward. The reflective side should be along the outside. - Glue this plate to the inside of the back-frame - Frame-Front - Glue the front frame to the back frame !!!!! Test the wiring before gluing !!!!! After gluing, the wiring cannot be adjusted !!!!!
Diagram:
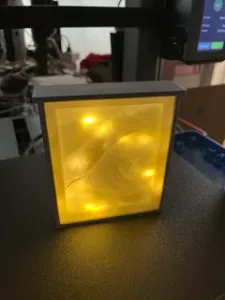
Wiring:
Reflection plate:
Result:
Frame printing:
- PETG : Black (or other favorite color) - Build plate : Textured for a nicer look - Infill : 15% - Layer : 0.2mm
Lithophane printing:
- PLA : White - Build plate : Smooth - Infill : 100% - Layer : 0.2mm
Making your own lithophane:
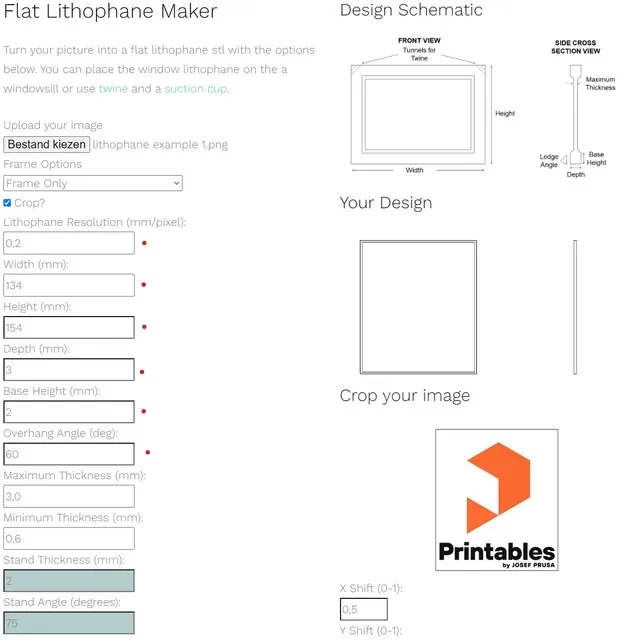
- Dimensions image (H x W) : 150 x 130mm - Creating a lithophane from an image can be done through the following website: Flat Lithophane Maker - Use the following settings to create an appropriate lithophane: - Frame Options : Frame only - Lithophane Resolution : 0,2 - Width : 134 - Height : 154 - Depth : 3 - Base Height : 2 - Overhang Angle : 60 - Maximum Thickness : 3 - Minimum Thickness : 0.6 - If the lithophane slides too stiffly into the frame, you can use the following settings: - Frame Options : Frame only - Lithophane Resolution : 0,2 - Width : 133.5 or 133 - Height : 153.5 or 153 - Depth : 3 - Base Height : 2 - Overhang Angle : 60 - Maximum Thickness : 3 - Minimum Thickness : 0.6
A special thanks to Thomas Brooks for creating this handy website Lithophane Makers





Названия используются только для указания источника результата. Polyzon не аффилирован с перечисленными площадками.