
Бесплатно 
Wago 221 Power Distribution Block
Printables
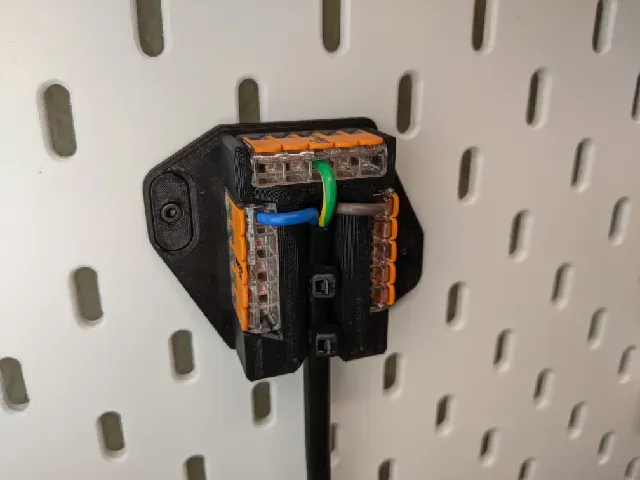
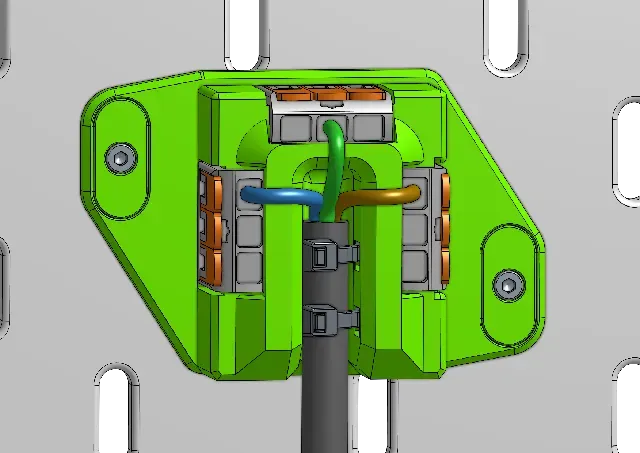
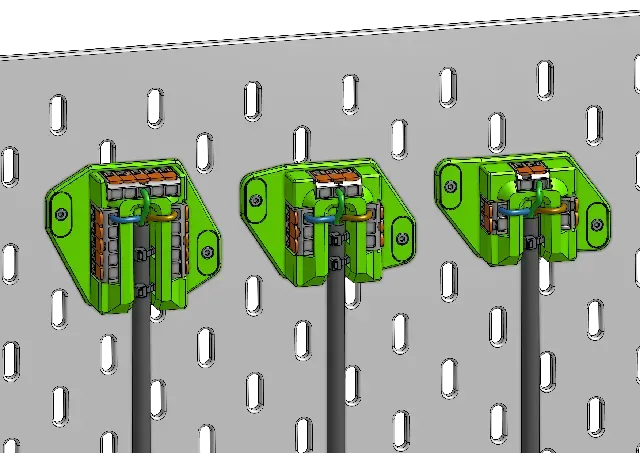

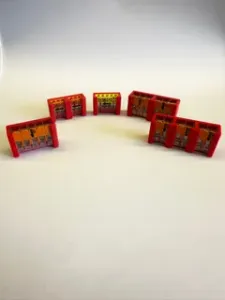
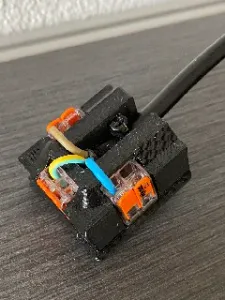
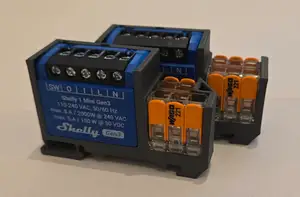
This is a power distribution block that uses Wago 221 connectors that can be mounted to IKEA SKÅDIS pegboards. It uses the Skadis T-Nuts Mounting System. It can be used whenever you need an electricity input. For prototyping, testing, DIY electrical panels, etc.
Read more about the Skadis T-Nuts Mounting System and check out the Skadis T-Nuts Collection for more Skadis accessories that use T-Nuts.
Note: This documentation only covers the Skadis-specific part. For documentation about the power distribution block and many other mounting options please refer to the >> documentation of the base model .
CAUTION: Mains voltage is hazardous. Improper use may result in serious injury or death. Consult the official documentation for the connectors and follow the safety codes that apply in your area. The wires in the illustrations and photos are for illustrative purposes only.
Compatible Connectors
It supports the Wago 221 series connectors for conductors from 0.14mm² up to 4mm² (221-4xx). The 6mm² connectors (221-6xx) are not compatible.
STL filenames include the last 3 digits of the connector number.
Required Hardware
M2.5 Version (recommended)
Qty Description Sourcing
2 M2.5x12mm Socket Head Cap Screw Aliexpress
2 M2.5 DIN934 Hex Nut Aliexpress
1-2 Zip ties
M2 Version
Qty Description Sourcing
2 M2x12mm Socket Head Cap Screw Aliexpress
2 M2 DIN934 Hex Nut Aliexpress
1-2 Zip ties
Printed Parts
Qty Part Download
1 Wago 221 PD Skadis Vertical (412, 413 or 415) this project
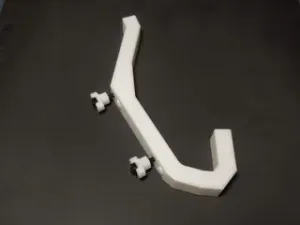
2 Skadis Mounting Plug (M2.5 or M2) this project
2 Skadis T-Nut (M2.5 or M2) Download here
Printing
Print all parts in the original orientation. All STL files are pre-rotated for printing.
- Material: PLA, PETG, ASA, ABS, etc. (anything solid pretty much) - Extrusion width: 0.45mm - Layer height: 0.2mm - Perimeters: 3 - Infill: 15% - Top and bottom solid layers: 4-5 - Supports: No T-Nuts
Print the T-Nuts slower as they are very tiny.
- Material: A material with good layer adhesion like PETG or better.
Assembly & Installation
Step 1: Prepare T-Nuts
Insert the hex nuts into the bottom of the T-Nuts. The nuts should fit tightly and not fall out. Use superglue if the fit is loose and be careful to not get any glue onto the threads.
Step 2: Plug Subassembly
Push the screw all the way into the Plug. It should be easy to push the screw through without the threads biting into the printed part.
Screw the T-Nut on until the top of the T-Nut intersects with the alignment pegs of the Plug and there is about 2mm of space left between the T-Nut and the Plug.
Step 3: Insert Plugs
Insert the Plugs into the holes on the Power Distribution Block. You may optionally use superglue to permanently bond the Block and the Plugs but it's not necessary. If you do, be careful to not add any glue elsewhere.
Step 3: Installation
Orient the T-Nuts in the vertical orientation and push the whole assembly into the desired holes on your pegboard. While maintaining some pressure on the screwdriver, tighten the screws finger-right.
Additional Credits
- The Wago 221 connectors used in the illustrations are by Wago Part Community .





Названия используются только для указания источника результата. Polyzon не аффилирован с перечисленными площадками.