
Бесплатно 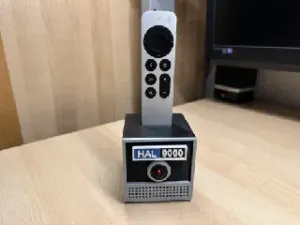
HAL 9000 Apple TV remote holder
Printables


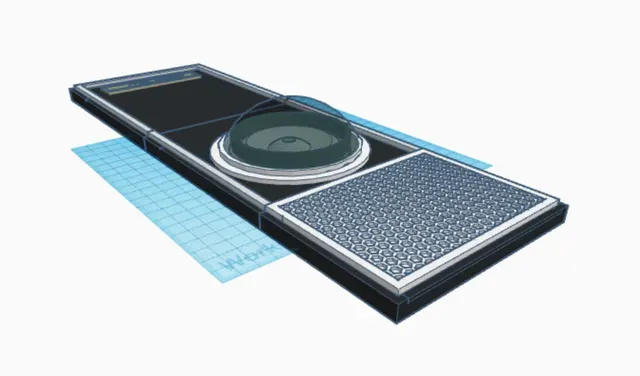

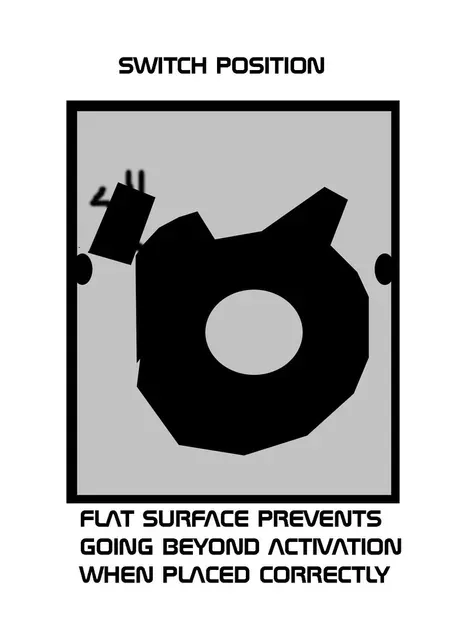


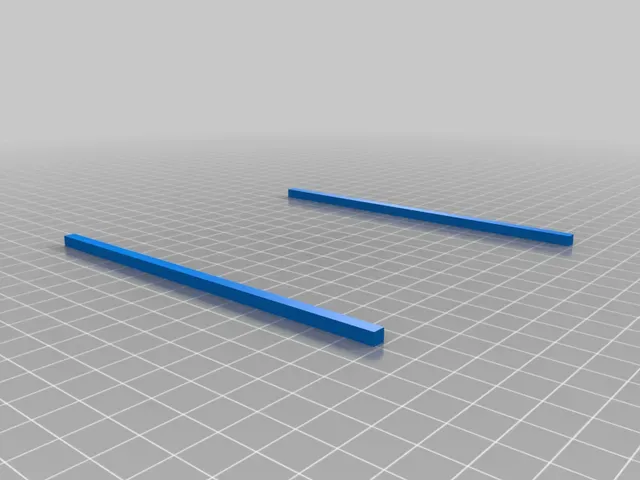
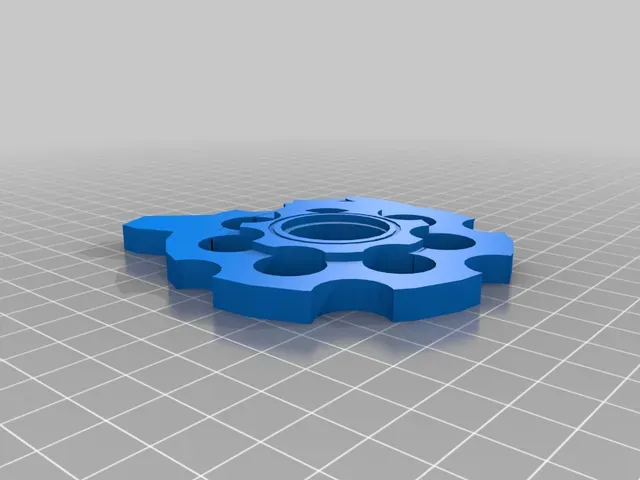
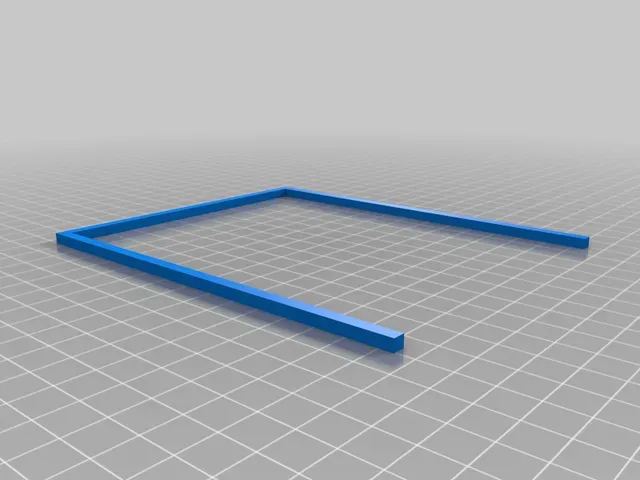


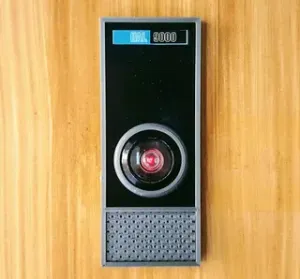
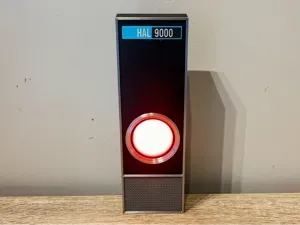
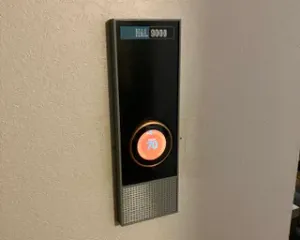
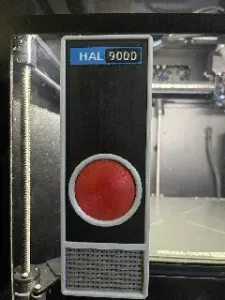
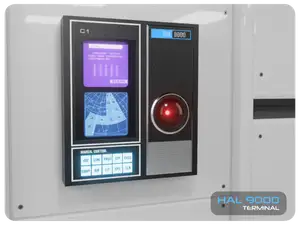
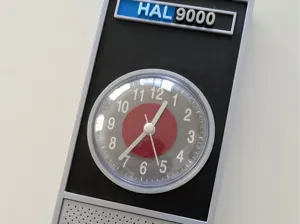
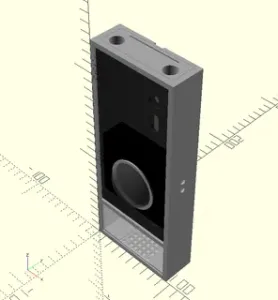
This is my rendition of the HAL 9000 from 2001 A space odyssey. It has the facility to turn the LED on and off WITHOUT having to lift the unit off the wall and without changing the look of the unit in any way whatsoever. The marks/blemishes shown on the 3d render are not in the final build.
Note :- I have learned a lot about design after creating this. Hal was one of my first proper builds and I was more than happy with the print. Every so often I consider coming back to do improvements, then I see how little attention it gets from people so always pass it by in the tweaks and updates files. If you want it in a better form? Hit the like button. As it stands it isn't worth the time and effort improving it when my copy is already done and in use.
I originally printed off a version of Hal that somebody else had created on thingiverse. I found way too many issues with it, both in the design and in the difficulty of putting it together in a simple manner. To that end I started from scratch and built what I know is a far better thing both in build quality and functionality. If you just want a static exhibit and don't want the hidden switch facility you can just skip the whole mech/switch option entirely and go for a simpler illumination option (both options are explained in better detail in the notes). I keep promising myself that I'll change the oversize switch aspect but never get around to it. but it works well so maybe it will never be changed.
When assembled it's approximately 15 inches by 5 inches with the frame depth at around a centimeter so not an insignificant amount of printing. It is designed to be a sturdy unit so 30 percent infill was a minimum for me, but there is no reason not to drop it to 20 if you want to save a little time and pla.
Items used to create this (full build/assembly details are provided
2x colours of PLA. Black and silver (colour choice saves painting it later).
1x 100mm arcade button (I have seen this go for as low as 6 pounds sterling).
1x microswitch (I used the one that came with the 100mm button).
some wire (I used some from a dead keyboard cable).
1x LED (you could use the one from the button, But I went with
cakelights as they also come with batteries, they sell for
around 4 pounds per pack of 5).
1x sticky label (printed in HAL blue and cut to size for nameplate).
Solder and soldering iron (you could just twist the wires and add a drop of glue if
soldering isn't something you do. Not ideal, but its certainly
an option. Alternatively, If you plan on not wiring iin the
switch option, just use a cakelight and a blob of blutack to
hold it in the lens, going that route there is no wiring so no
need for solder and iron.
Superglue.
optional 4x small bolts a tap to tap a thread into frame to secure frame
together (alternatively, nuts and bolts or just glue it).
tweezers (the letters of hals name were way too small for my
sausage fingers.
A stack of books to press/hold things together while glue set
Print time (estimated)
larger face panels, eye/lens, frame segments and grille all took me a minimum of 4 to 6 hours per item.
Rear Mech unit for switch activation, silver frame surrounds and nameplate were all considerably less. nameplate and inner ring were around 40 mins if memory serves.
Actual build time once everything was printed? if you include wiring and sorting bolt holes it was around an hour. most of that was the filing holes, wiring and letting glue dry between fitting it all together. ultra fast superglue, no bolts and steady hands, you could comfortably assemble it in less than twenty mins
Also hosted on pinshape at https://pinshape.com/items/105707-3d-printed-hal-9000
This is a link to the switch operation on youtube https://www.youtube.com/watch?v=F0q0LBPFqdQ
Updated Eye/refractor added to file set March 28 2021. Not tested as My HAL is already firmly assembled and I don't have another button to check fitments beyond virtual tests. Fitment tolerance change, Better external diameter and lens ring while keeping the same light catching central segment. It is possible the new version may prevent use of the optional external black ring. If for any reason this doesn't suit your purposes then use the original version as that was fully tested and used in my build.
Print Settings
Printer Brand:
Creality
Printer:
Ender 3 Pro
Rafts:
No
Supports:



Названия используются только для указания источника результата. Polyzon не аффилирован с перечисленными площадками.