
Бесплатно 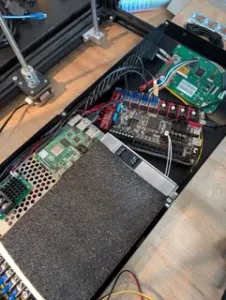
Ender5Plus Octopus Pro v1.1 Electronics Enclosure Adapter
Printables
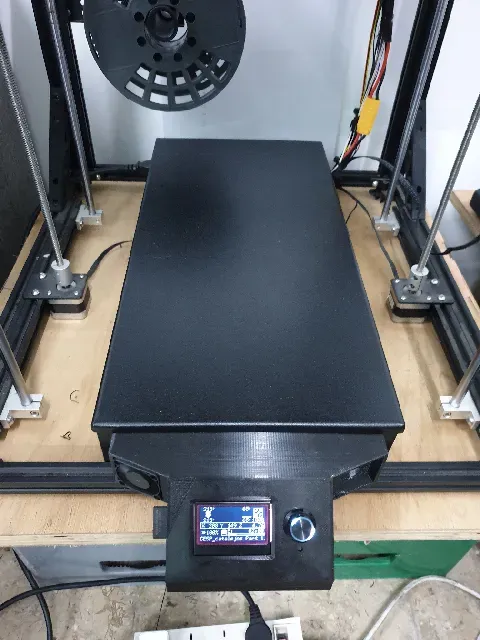
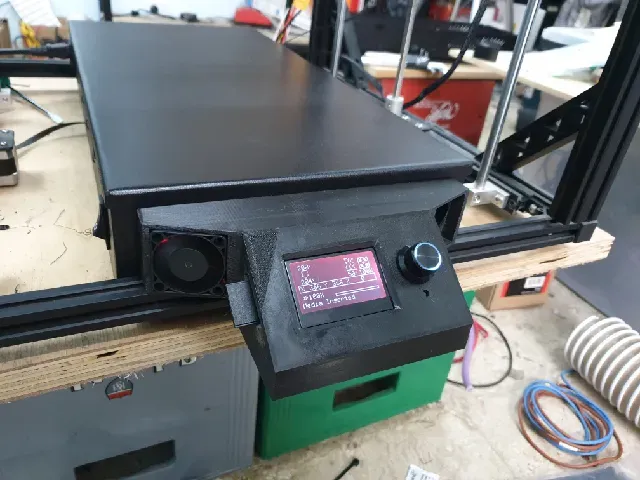


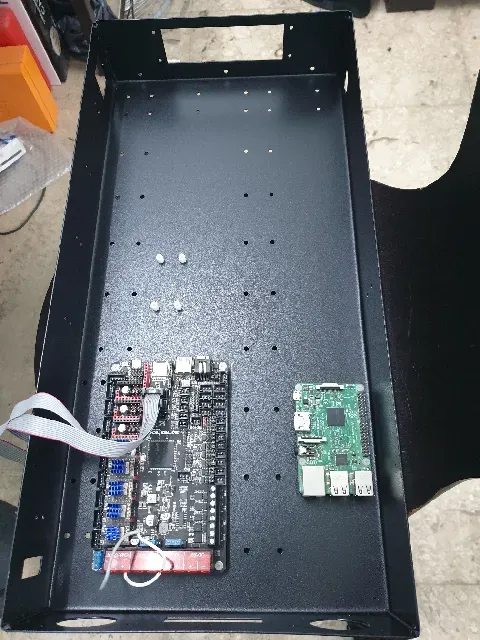
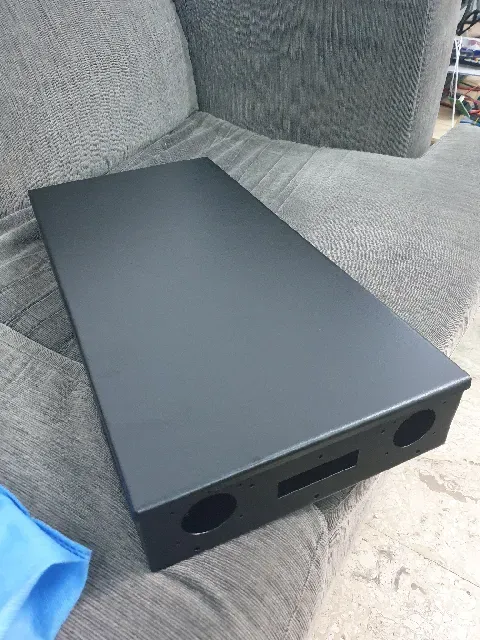


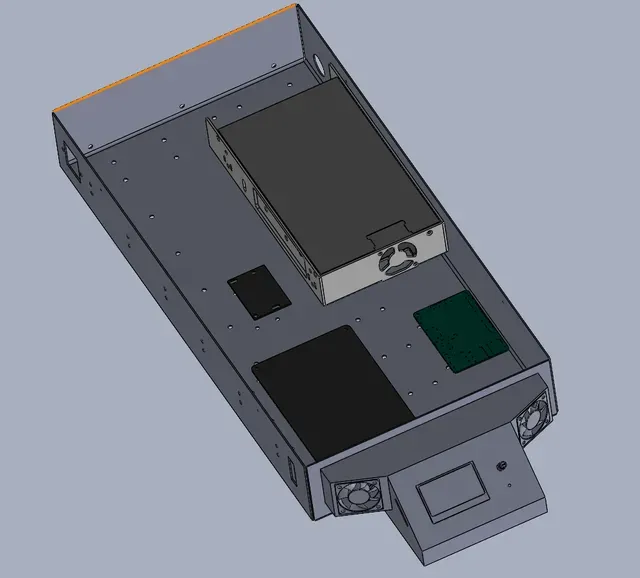

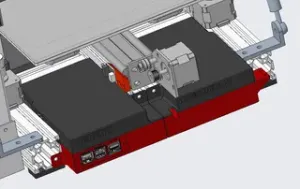
I am upgrading my Ender5 Plus to use klipper and required a new electronics case to hold all the required equipment. I wanted it to look as OEM as possible in the process so the main case is powder coated sheet metal (a very cheap and robust solution). I sent the sheet metal to get laser cut and bent and then seem welded the corners, but the welding isn't necessary if you don't have the means.
The Electronics I am using are as follows -BTT Octopus Pro Main Board -BTT Mini12864 V1 Display -Raspberry Pi 3B -Original Creality Heated Bed Mosfet -Original Creality Meanwell 24V power supply -Original Creality 220V Power socket -Original Creality Power Toggle Switch -4040 24V Fans -Original rubber grommet for cable entry
Simply changing the mounting holes for the Octo Pro board will allow you to use any other main board if you wish. I have also added rows of holes to allow the use of cable ties as cable management and keep it looking as neat as possible.
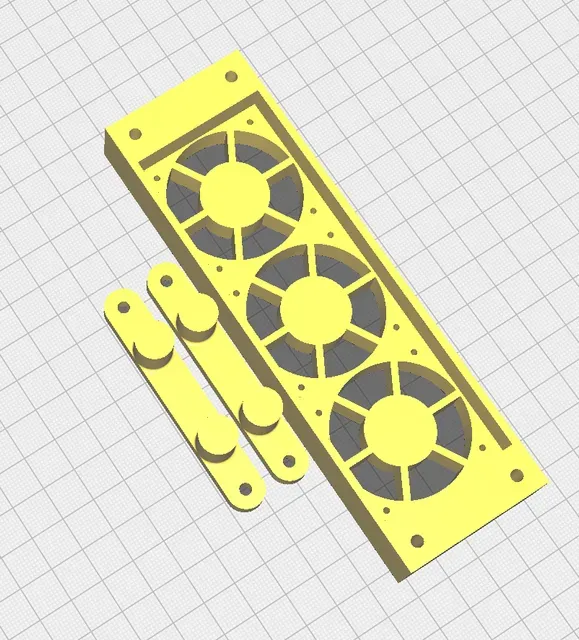
The display holder and case exhaust have mounts for fans and have also been designed in such a way as to draw in and exhaust the air outside of a possible future printer enclosure. This means you will not require electronics relocation if you wish to enclose your printer.
All Measurements are in MILLIMETRES . I have included DXF's with the flatten designs for the metal case and images with reference dimensions. I have included an image showing which orientation is best for the display holder as I have designed in some supports to make printing easier. I am yet to print some fan covers, but they are easy to find.
I used M4 T-Nuts to mount everything to the printer frame and M3 nuts and bolts to mount the display holder and exhaust print to the enclosure. Where possible I added pockets for the M3 nuts in the prints. I used 10mm M3 plastic stand offs for the electronics.
Please forgive the poor first layer on the print. It is unlike my printer to do that, but hey, it can happen to the best of us…..
Please feel free to ask any questions.






Названия используются только для указания источника результата. Polyzon не аффилирован с перечисленными площадками.