
Бесплатно 
Raspberry Pi Pico Sidecar for foot pedal
Printables

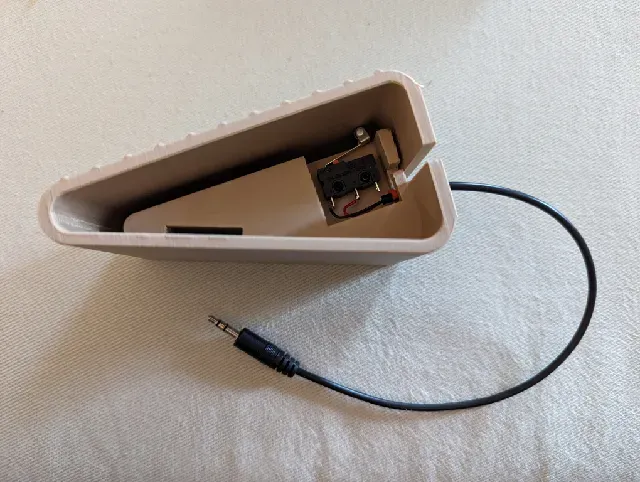


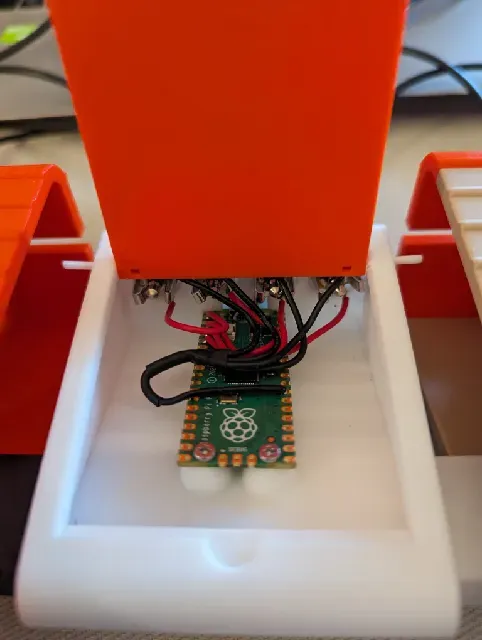
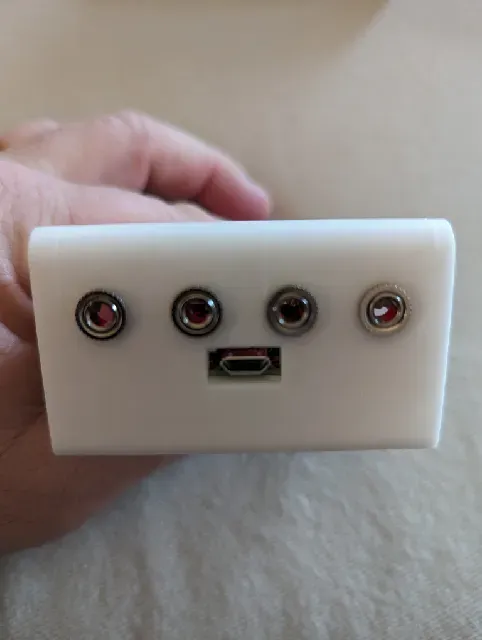
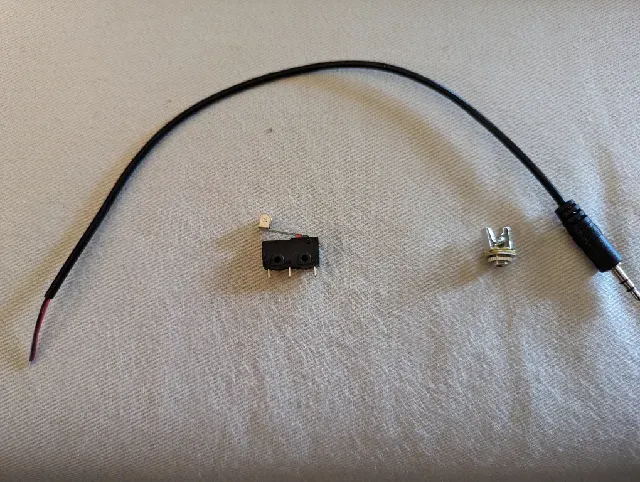

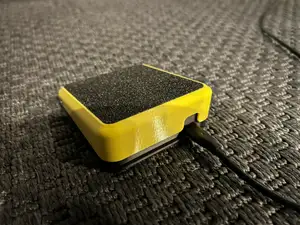
I recently saw a blog post on the Adafruit site for a Three Button Foot Switch . I started thinking about it and thought it could be a fun project and maybe useful, but I wanted to make it more expandable.
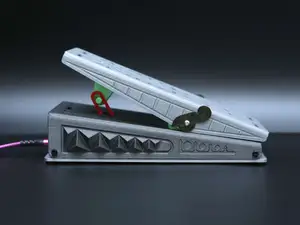
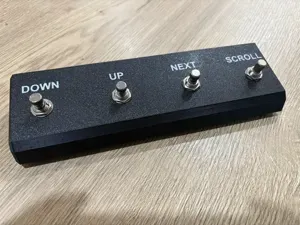
I found the Foot Switch model created by OK1HRA and thought the design was perfect. I had a bunch of micro switches from a previous project and designed my version to use this switch.
I made it so the switch was screwed in and added a slot so the cable could be soldered to the switch outside of the foot pedal and then inserted. This way if the switch goes bad, it can be replaced.
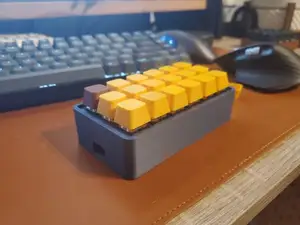
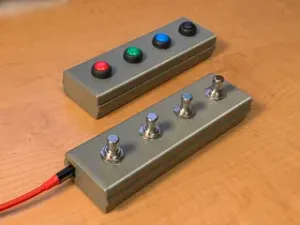
I previously built a little macro keypad using a Raspberry Pi Pico and thought it would also work well for this project. I needed a place to put the Pico so I built a control box and added some 3.5mm Stereo 3-Pole (3-Pin) TRS Plug Jack Sockets so I could use some 3.5mm Male Plug 3 Pole Stereo 1/8" 3.5mm Plug Jack Connectors to connect everything.
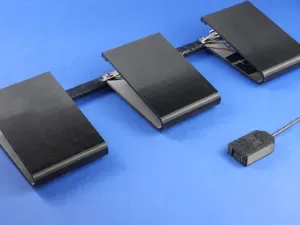
Currently, the control box can connect up to 4 foot pedals. The Pico has 23 GPIO pins so technically it could handle a lot more pedals.
Parts
Here is what is needed to make all 4 foot pedals and 1 control box:
- 1 - Raspberry Pi Pico - 4 - 3.5mm Male Plug to Bare Wire Plug Jack Connector - 4 - 3.5mm Stereo 3-Pole (3-Pin) TRS Plug Jack Socket Adapter Cables Connectors - 4 - Momentary Hinge Metal Roller Lever Micro Switches - multiple M2x8 and M2x12 screws - The M2x8 screws are used to screw the connector between the foot pedal and control box into the control box. - The M2x12 screws are used to screw the connectors between the foot pedals into the foot pedals. They are also use to screw the switches into the foot pedals. - 2 - M2x3 or M2x4 screws to hold down Raspberry Pi Pico. Everything is printed in PLA. The pedals are not meant to be stomped on so PLA should be fine. Supports are needed for a few areas. Just make sure you put blockers around any of the screw holes. They are small enough not to need supports. Tree supports worked well for me.
Code
I used the original code from the blog as a starting point for my code. I am not a CircuitPython expert. I know enough to make things do what I want them to do. There may be a better way to do things than how I did them.
I have added comments to the code. Hopefully, it will make sense. If you have questions, let me know and I will try to answer them. I will continue working to better document the code.
Wiring
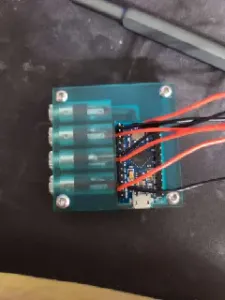
The wiring is pretty basic and requires some minor soldering. I will work on a diagram.
- Pico to the female connectors - I used the ground and left channels (top and bottom sections on the male plug) - Here is a diagram showing the Pico pin out - Soldering can be done outside of the control box and then installed in the control box. - A wire needs to connect the ground pin on the Pico to all the ground connectors of the female jack. - A wire needs to connect GP1 to the left channel connector of the first female jack. - A wire needs to connect GP2 to the left channel connector of the second female jack. - A wire needs to connect GP3 to the left channel connector of the third female jack. - A wire needs to connect GP4 to the left channel connector of the fourth female jack. - Test all connections before installing everything into the control box. - Switch to the male connector - My wires were red (left channel/top section), white (right channel/middle section), and black (ground/bottom section). - You do not need the right channel so the white wire can be cut short. - The switch is in an open position when not pressed and a closed position when pressed. Test your switches to make sure which posts you need to use. - On my switches, post 1 connects to post 3 when the switch is pressed. - For my switches, I soldered the black wire to post 1 and the red wire to post 3. Double-check connections from the switch to the Pico to make sure everything works.
Installing switch
The foot pedal has a slot in it for installing the switch cable (see picture). Before doing this, install the strain relief clip. It is very small and may not be easy to install. Look at the close-up picture of the installed switch and note the orange clip. You may decide to use a dab of hot glue, a small cable tie or something else. Make sure to use something so the wire can not get pulled out.
Adding code to Pico
If you have never installed CircuitPython on a Raspberry Pi Pico, Adafruit has a nice page on how to do it .
Also, install the adafruit_hid library from the Adafruit CircuitPython Bundle .
Once CircuitPython and the adafruit_hid library are installed, copy the copy.py file to your Pico.
The code is set for 4-foot pedals that do the following:
- press on GP1 - play/pause - press on GP2 - jiggle your mouse - press on GP3 - increase volume - press on GP4 - decrease volume I have added comments in the code so hopefully it is easy to adjust and/or expand.
Control Box
The lid to the control box is connected using a piece of filament. The hole goes all the way through the lid so a single piece can be used. If the filament slides out, there are 2 cutouts on the back of the lid where you can put a drop of glue to hold the filament.
Hopefully, somebody can come up with a great use for this. If you do, please let me know.
If there are any questions, please add them to the Comments section.
Updated 8/3/2024
- added instructions in Adding code to Pico section about installing the adafruit_hid library.



Названия используются только для указания источника результата. Polyzon не аффилирован с перечисленными площадками.