
Бесплатно 
QIDI Printers (Q1 Pro, Plus4, X-Max3, X-Plus3, Q2, Max4) Spool Holder with Bearings
Printables
--
Change Log:
2024-06-02- Improved filter locking tabs. It's more practical to remove and install filters.
--
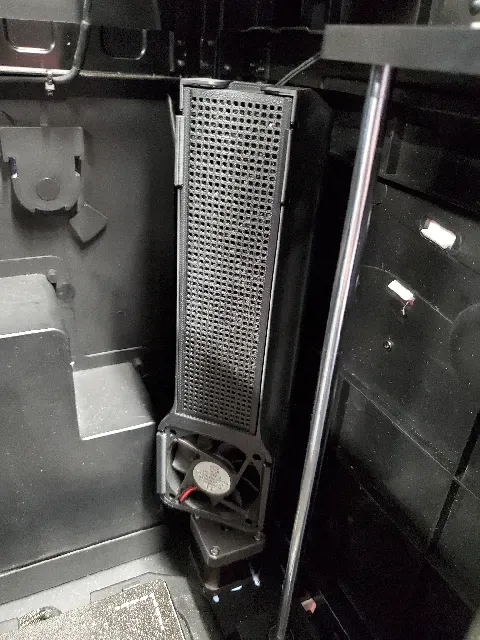
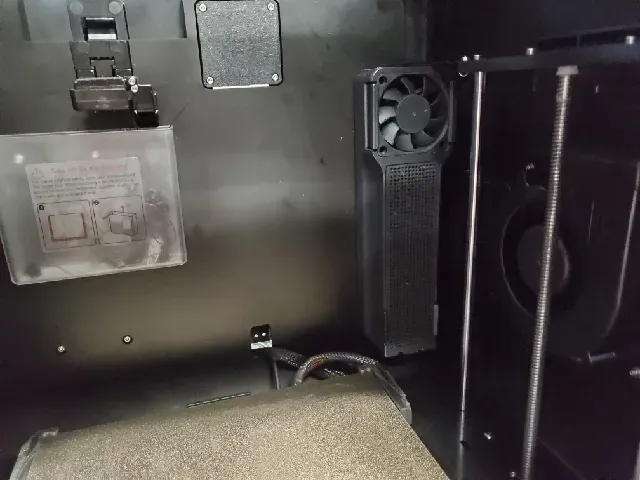
This is an easy to use air scrubber designed for the Qidi Q1 Pro and X plus 3. It just uses the stock Qidi chamber fan. (I'm assuming it fits the X Max 3)
The Qidi fan is not very powerful, so I recommend using it with the carbon filter only, since the HEPA creates a lot of resistance.
Printing:
- Add tree supports on build plate only, and only apply to the housing . Take your time to be selective about the faces you want to support. - Do not use brim on the carbon filter cover , there are small locking tabs that may get damaged during brim removal. - ABS, ASA, PC and nylon are ideal filaments for heated chambers. Many PETG's now have poor temperature resistance, so check your specs first. Polylite PETG is a good option. About the carbon box:
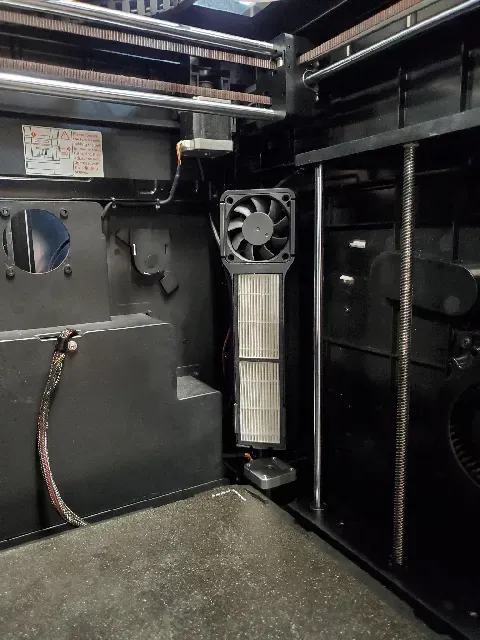
- Symmetric design allows you to have the fan on top or bottom according to your preference. (See images)
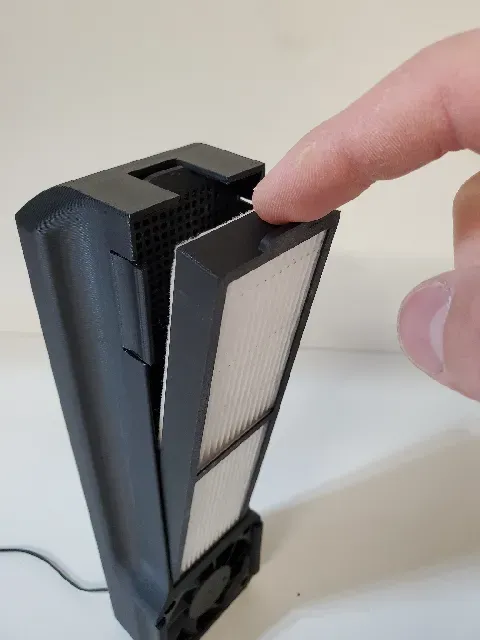
- The filters are interchangeable, meaning you can choose whether to have air pass though the HEPA first or pass through carbon first… Or you can just use large carbon box and not use a HEPA for better flow.
- The filters snap into place and remove easily to clean/swap. You can sand/trim the ribs on the snaps to make them weaker and easier to snap in if your material is too stiff.
- The chamber fan snaps into the housing, and can go in either direction (push or pull). To remove the fan, bend the snaps back while pulling with a little hooking tool.
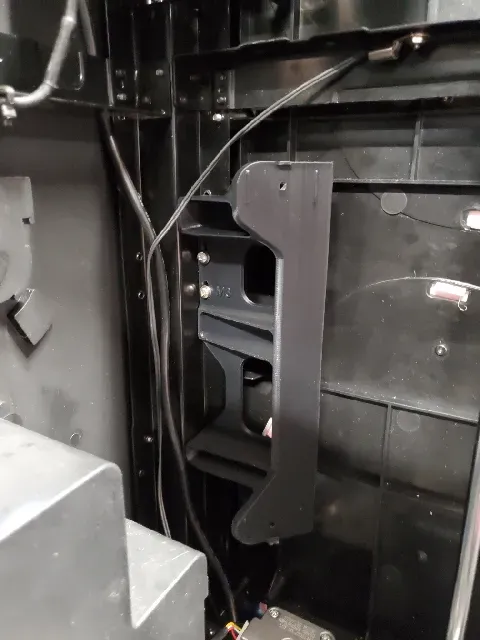
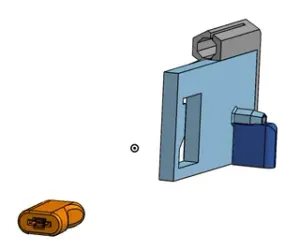
- Indexing tabs on the X Plus 3 bracket help line up and hold the air scrubber housing during installation.
- If you want to try a HEPA filter, it's the iLife filters, such as these (although the air flow will be quite low) : https://www.amazon.ca/gp/product/B0782T7L6P/ref=ppx_yo_dt_b_asin_title_o01_s00?ie=UTF8&th=1
- Q1 Pro: Attach directly to the back right side of the printer, away from the bed cables, using machine screws and nuts(drill the holes, careful not to hit the board or wires), or just use good ol' 2-way tape. - X Plus3: Print the XP3 angle bracket, cut zip ties, move wires and use (2) M3 screws to fasten angle bracket into threaded holes on the frame(See image). Screw the housing into the angle bracket using small screws. The indexing pins on the bracket should click into the housing, keeping it lined up while you screw it together. Fill the carbon filter cartridge, close the cover and rinse thoroughly before use to clean out any charcoal dust.
Other Considerations:
- I have not yet conducted testing to see exactly how effective it is, but my nose says it gets rid of about 50% of the fumes. lol - To make the most out of this air scrubber, it's a good idea to close off gaps in the printer to contain the fumes (and heat) as much as possible. - When I have more time I might make a more optimized air scrubber, using better fans.




Названия используются только для указания источника результата. Polyzon не аффилирован с перечисленными площадками.
Комментарии