
Бесплатно 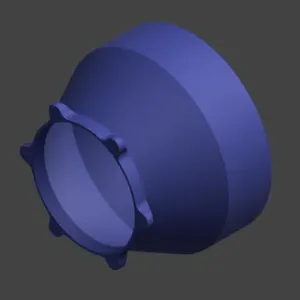
MagDuct Parametric Duct Reducer or Expander (Fusion and OpenSCAD non-MagDuct adapter also included)
Printables





Motivation
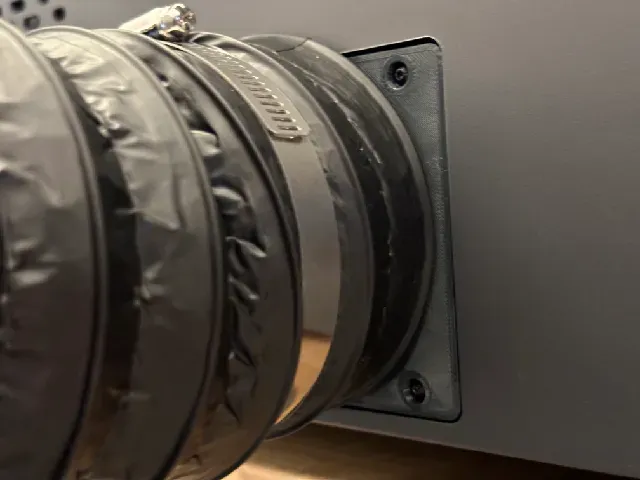
I recently purchased a P2 Laser Cutter and AC Infinity 6” Inline Duct Fan intending to attach 4” ducting to the inlet side. But the outlet of the P2 was too small for 4” ducting. Additionally, the weak stock internal fan would create unnecessary drag and turbulence at a point requiring the fastest and smoothest airflow to ensure sufficient and complete evacuation of the laser’s volume. Also, it's just one more part requiring routine maintenance to keep the exhaust path clear. So, I needed to also create a fan spacer to ensure all parts lined up appropriately avoiding unnecessary gaps or discontinuities.
Solution
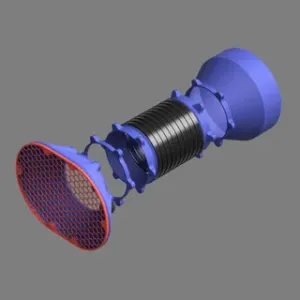
Design and print a two-part inline fan adapter and spacer. There are many other models already available, but none that accomplish all the following objectives:
- Parametric allowing customization of the adapter duct diameter, expansion offset, mount depth, wall thicknesses, and any other design dimension
- Reuse the provided screws (no other hardware required)
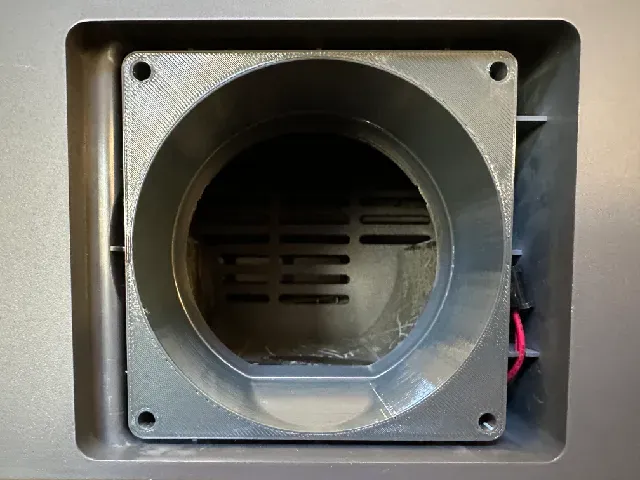
- Smooth airflow transition (ramp at the bottom of the internal fan spacer)
- Airtight as much as possible
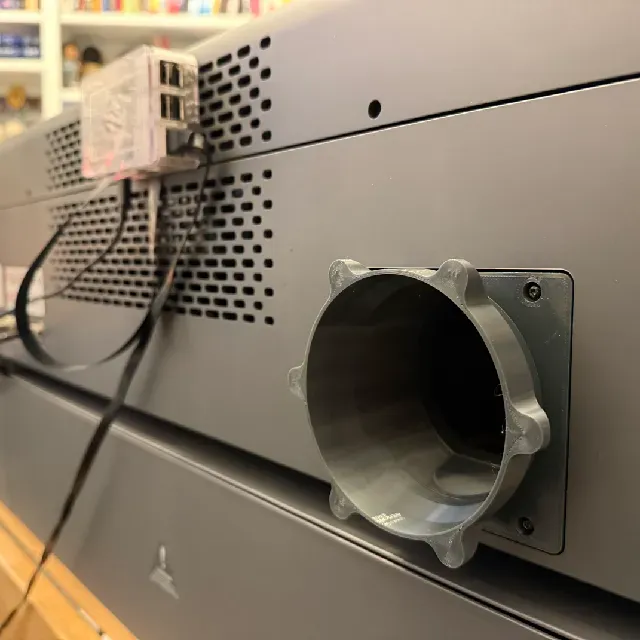
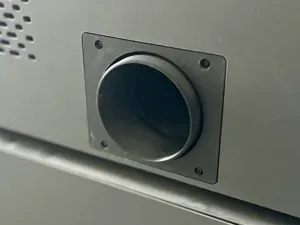
- Stock appearance (flange sits flush with the outside face, same screws, etc.)
- New in v2.0! MagDuct compatibility
Updates
v1.1
- Added 1.0 mm (8.2 mm) to FlangeDepth parameter making the flange flush with the back of the P2
v2.0
- New! Added MagDuct compatible adapter!
- Both the non-MagDuct (Ducting) and MagDuct bodies are available in the .f3d.
- MagDuct compatibility adds new features explained at the link above. For this reason, the MagDuct print file is now the primary file for this posting. But, again, the non-MagDuct files are also still available (just make sure you choose the one you intend to use 👍)
- Minor adjustments to the screw placement
Customization
The Fusion file is included. You can customize the parameters ( DESIGN | SOLID | MODIFY | Change Parameters ) as necessary. When you open the Parameters dialog, first sort by name . The parameters most optimized for customization are favorited. The non-favorited parameters should work as well but may require more tinkering to repair broken downstream features.
If you significantly increase the DuctDiameter parameter (e.g. to adapt to 6” ducting), you will need to also increase the ExhaustExpansionOffset to reduce the angle of the duct expansion minimizing turbulence and the overhang angle when printing as well as provide adequate clearance for the mounting screws.
I prototyped on a Prusa CORE One.
Materials
- (4) Screws removed from the original P2 exhaust duct
Printing
See the attached .3mf for my settings. Use at least 4 perimeters. Supports are not required.
As you can see from the pictures, Prusament Anthracite Grey is an exact match for the color of the Grey xTool P2.
Magnets
- If you plan to embed magnets during the print, ensure you have the following ready to go before starting the print:
- Magnets
- Pause(s) inserted at each layer immediately after an embedded magnet slot (the same layer that bridges to close the slot). These pauses should already be inserted in each of the Print and PrusaSlicer Project files but double-check before printing.
- A plan for your desired polarity orientation.
- With the default 6-magnet configuration, simply alternating North and South around the circumference will allow proper part alignment at each 120° of rotation.
- If you care about the aesthetics of the parts, also consider the seam placement in relation to the magnet orientation. I set seam alignment to rear for all of the parts in the PrusaSlicer Project files.
- Since these magnets are far from the magnetic bed, there is no force to hold them down, so I used magnets from underneath to hold them in place. Alternatively, a small dab of CA glue in each hole before inserting the magnet works well too. You could also play with the tolerances on the magnet slots to get them to print as tightly as possible while still allowing for trouble free insertion.
Installation
- Remove and disconnect the internal fan tucking the wire out of the way (optionally, you can cover the connector with electrical tape)
- Replace with the Internal Fan Spacer ensuring the transition ramp is on the bottom (see the pictures)
- Install the Flange Duct Adapter using the same screws you removed in Step 1
- Disable the internal fan warning in XCS




Названия используются только для указания источника результата. Polyzon не аффилирован с перечисленными площадками.