
Бесплатно 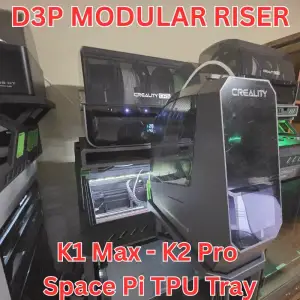
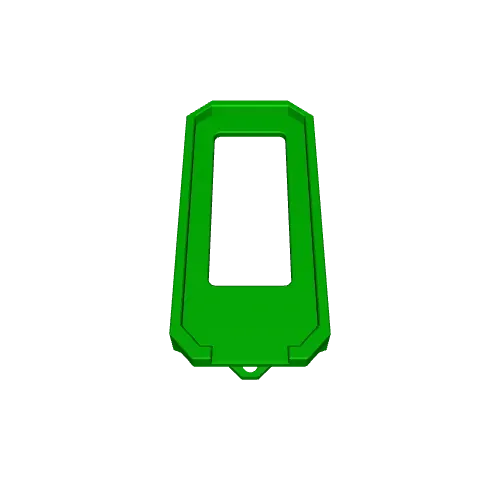
K2 Pro - K1 Max Space Pi TPU tray for D3P riser
Creality Cloud
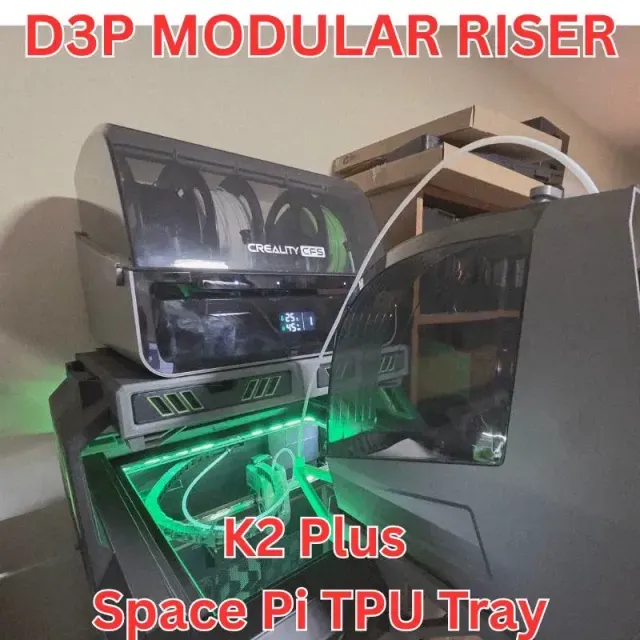
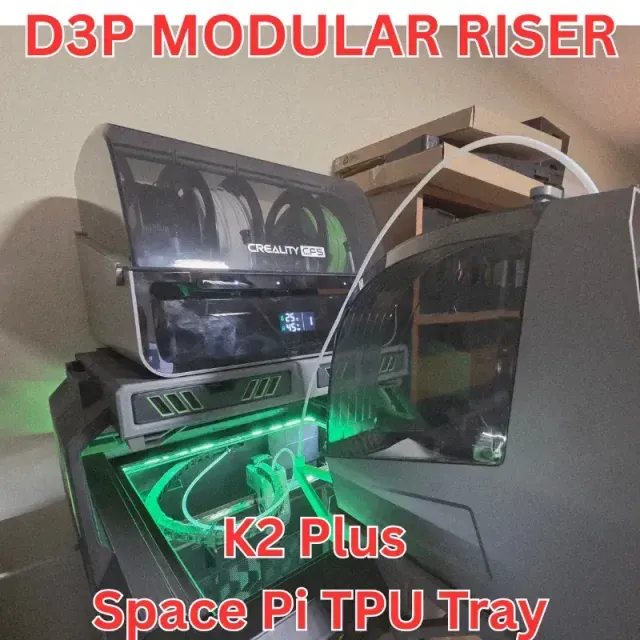
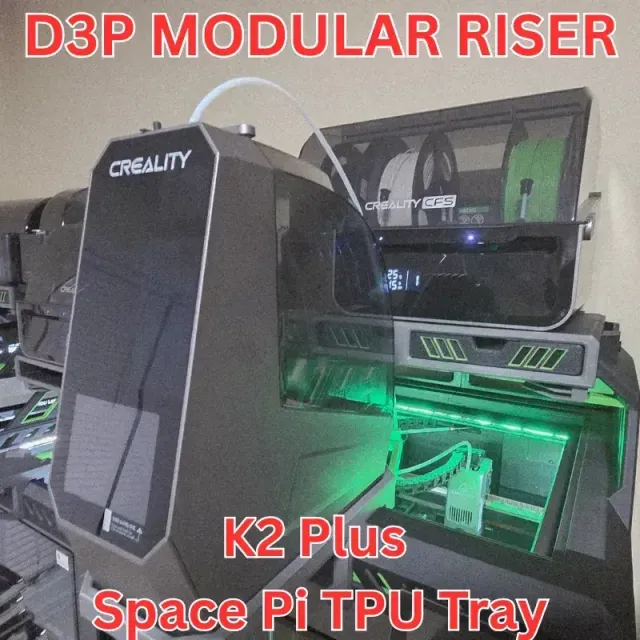
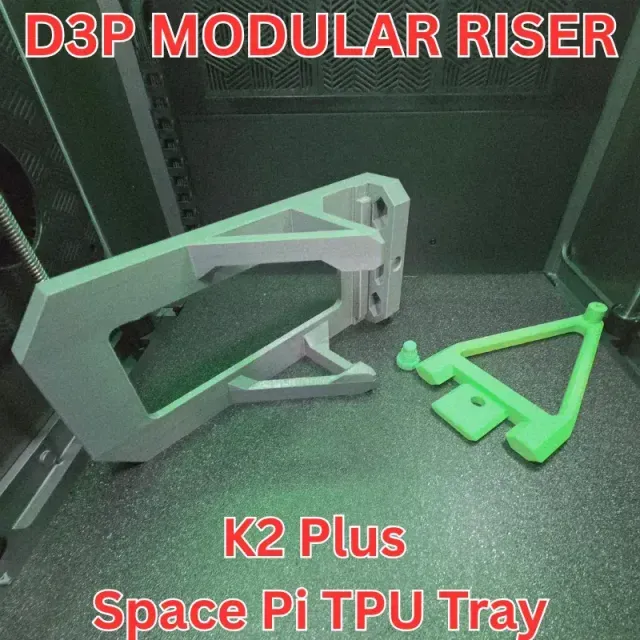
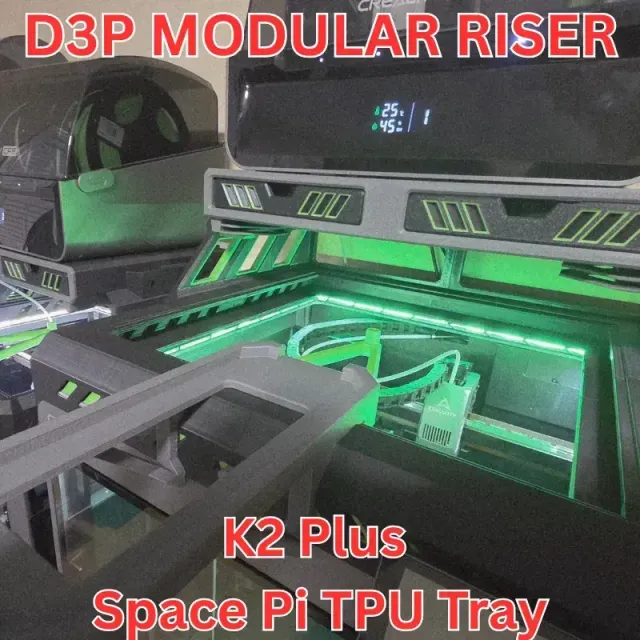
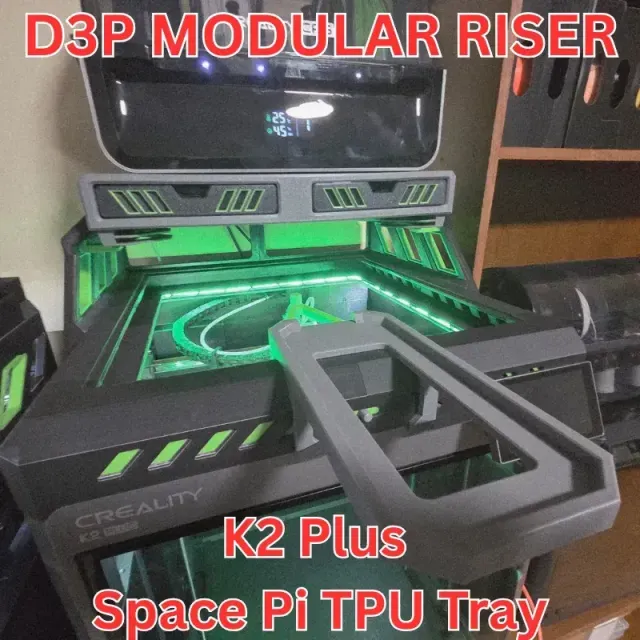
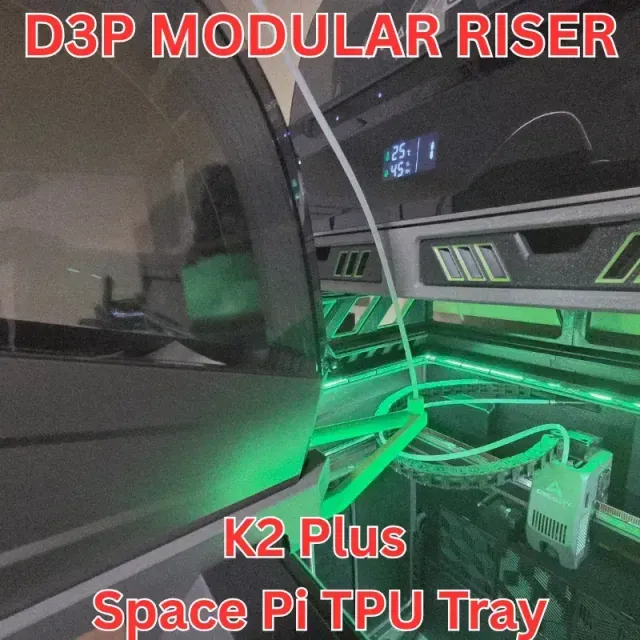

THIS MODEL IS IN TESTING - THE OBJECTIVE IS TO DESIGN A PRACTICAL SPACE PI TRAY OPTIMIZED FOR TPU PRINTING. YOU WILL NEED THE D3P RISER FOR THE K2 PLUS TO USE THIS. I WELCOME ANY FEEDBACK AND SUGGESTIONS. YOU CAN REACH ME ON FACEBOOK - DARREN 3D PRINT
CHANGELOG
2025-11-11 Corrected the issue with access to the bolt hole for securing the filament guide to the tray. For the the previous version you can use a wood screw (screwed from the top of the tray to temporarily secure the filament guide to the tray which will in turn secure it to the riser) The screw would be inserted at the front of the tray and screwed straight down into the filament guide. Thank you
MODEL
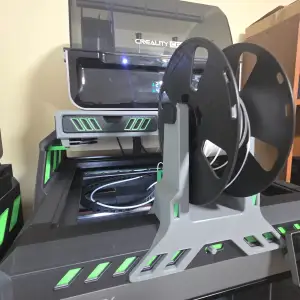
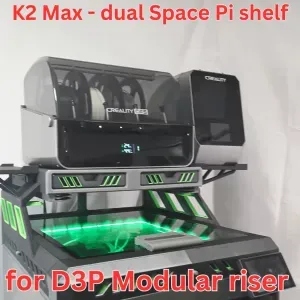
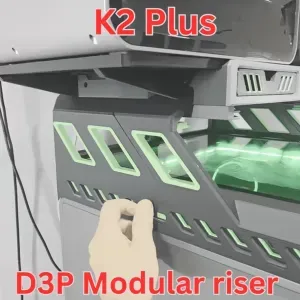
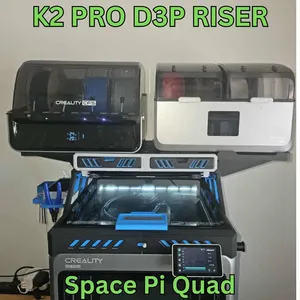
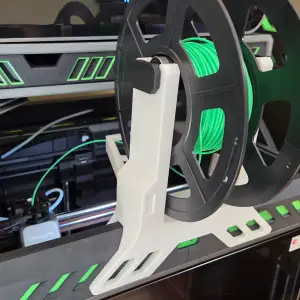
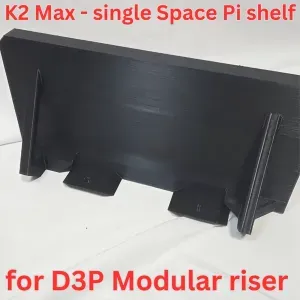
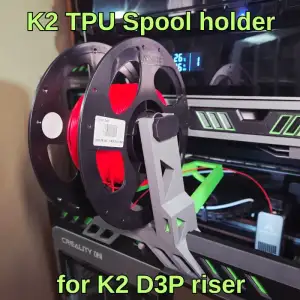
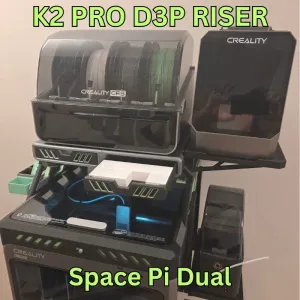
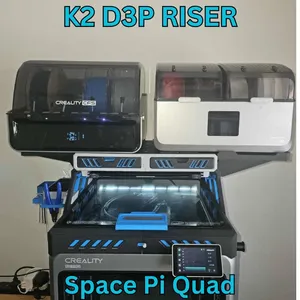
This is a tray that holds the Space Pi single spool dryer. It on the front of the D3P Riser for the K2 Plus. The objective is to allow drying of the TPU while printing.
Note: I do not print much TPU so I welcome any feedback to improve the model.
Polydryer box version: Chris Ewry has modified the tray for use with a Polydryer box. Here is the link: Polydryer box version by Chris Ewry
ASSEMBLY
Assembly and installation are quick and simple.
1. Remove the glass lid and set the tray down on the middle of the front section of the K2 Plus D3P riser.
2. Slide in the filament guide.
3. Secure the tray to the riser with the bolt.
4. Place the Space Pi on the tray.
5. Run a PTFE tube from the Space Pi through the hole at the front of the filament guide. You may need some glue to hold in the filament guide.
6. Feed the TPU Filament from the Space Pi, through the PTFE tube and directly into the extruder.
Click here to find out more about the D3P riser system for the K2 Plus:
K2 Plus D3P riser
3D PRINTING
IMPORTANT: After verification with Creality it appears that there are some issues that need to be resolved with the mobile printing app. At present it seems these may affect slicing and printing of the model. After verification, it was suggested by the Creality Cloud team to use the desktop slicing and printing software. Thank you for your understanding.
IMPORTANT I upload a print setting files for all my models. The print settings has the parts positioned for correct printing.
EACH BUILD PLATE HAS THE TYPE OF SUPPORT REQUIRED INDICATED ON THE BUILD PLATE DESCRIPTION (TREE AUTO, TREE MANUAL OR NO SUPPORT).
I strongly recommended you use my print setting file. If not, I will not be able to assist you if there is an issue when printing. From experience, many of the issues with printing my models are on account of users not using my print settings.
3D PRINT SETTINGS
I use the following settings and materials to print this model:
Infill % : 15% (no need for more)
Nozzle diameter: 0.4 mm
Layer height: 0.2 mm standard
Material: PLA and PETG are fine.
Названия используются только для указания источника результата. Polyzon не аффилирован с перечисленными площадками.
Комментарии